Custom Application
You can follow the below steps to quickly create REST APIs using RikData REST Builder. Currently, the REST builder supports the following database types
- Oracle
- MySQL/MariaDB
- MsSql
- PostgreSQL
The application uses an SQLite database for internal storage. You can also develop a new application using this method. Create database tables as per your business requirements, and then use the below steps to create REST APIs. You can use OneApp Desktop/Mobile client once the REST APIs are created. You can create business logic using simple javascript.
Config.json
Enter database connection details for your custom application in the config.json file
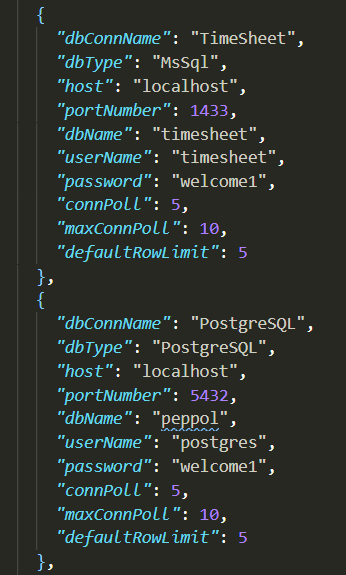
The dbConnName name on the config.json file must match the dbConnName on the client-side application definition
  {
      "dbConnName": "TimeSheet",
      "dbType": "MsSql",
      "host": "localhost",
      "portNumber": 1433,
      "dbName": "timesheet",
      "userName": "timesheet",
      "password": "welcome1",
      "connPoll": 5,
      "maxConnPoll": 10,
      "defaultRowLimit": 5
    },
    {
      "dbConnName": "PostgreSQL",
      "dbType": "PostgreSQL",
      "host": "localhost",
      "portNumber": 5432,
      "dbName": "peppol",
      "userName": "postgres",
      "password": "welcome1",
      "connPoll": 5,
      "maxConnPoll": 10,
      "defaultRowLimit": 5
    },
Start/Stop Server
The executables are available for Windows, macOS, and Linux. You can start the server like any other application. You can stop the server using OneApp Desktop/Mobile client. You can also send a REST request to Your host/stop to stop the application. To send a stop request, you must have admin authority.
Create Client Application
Create a new application in the client(Desktop/Mobile)
Navigate to User Menu-> Applications Click on the search button
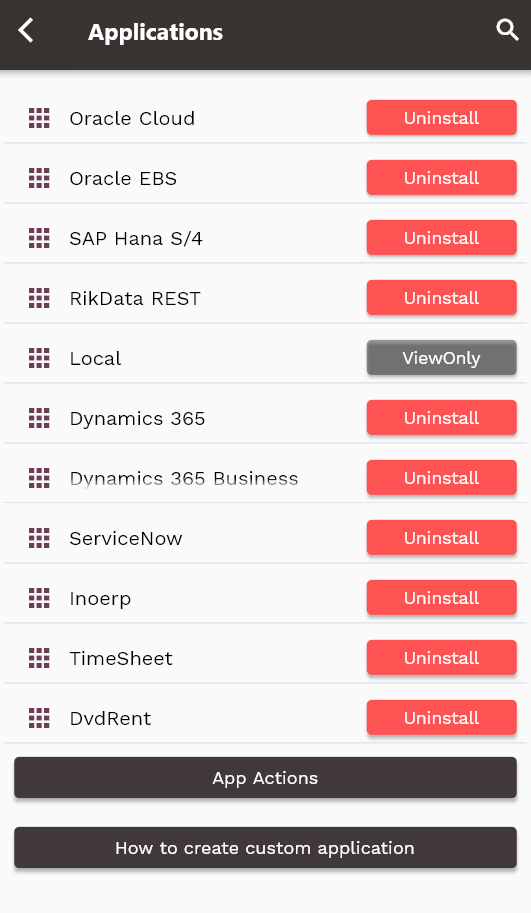
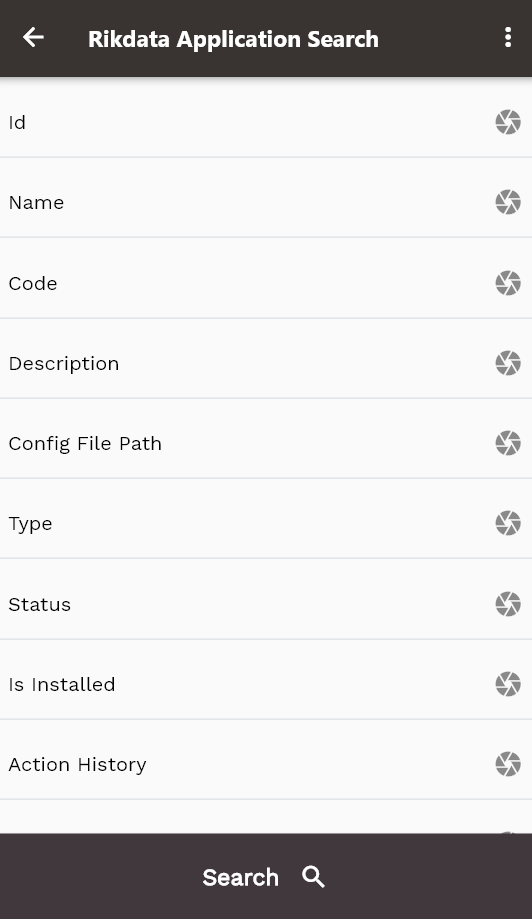
Click on the search button to find all existing applications.
Click on the copy button to copy all the details to a new application.
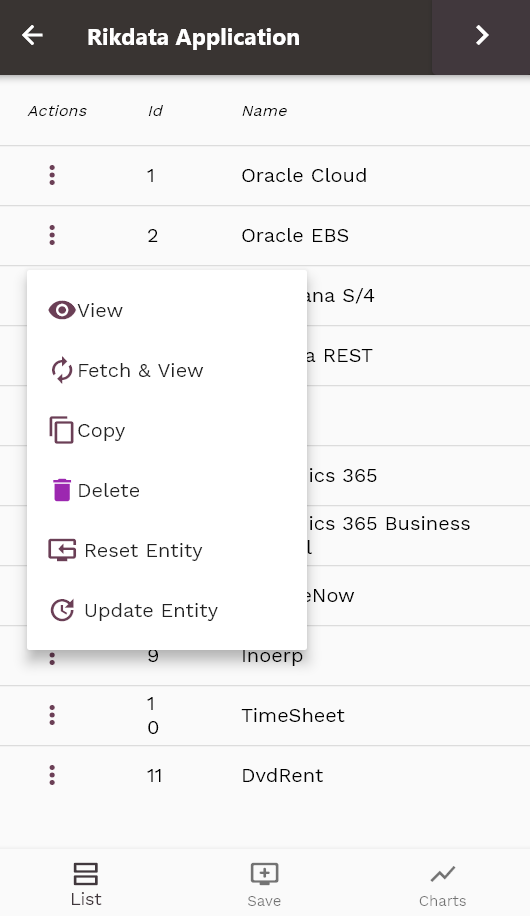
Change all the required information such as
- Name
- Code
- Description
- Type
- DB Connection Name
- BasePath
- DB Type DB Connection Name, DB Type must match the server settings. BasePath must be unique for each application.
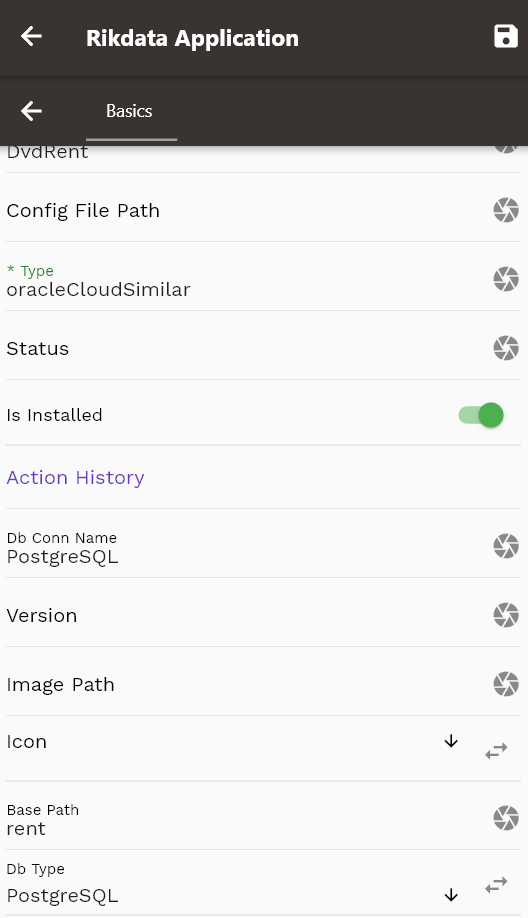
Save the record
Create New Instance
Create a new instance for the new application following the steps mentioned @ Instance
Create REST APIs
Login to the new Instance using admin/admin or any other user that has the admin role
Navigate to User Menu-> Applications -> App Actions or
Navigate to User Menu-> Settings -> App Actions
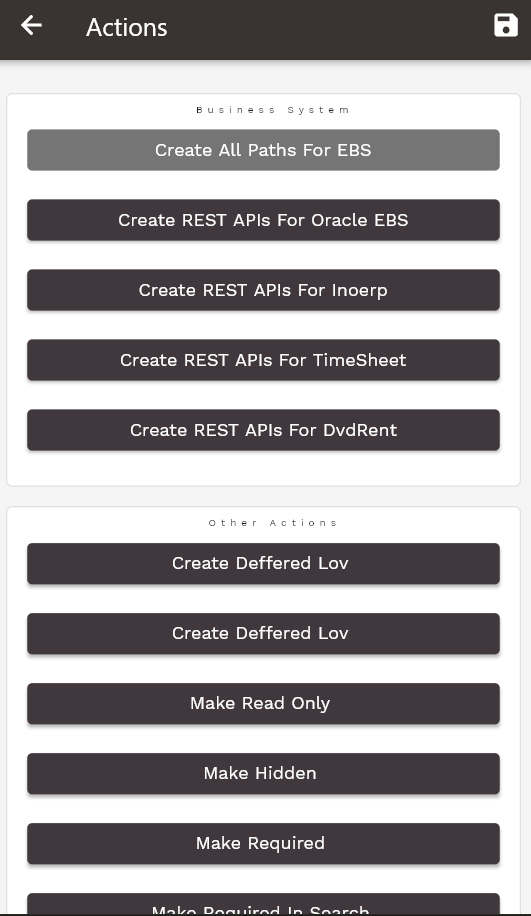
Your new application should be visible under the business systems heading.
Click on the button "Create REST APIs For [New Application]."
Depending on the number of tables, the program might take several minutes to complete.
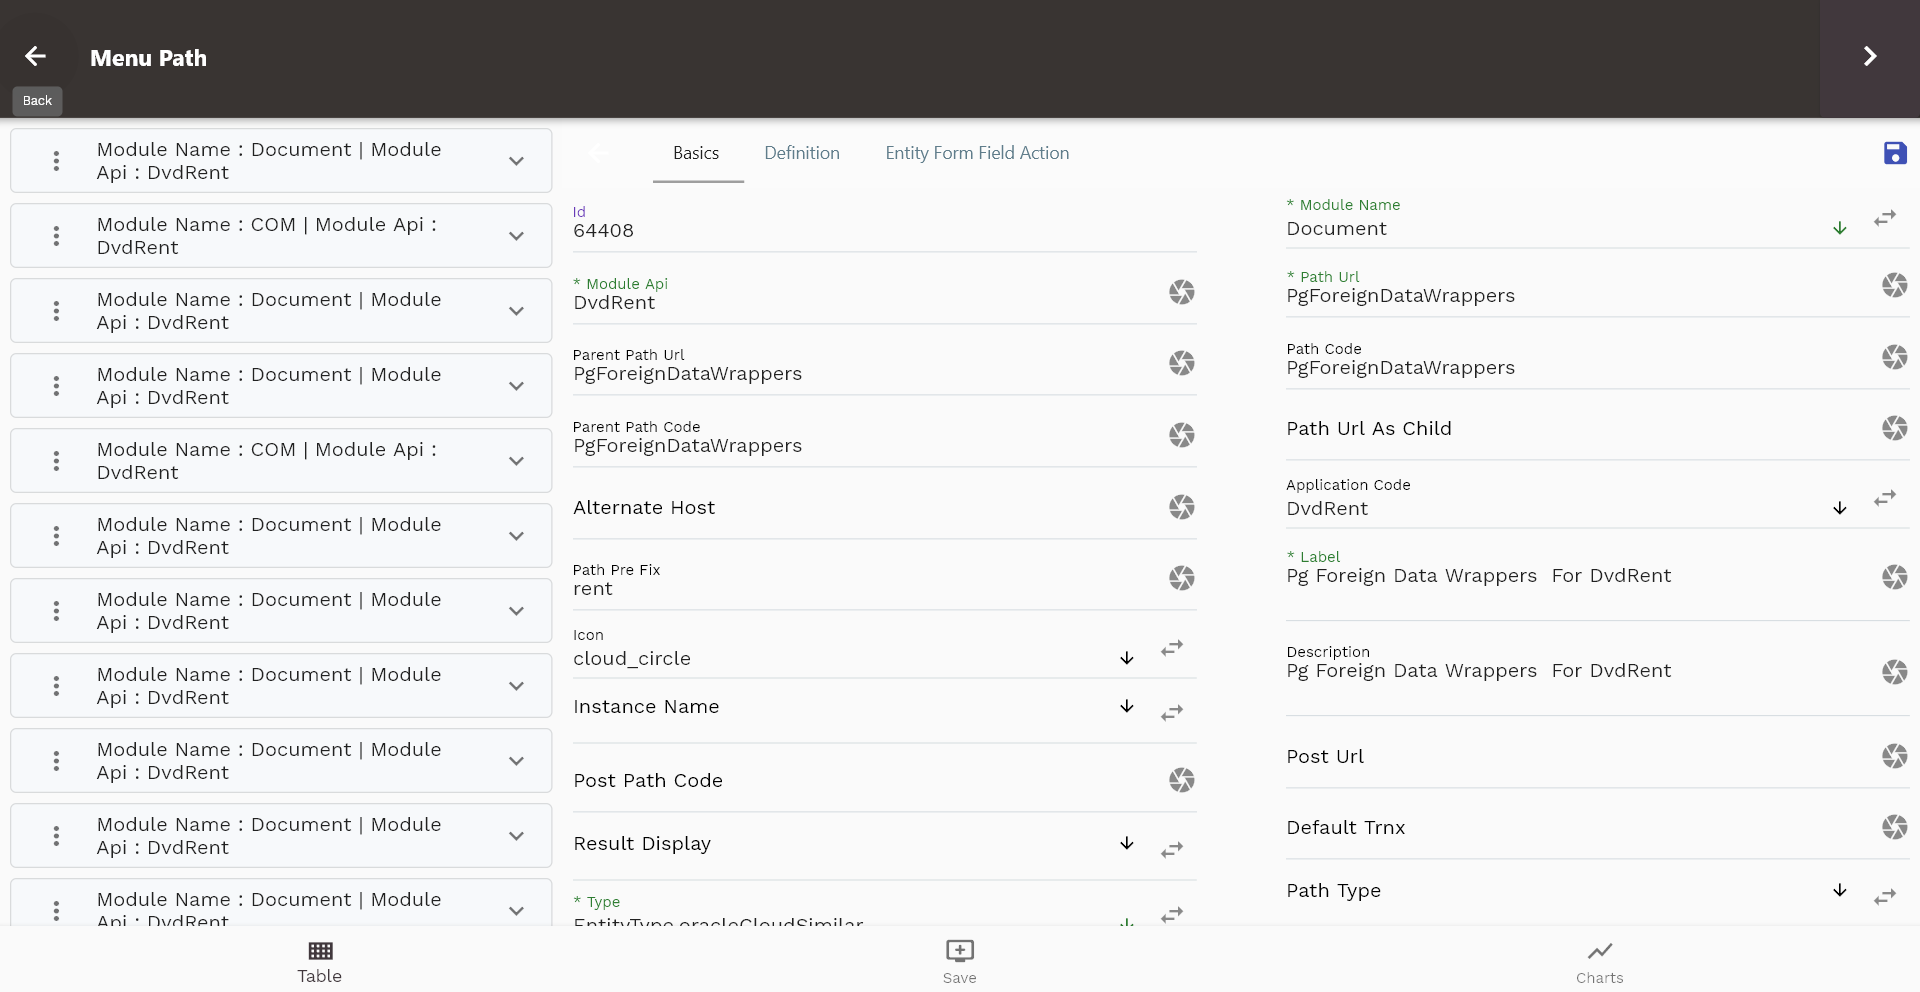
View New Menus
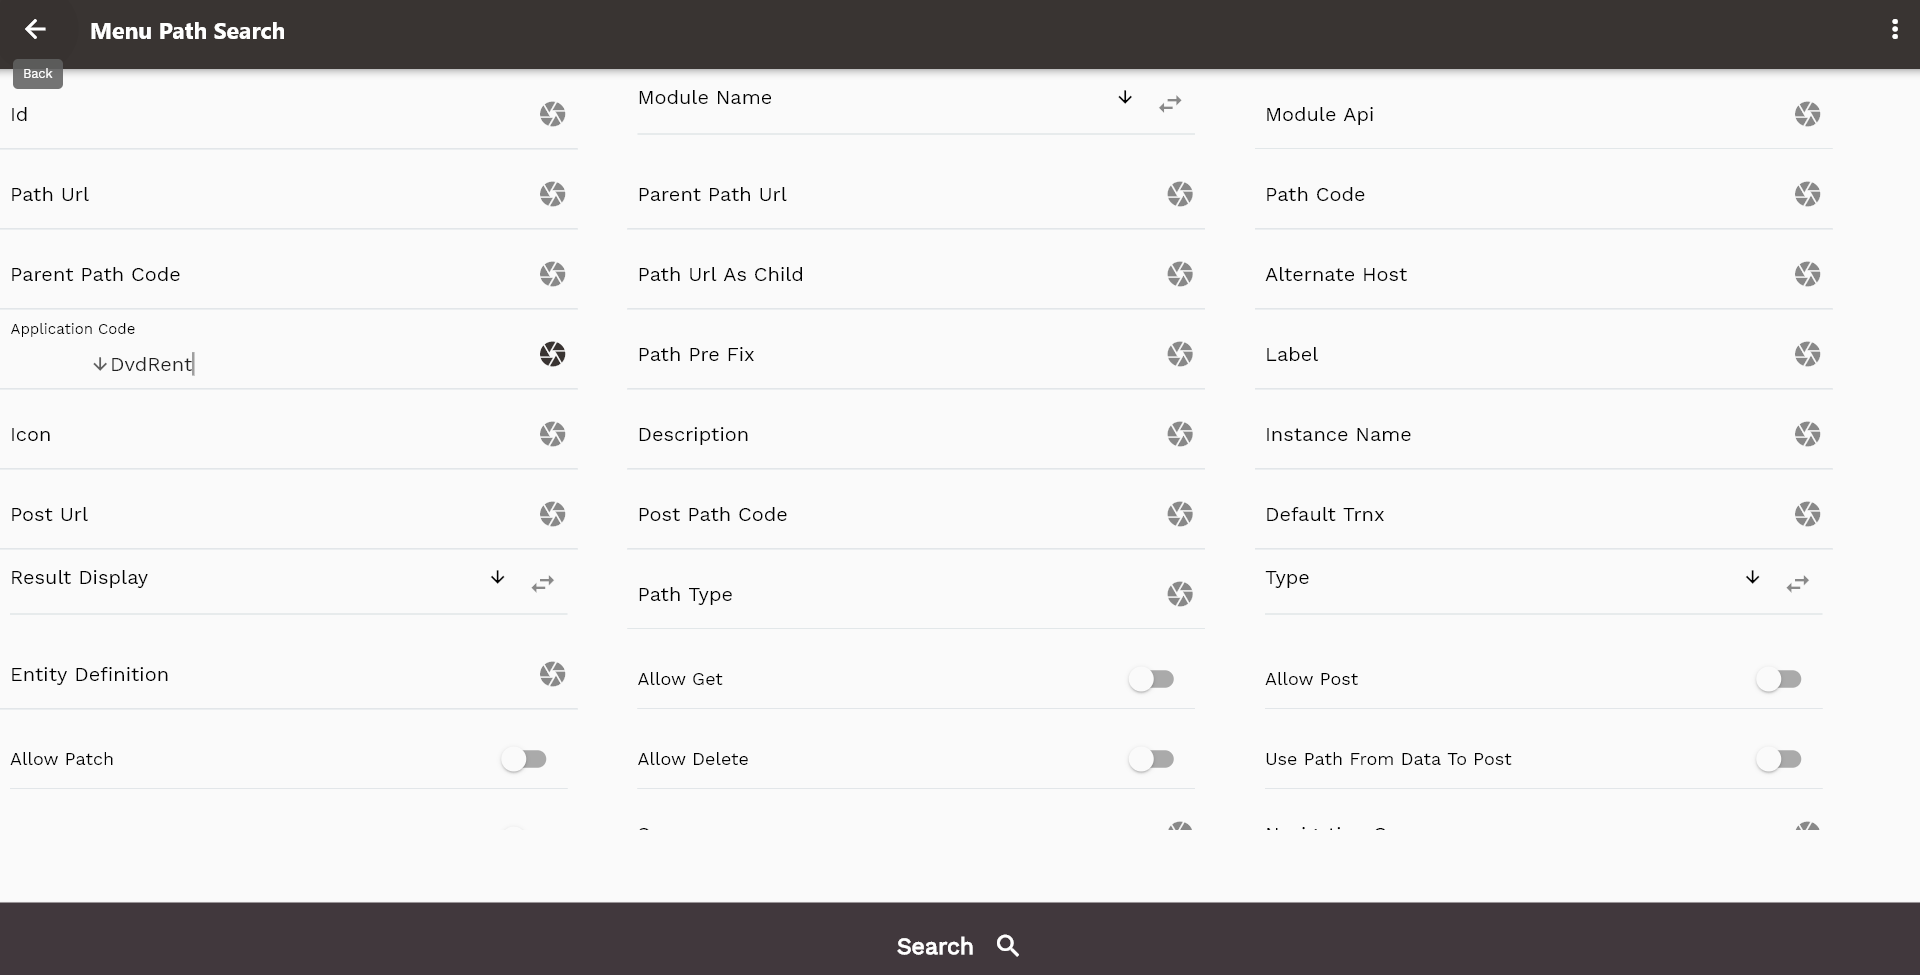
Navigate to User Menu-> Navigation Menus
Enter the application code or any other criteria and click on the search button
The app will show all newly created menus
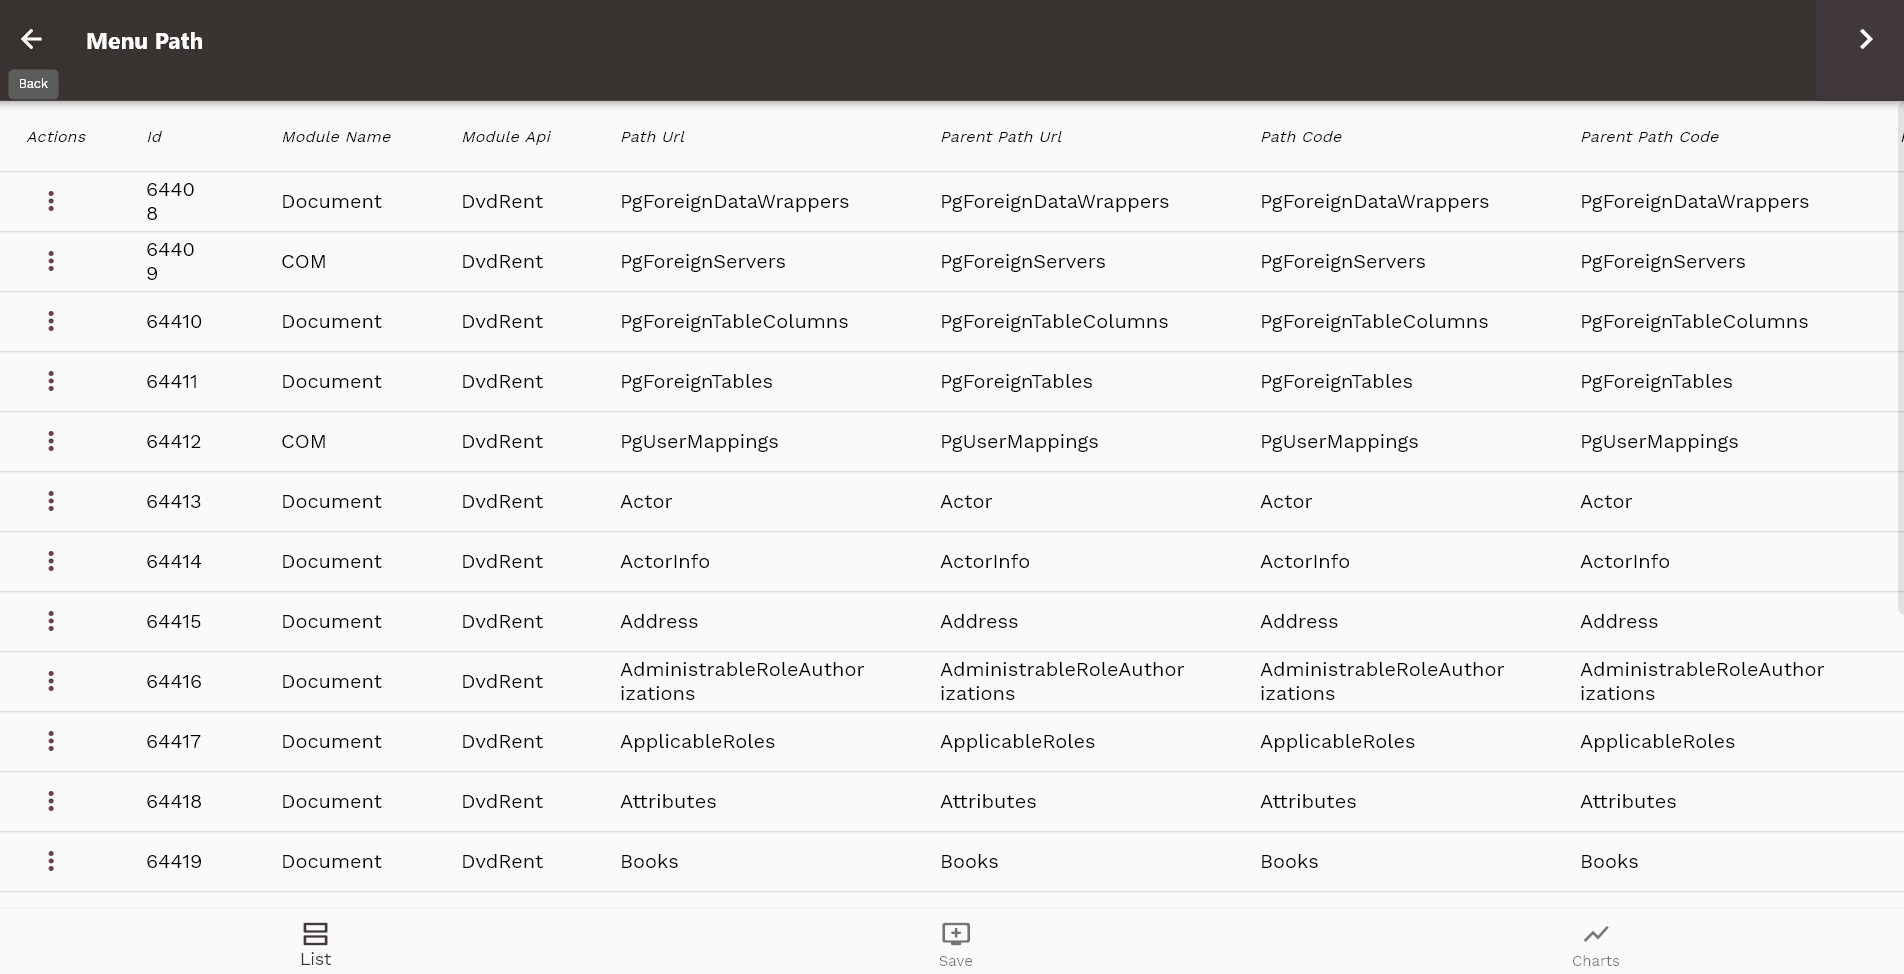
Click on View or Fetch & View to review the details of any new path
Test New App
Navigate to Instance Login Screen.
The new Instance should be visible in the instance menu. Login to the instance and the app will show the new application dashboard.
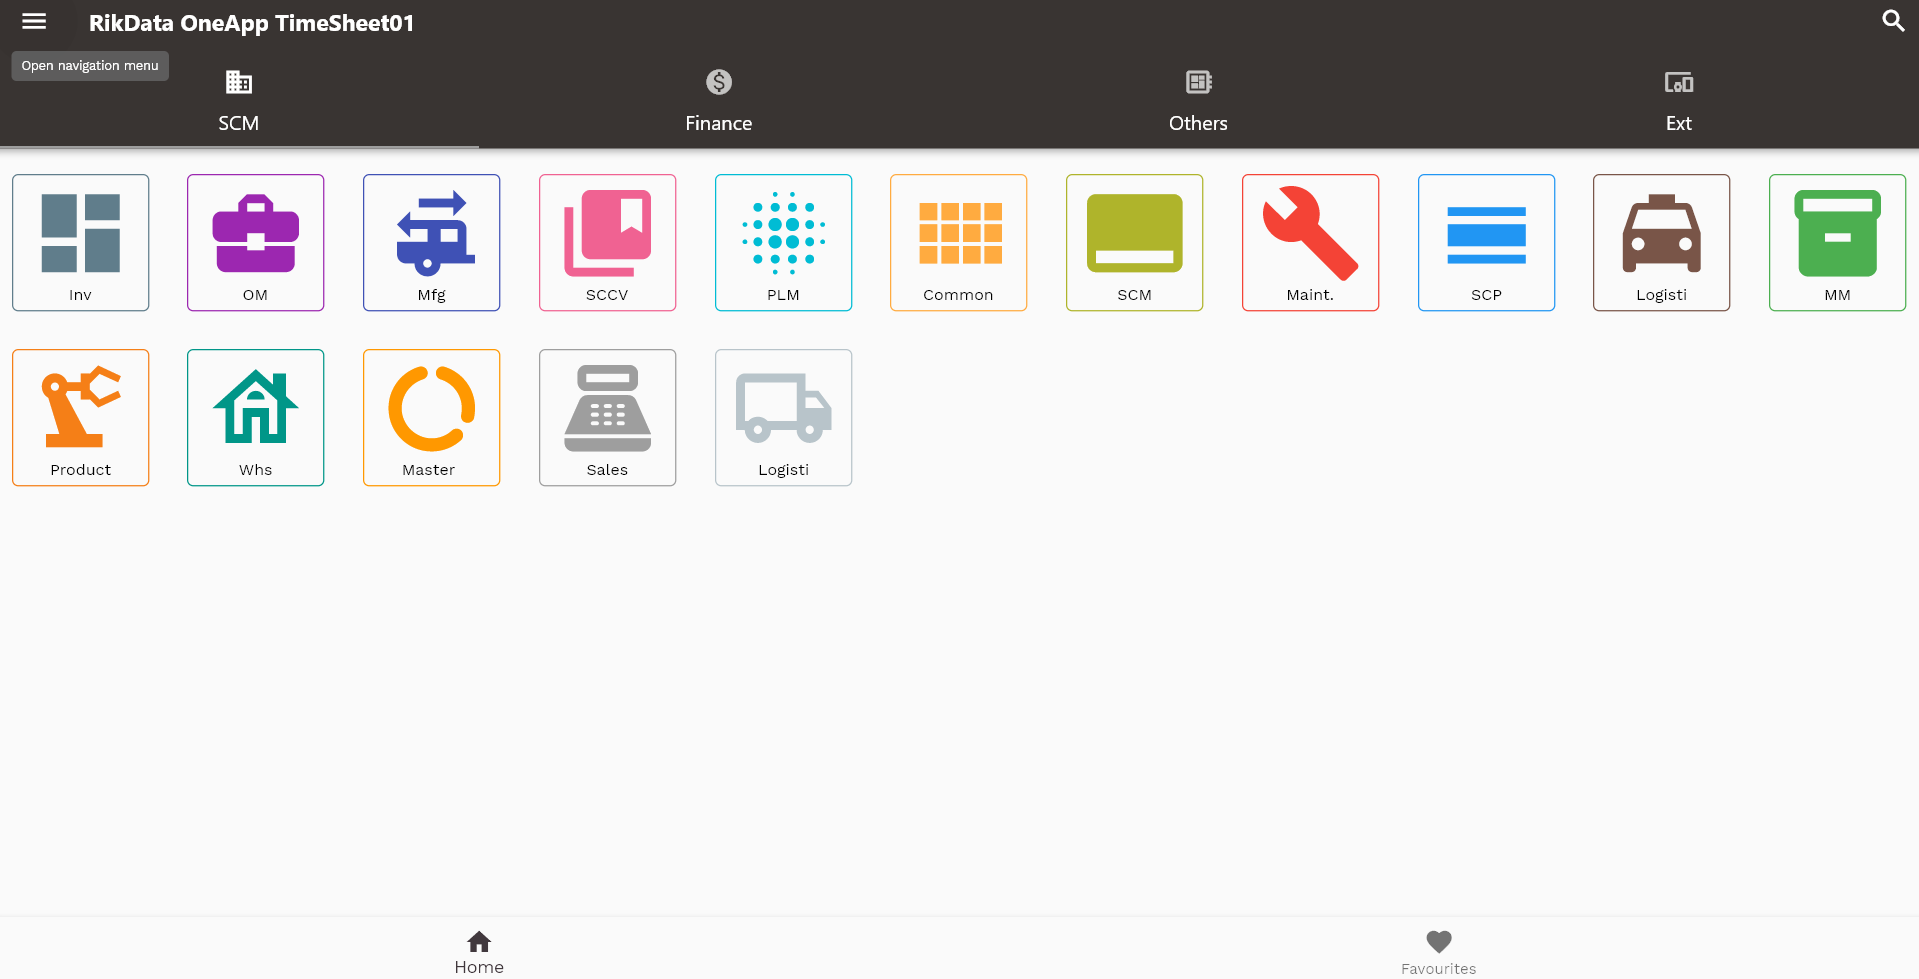
Default Dashboard
Navigate to User Menu-> All Dashboard
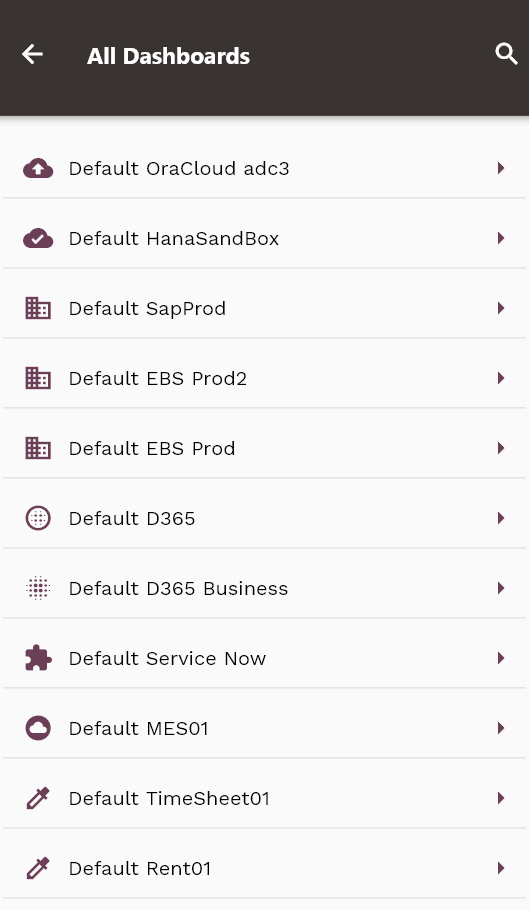
Click on the Default [Application Name] dashboard button to view all the available menus