Dashboard
Default Dashboard
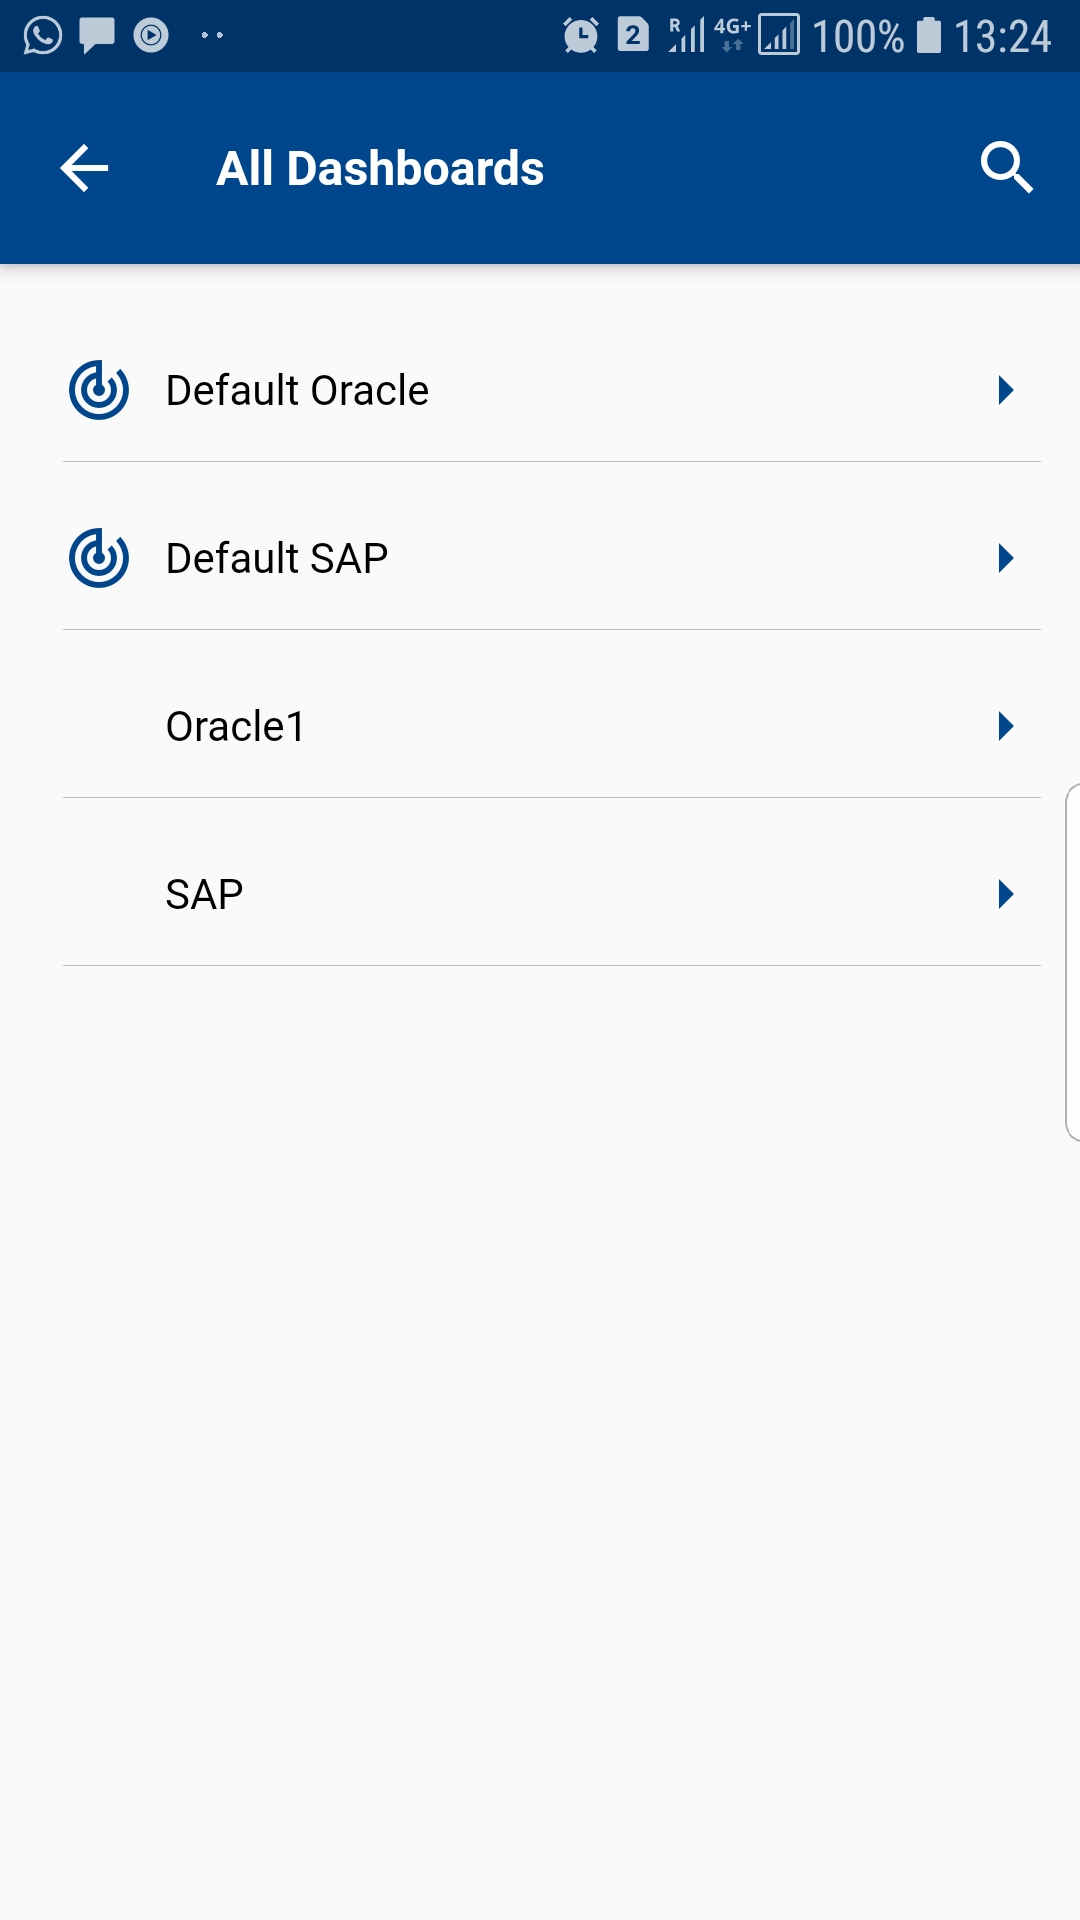
The app comes with two seeded dashboards. However, it allows you to create new custom dashboards as per your business requirements. The default configuration also creates two custom dashboards.
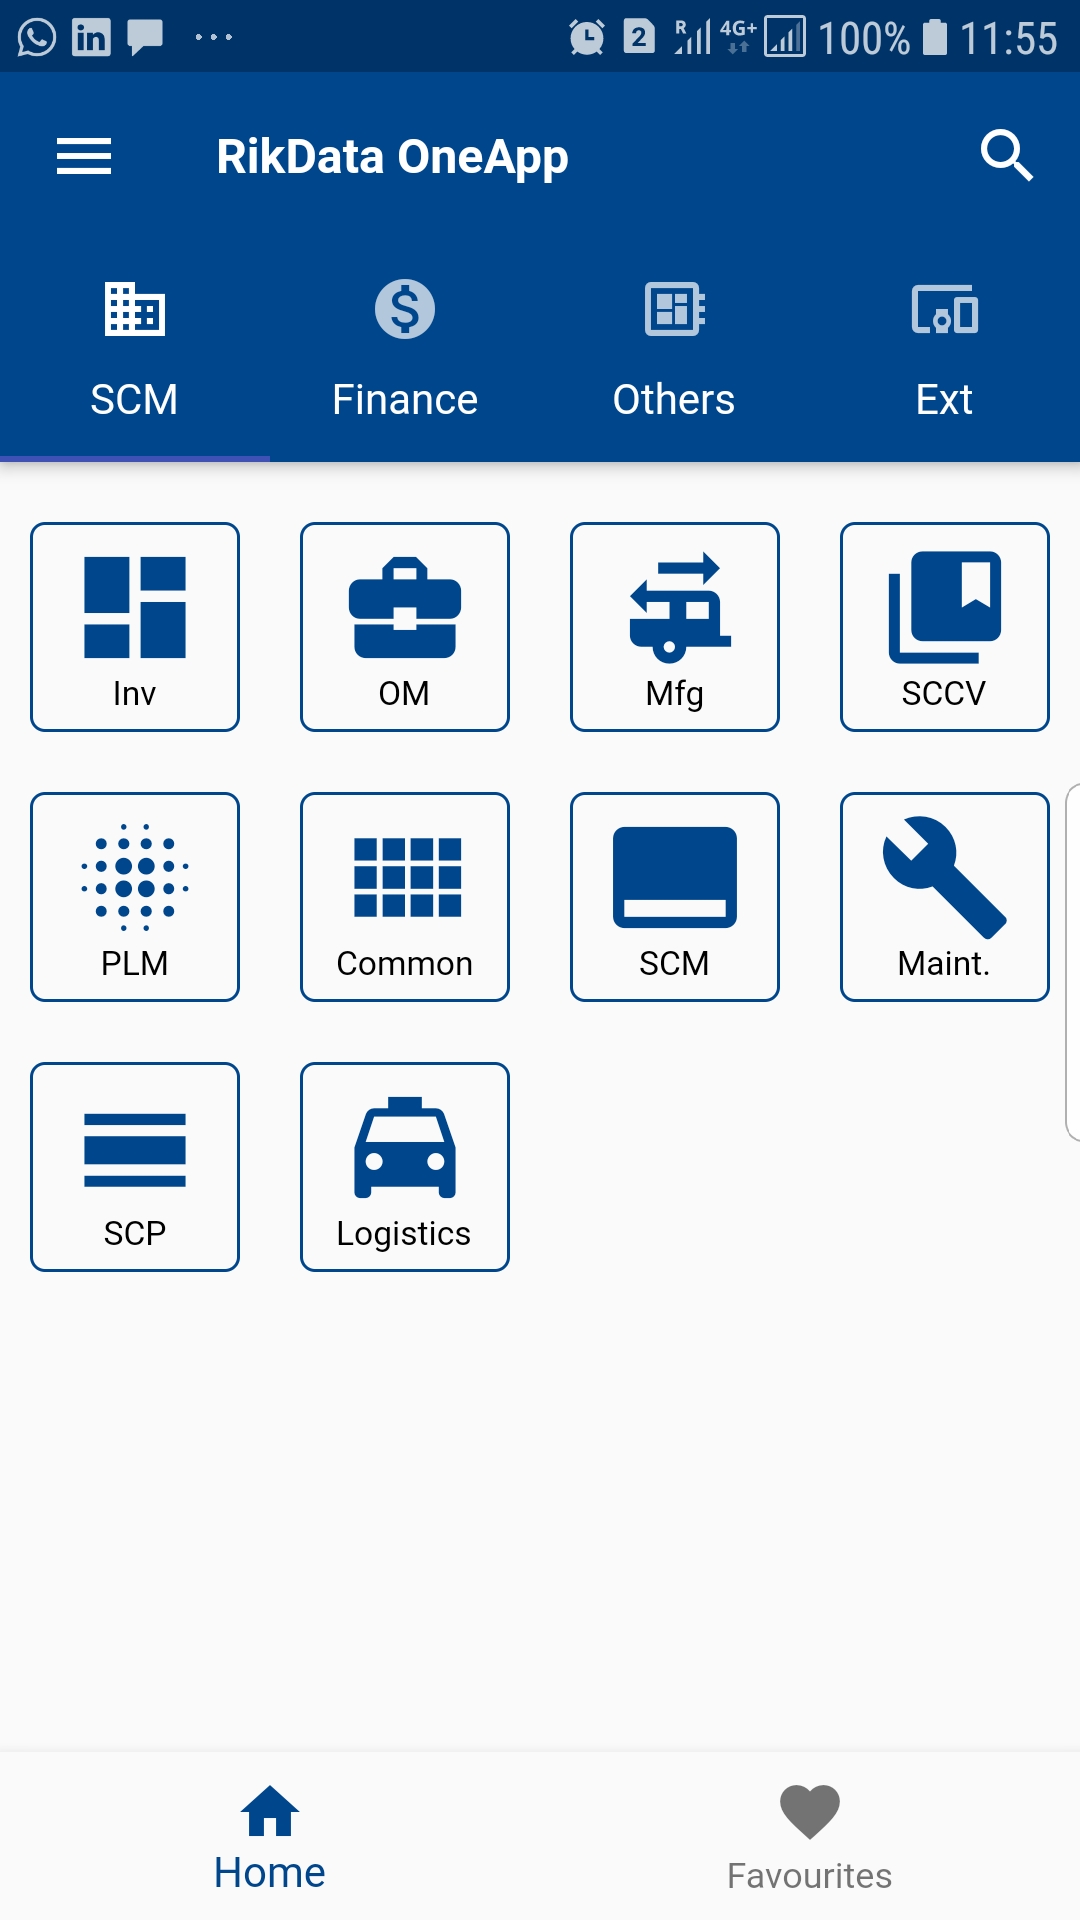
After completing log-in, the app will redirect to the default dashboard. You can change your default dashboard at settings.
To view all the dashboards, click on the user menu and then on All Dashboards.
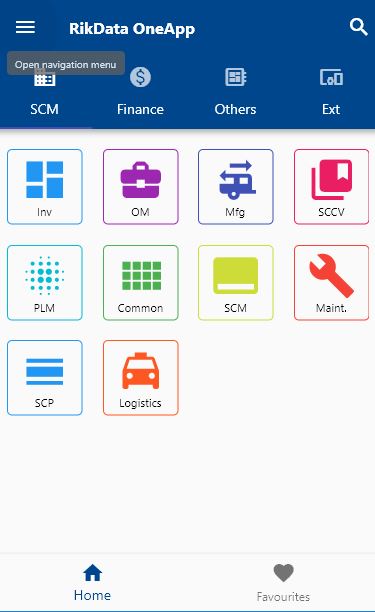
To view dashboards, menus in different colors enable enable "UseMultiColorTheme" in settings.
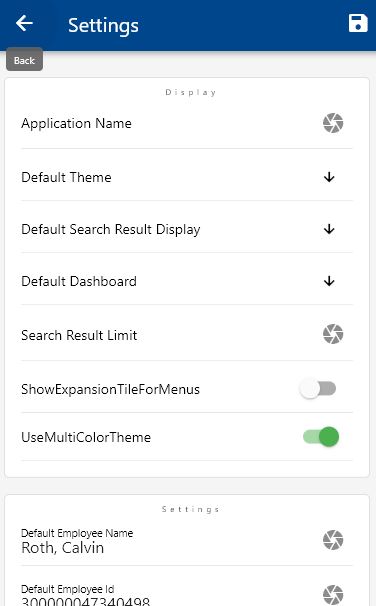
The "UseMultiColorTheme" setting controls the background and border colors of all menus.

Dashboard Contents
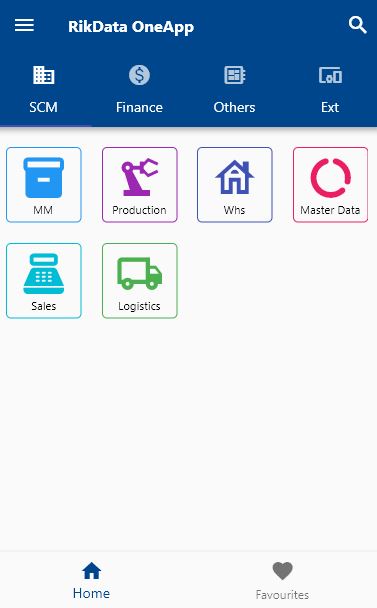
Dashboards consist of various Tabs (Usually 4), and you can show various information in each tab. Currently, the contents that you can show in a tab are :
- Module names with icons that redirects to navigation menus
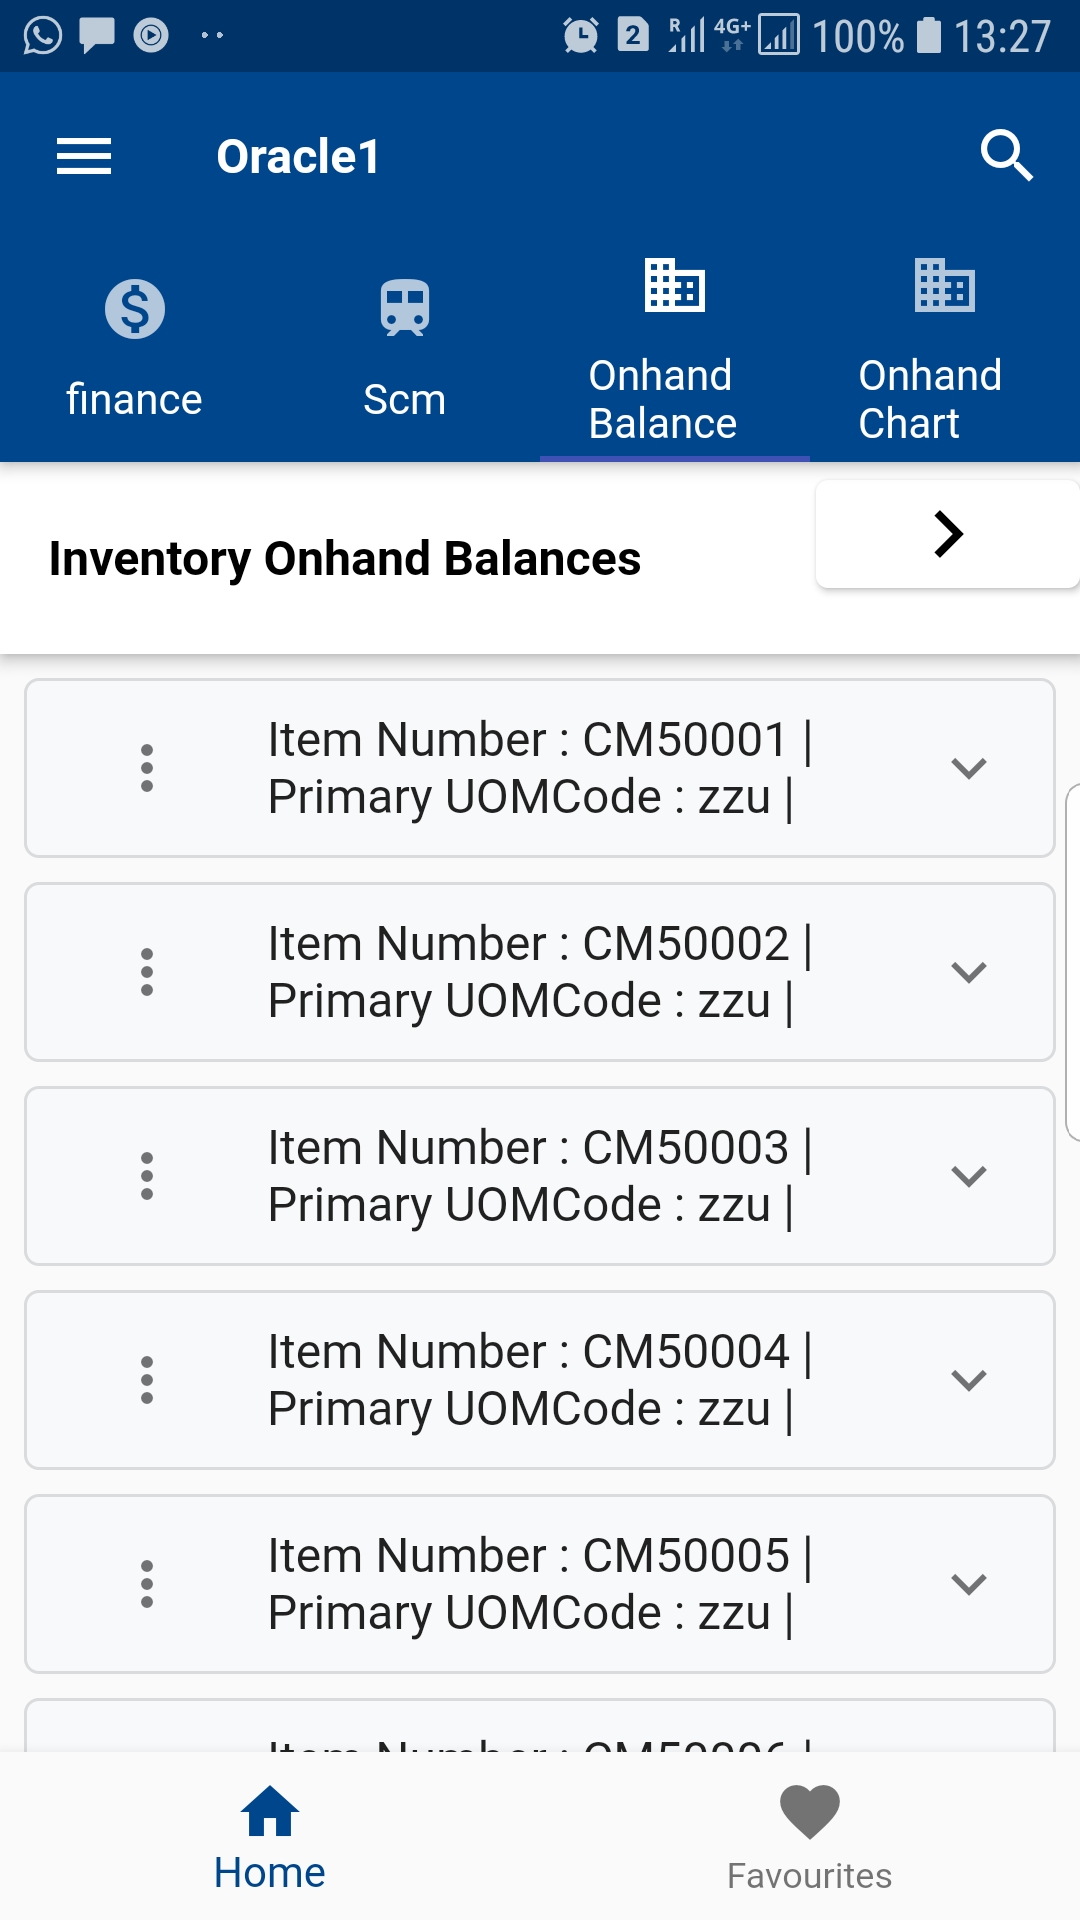
- Data from saved queries (Ex: List of past due Work Orders or Sales orders in Entered Status)
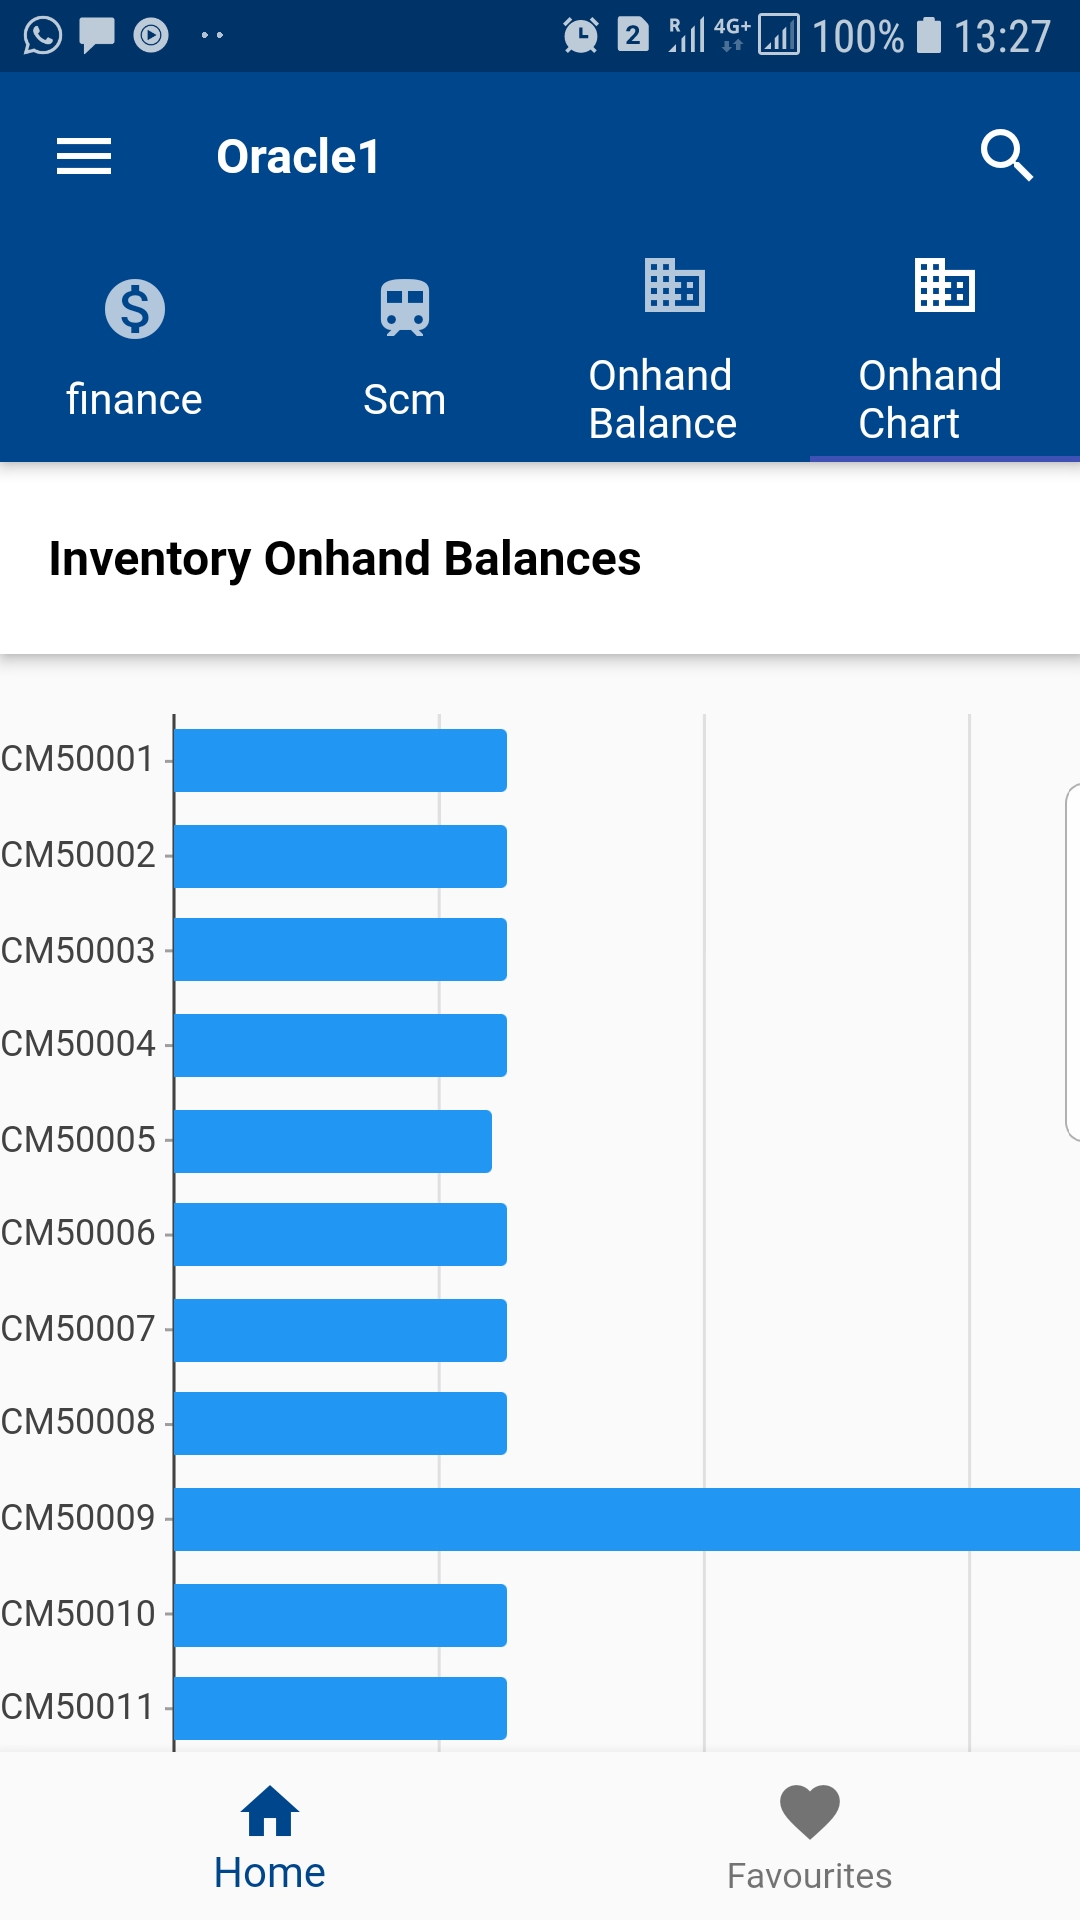
- Charts based on saved queries
Saved Queries In Dashboard
You can create saved queries and assign it to your dashboard for easy access. For example, an operator responsible for cycle count can generate a query for all pending counts and add to his/her dashboard. Whenever the operator logs into the app, the app will refresh the query and show the dashboard's result.
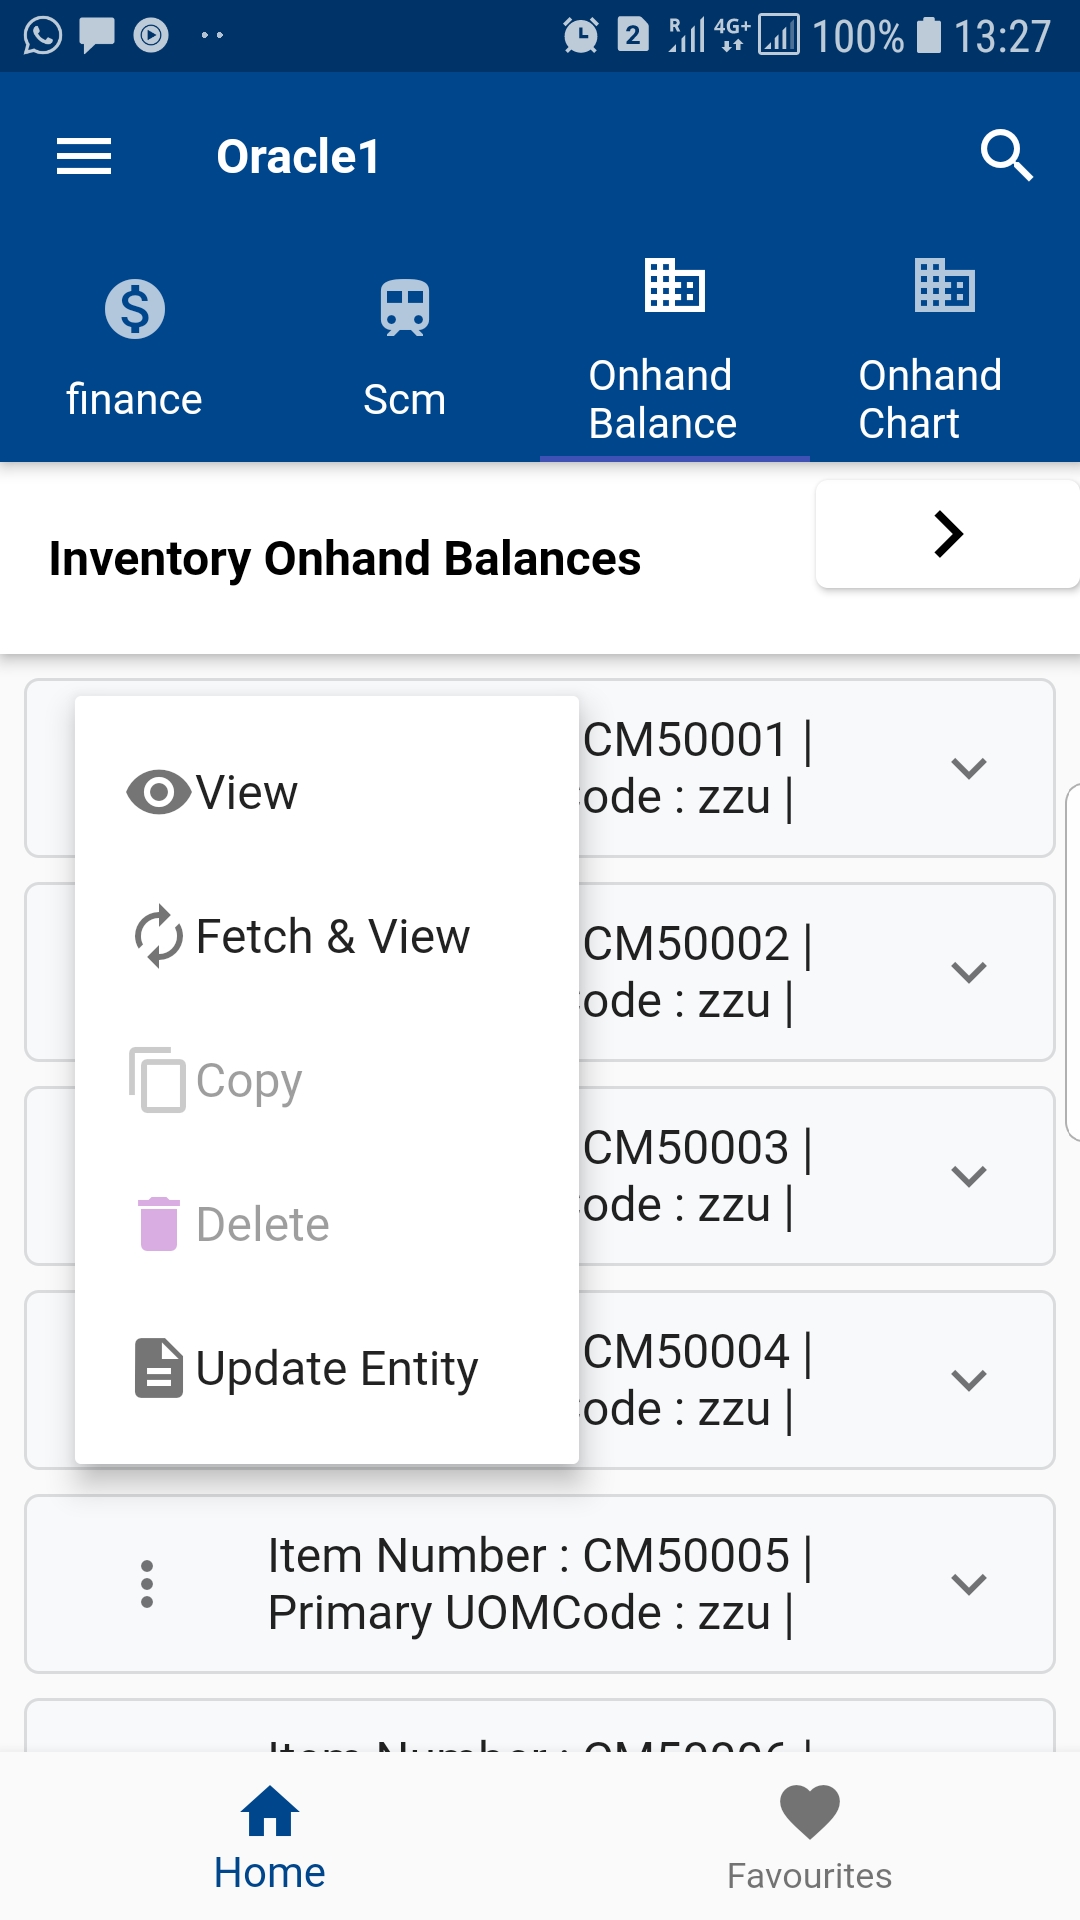
Depending on the type of saved queries, the app will allow various activities
- You can navigate from the dashboard data to specific data. Ex: If you have created a query for all open Work Orders, then you can navigate to a specific work order from the dashboard result
- You can delete a record
- You can copy a record
Search Dashboards
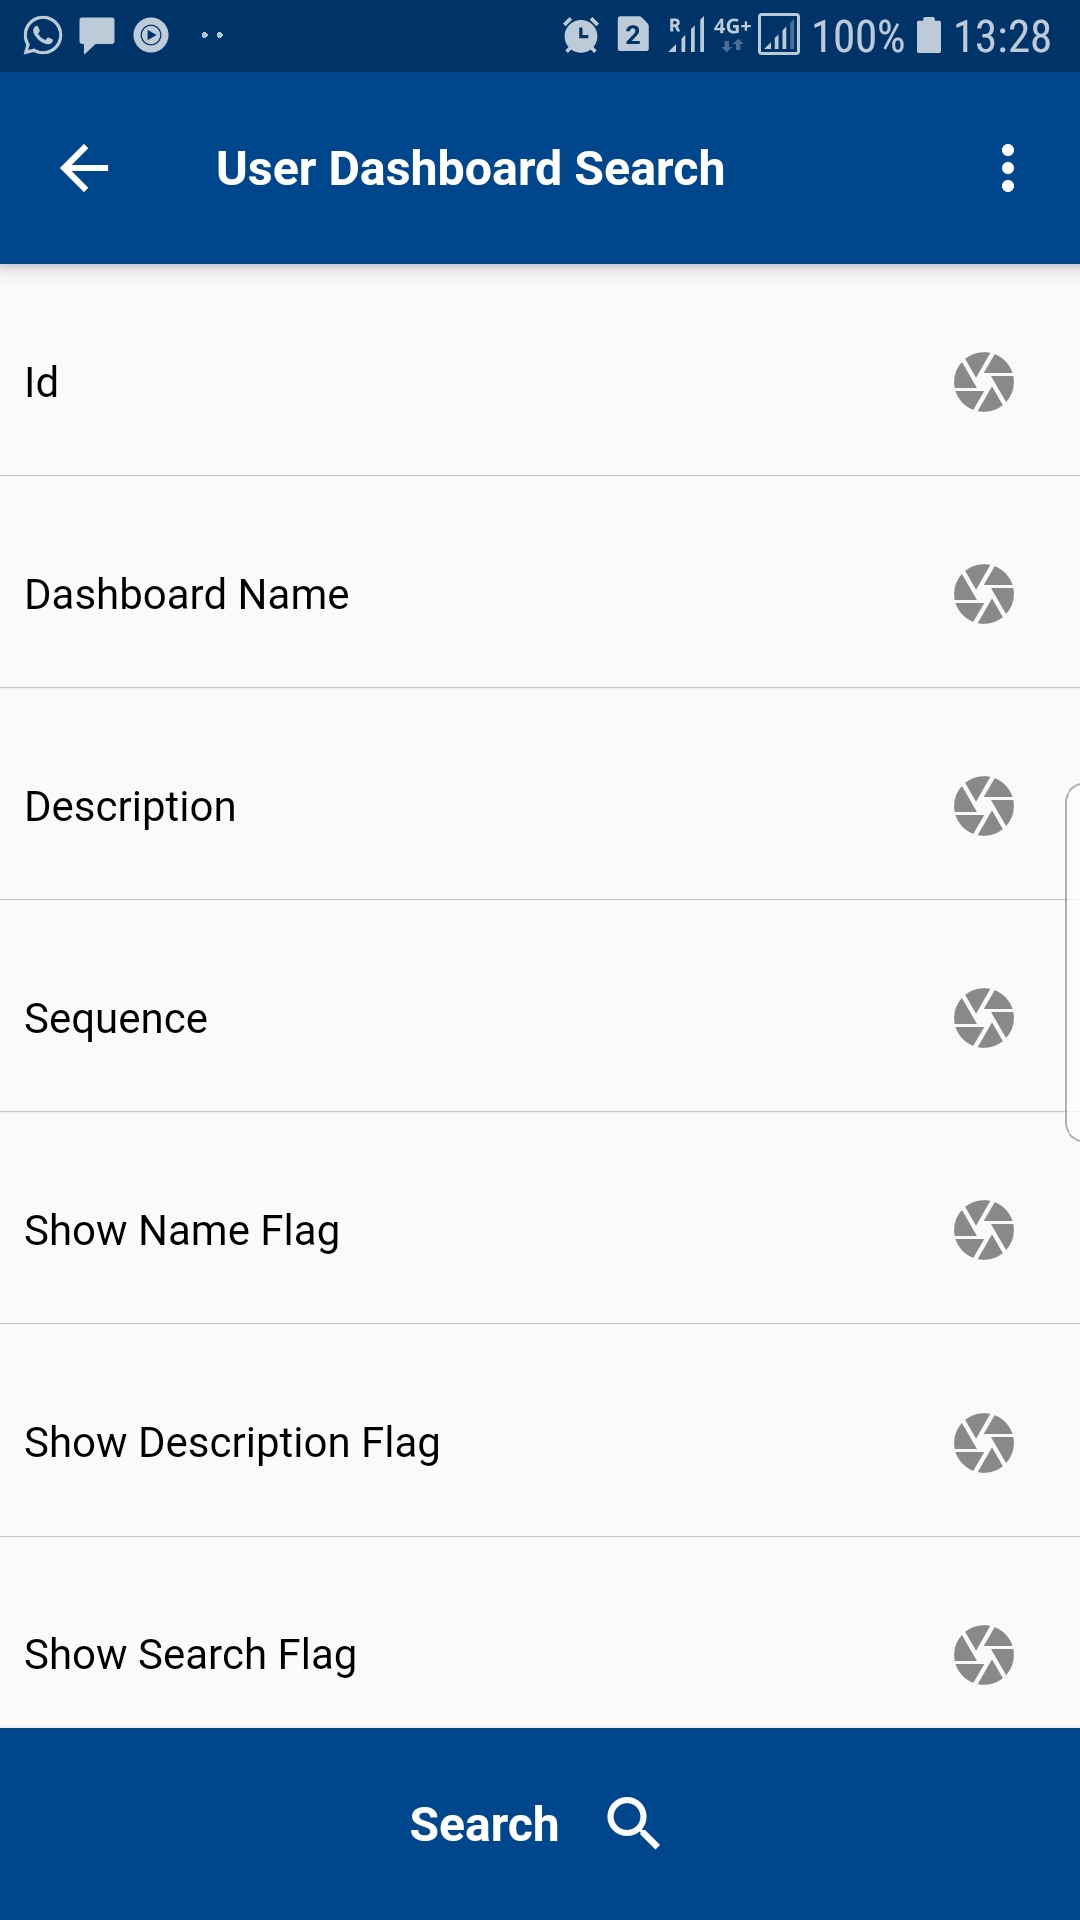
Click on the search icon on the "All Dashboard" list page, and the app will take you to the dashboard search screen.
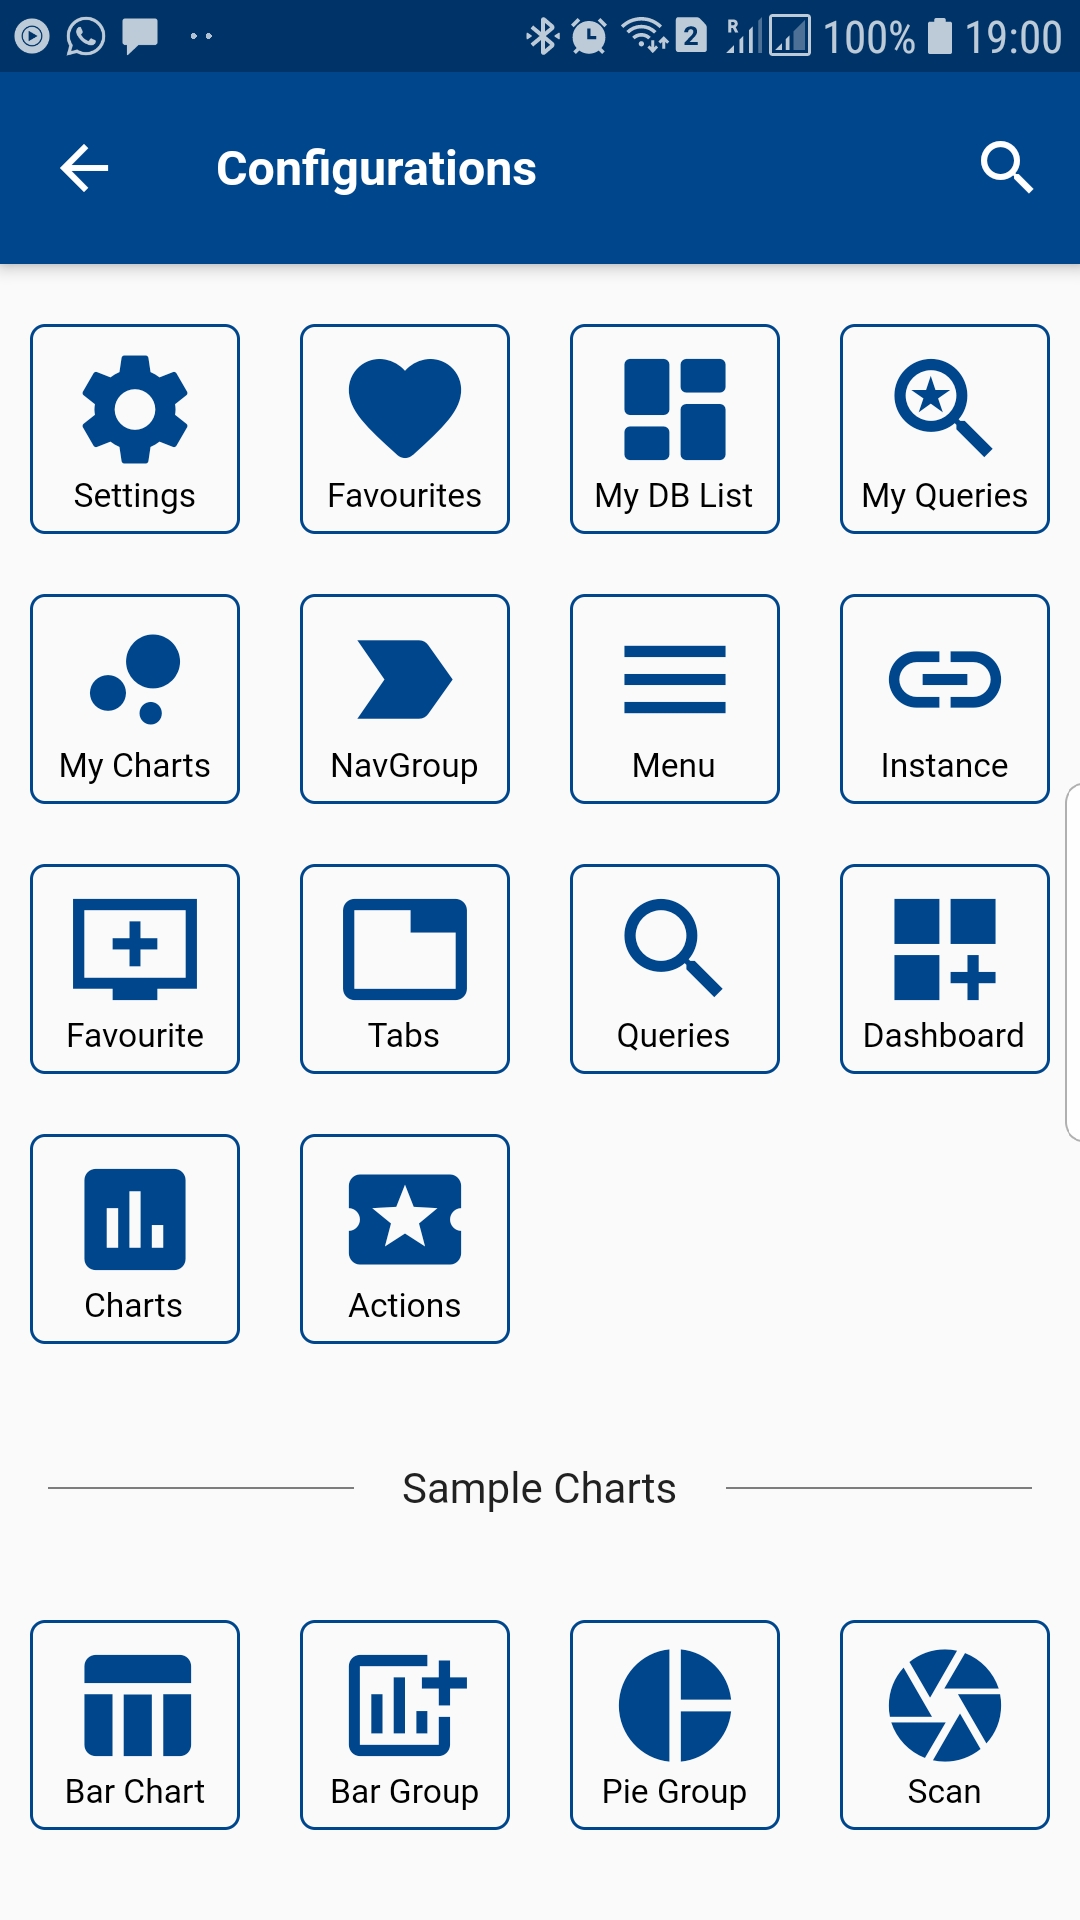
You can also navigate to the dashboard search screen by clicking on the dashboards icon on the configuration screen (You can navigate to the configuration screen from the user menu)

Click on the search button to search all the existing dashboards. If you want to search a specific dashboard, then enter the corresponding dashboard details in the search fields and then click on the search button.
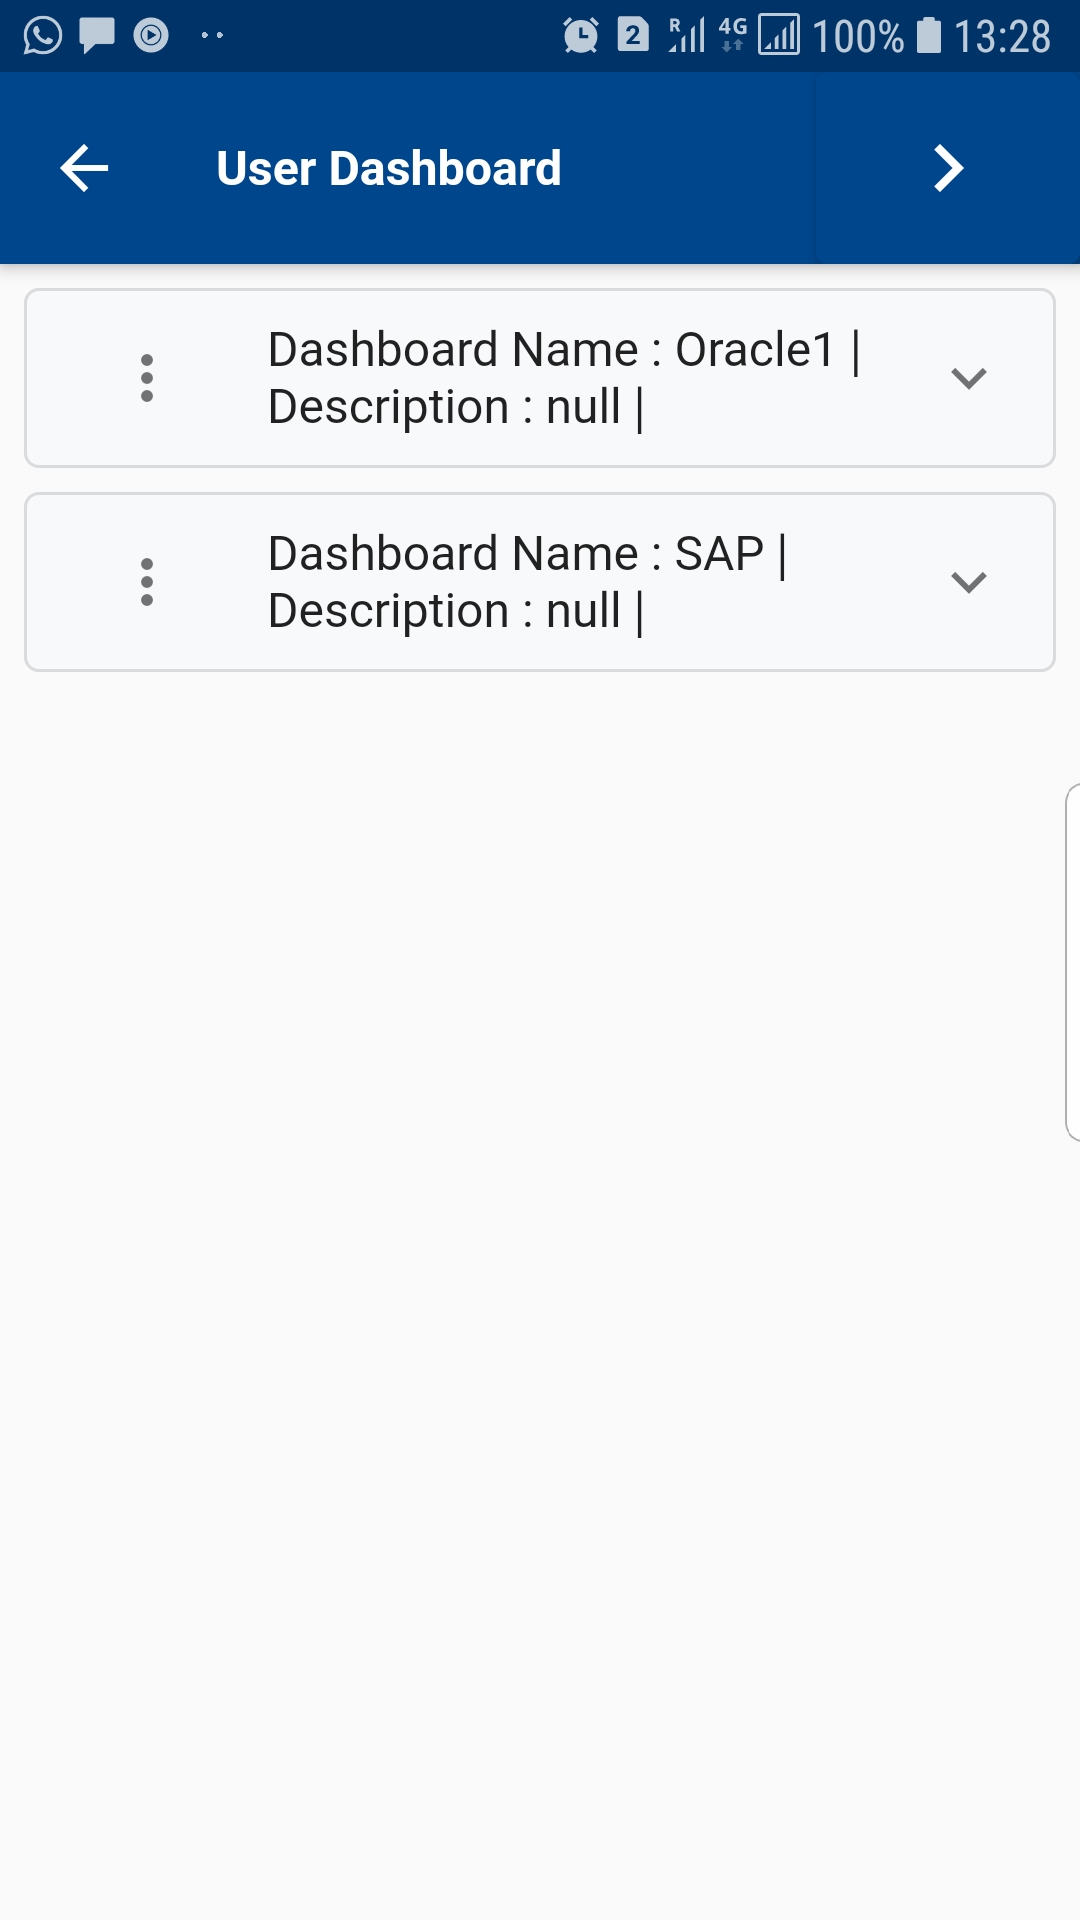
You can select the result format - table or list before clicking on the search button—the value defaults from your settings.
The app will take you to the result screen.
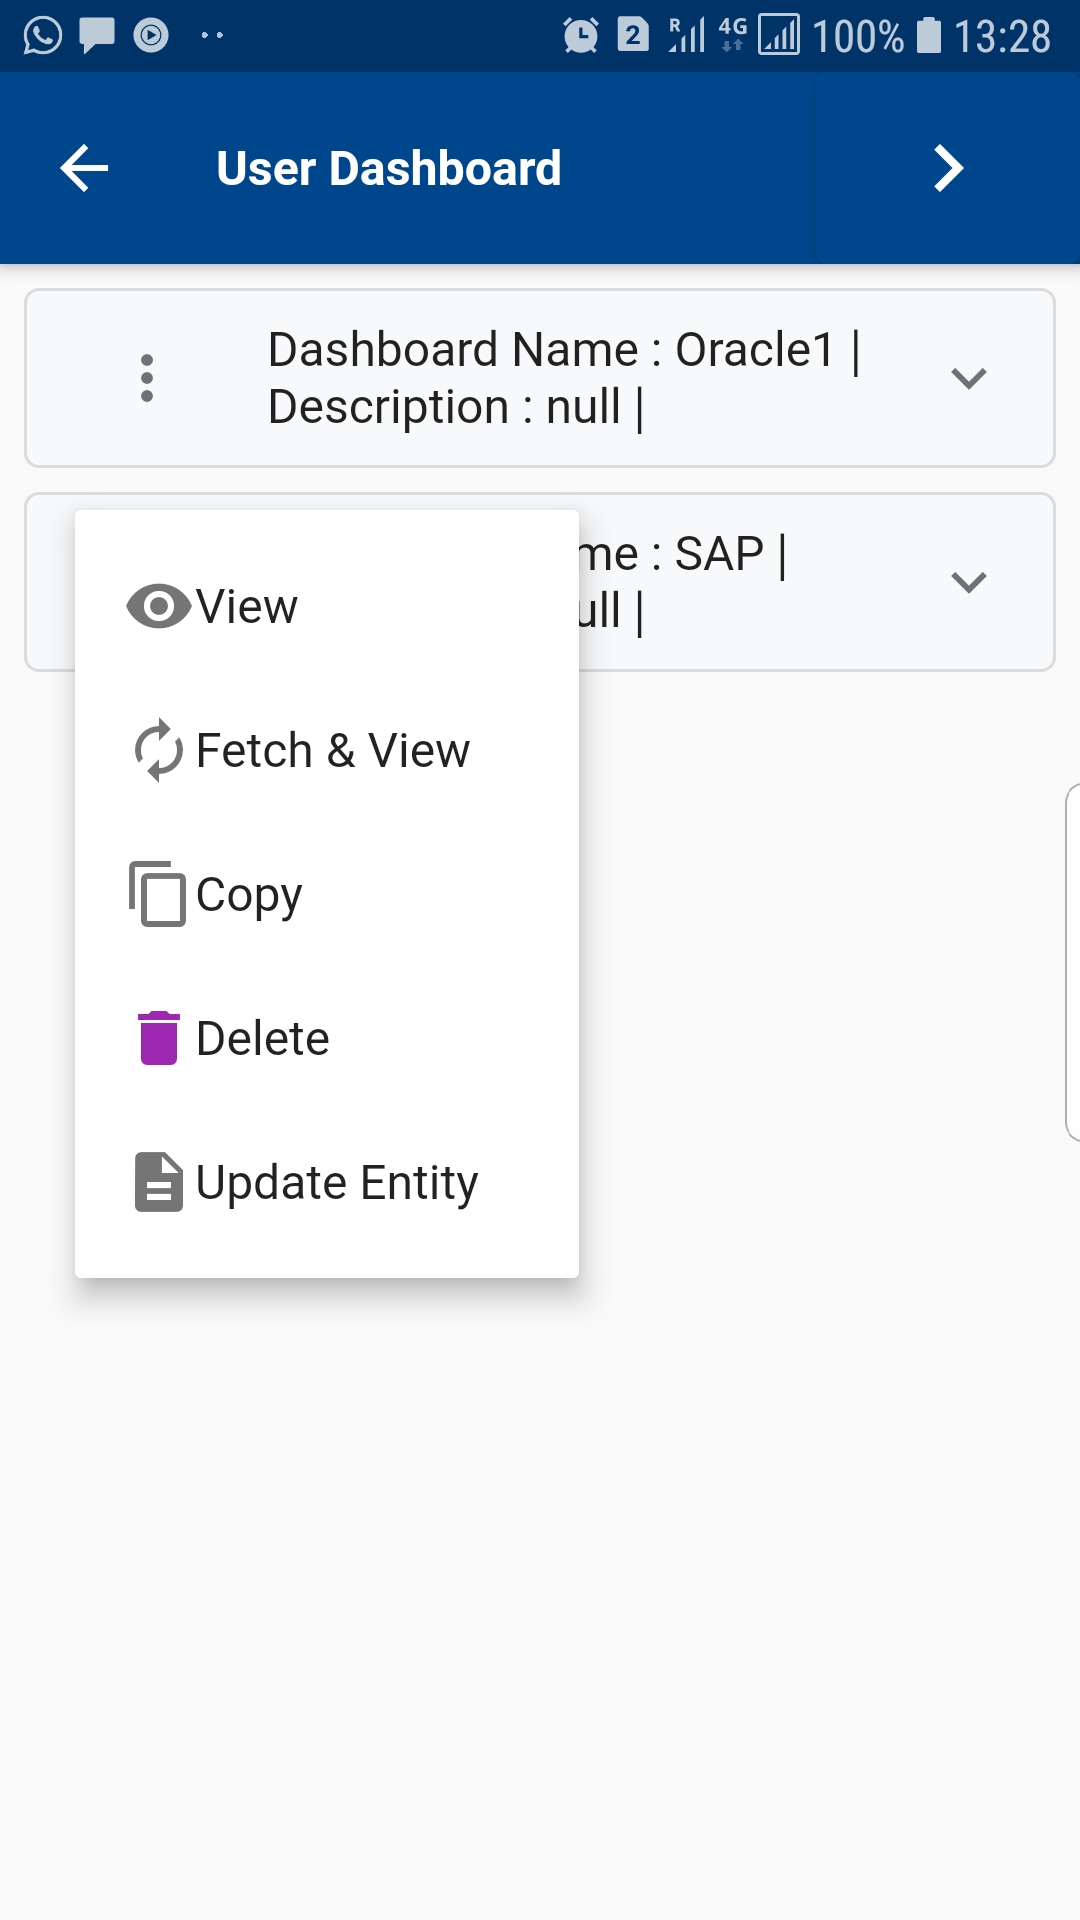
View/Edit a Dashboard
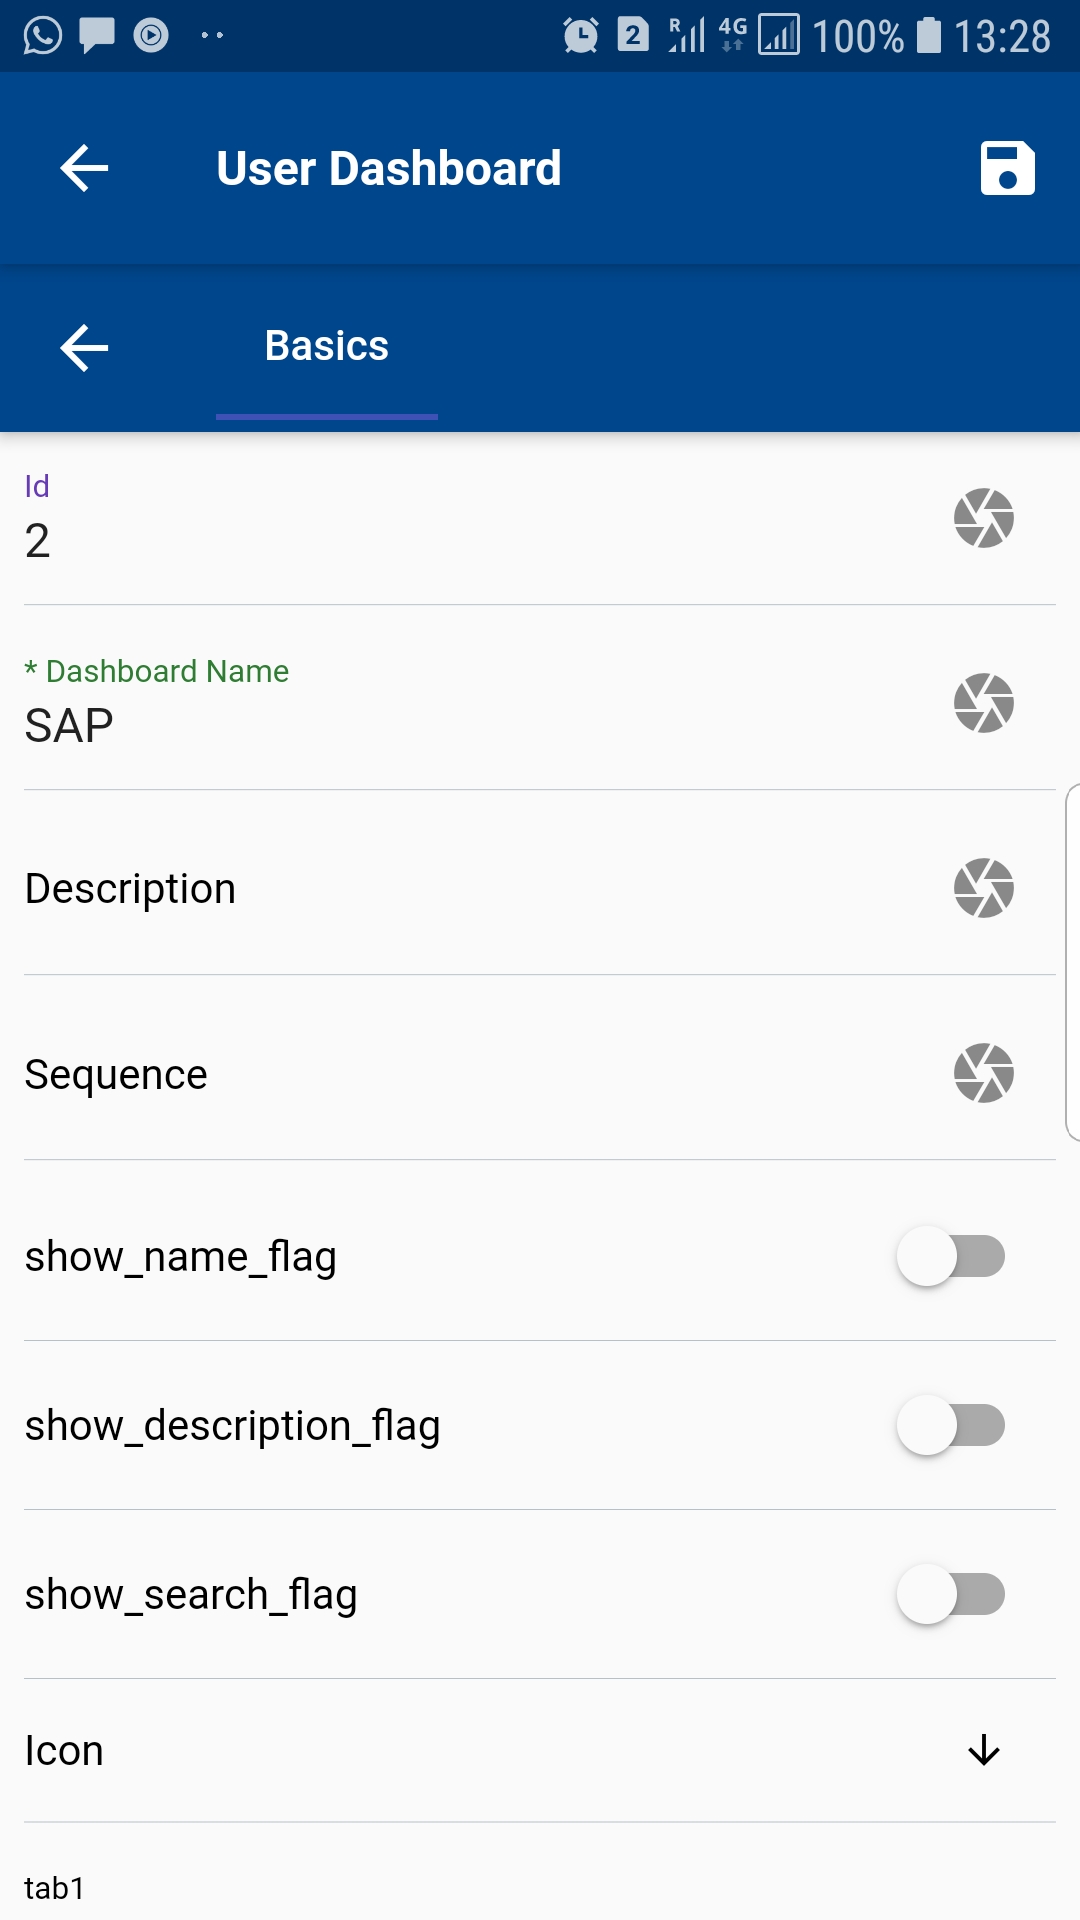
Click on View / Fetch-View to view and update the details of a Dashboard. *There is no difference between View / Fetch-View, for a dashboard, as all the data are stored locally. However, for documents and transactions (such as POs, WOs, Item., etc.) Fetch-View always fetches data from the server but View the first check if the data has been fetched for the current session. If it finds any existing data in the cache, then it shows the data.
Review the details and make modifications as required. Click on the Save button at the top right corner to save the dashboard details.
Copy a Dashboard
To copy a Dashboard, click on the copy button on the search result screen.
The app will copy all the details of the selected dashboard and will take you to the view/edit form. Enter/Modify all the required information and click on save
Delete a Dashboard
To delete a Dashboard, click on the delete button on the search result screen.
The app will show you a confirmation dialog box.
Click on "Yes" to delete the dashboard. Click on "No" to cancel the action.
Create a new Dashboard
To create a Dashboard, click on the menu button (three dots ... on right side corner) on the search screen page and select "Create New".
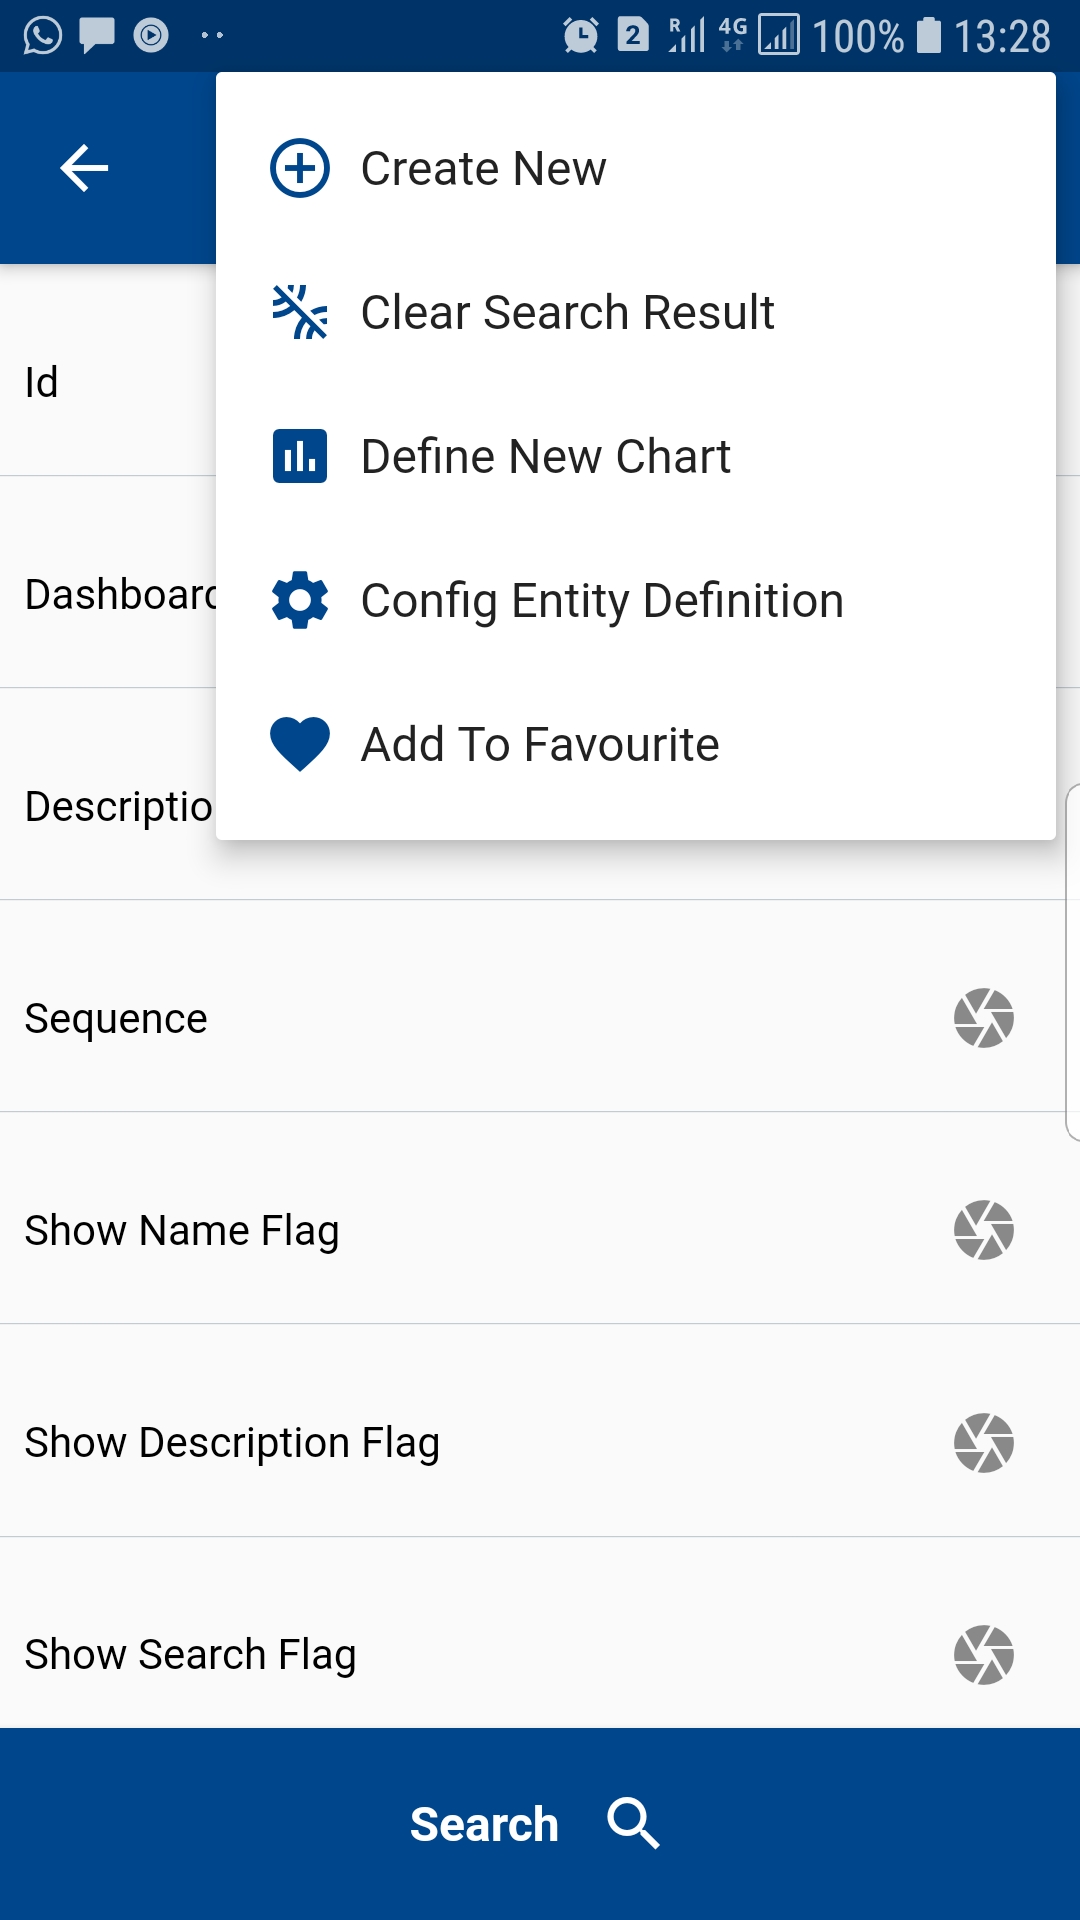
The app will take you to a new dashboard form(same as the view/edit form). Enter all the information and click on save
Tab
Each dashboard contains several tabs, and tab contains contents: Navigation Menus, Charts, and Query Results. So first, you need to define tabs and then assign them to dashboards.
Search Tabs
Click on the tab icon on the configuration page to navigate to the search tabs screen.
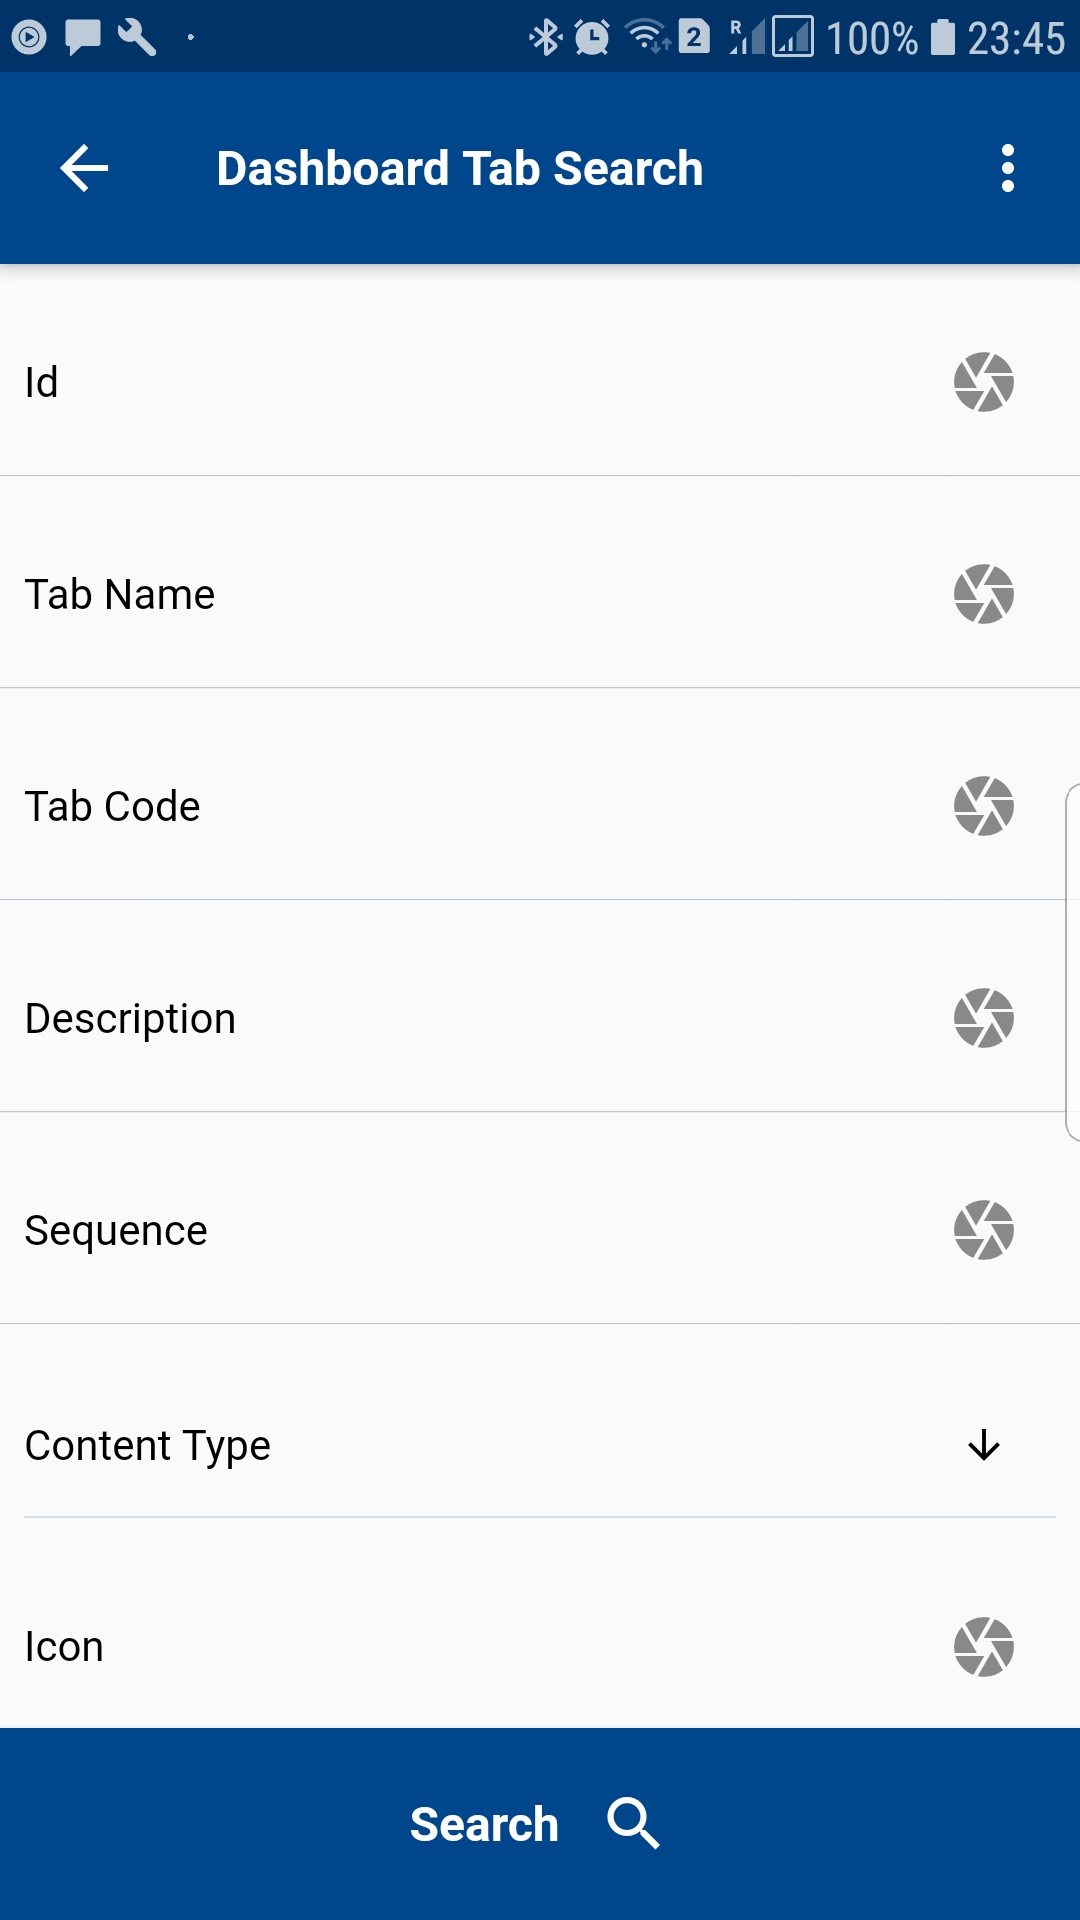
Click on the search button to search all the existing dashboards. If you want to search a specific tab, then enter the corresponding tab details in the search fields and then click on the search button.
You can select the result format - table or list before clicking on the search button—the value defaults from your settings.
The app will take you to the result screen.
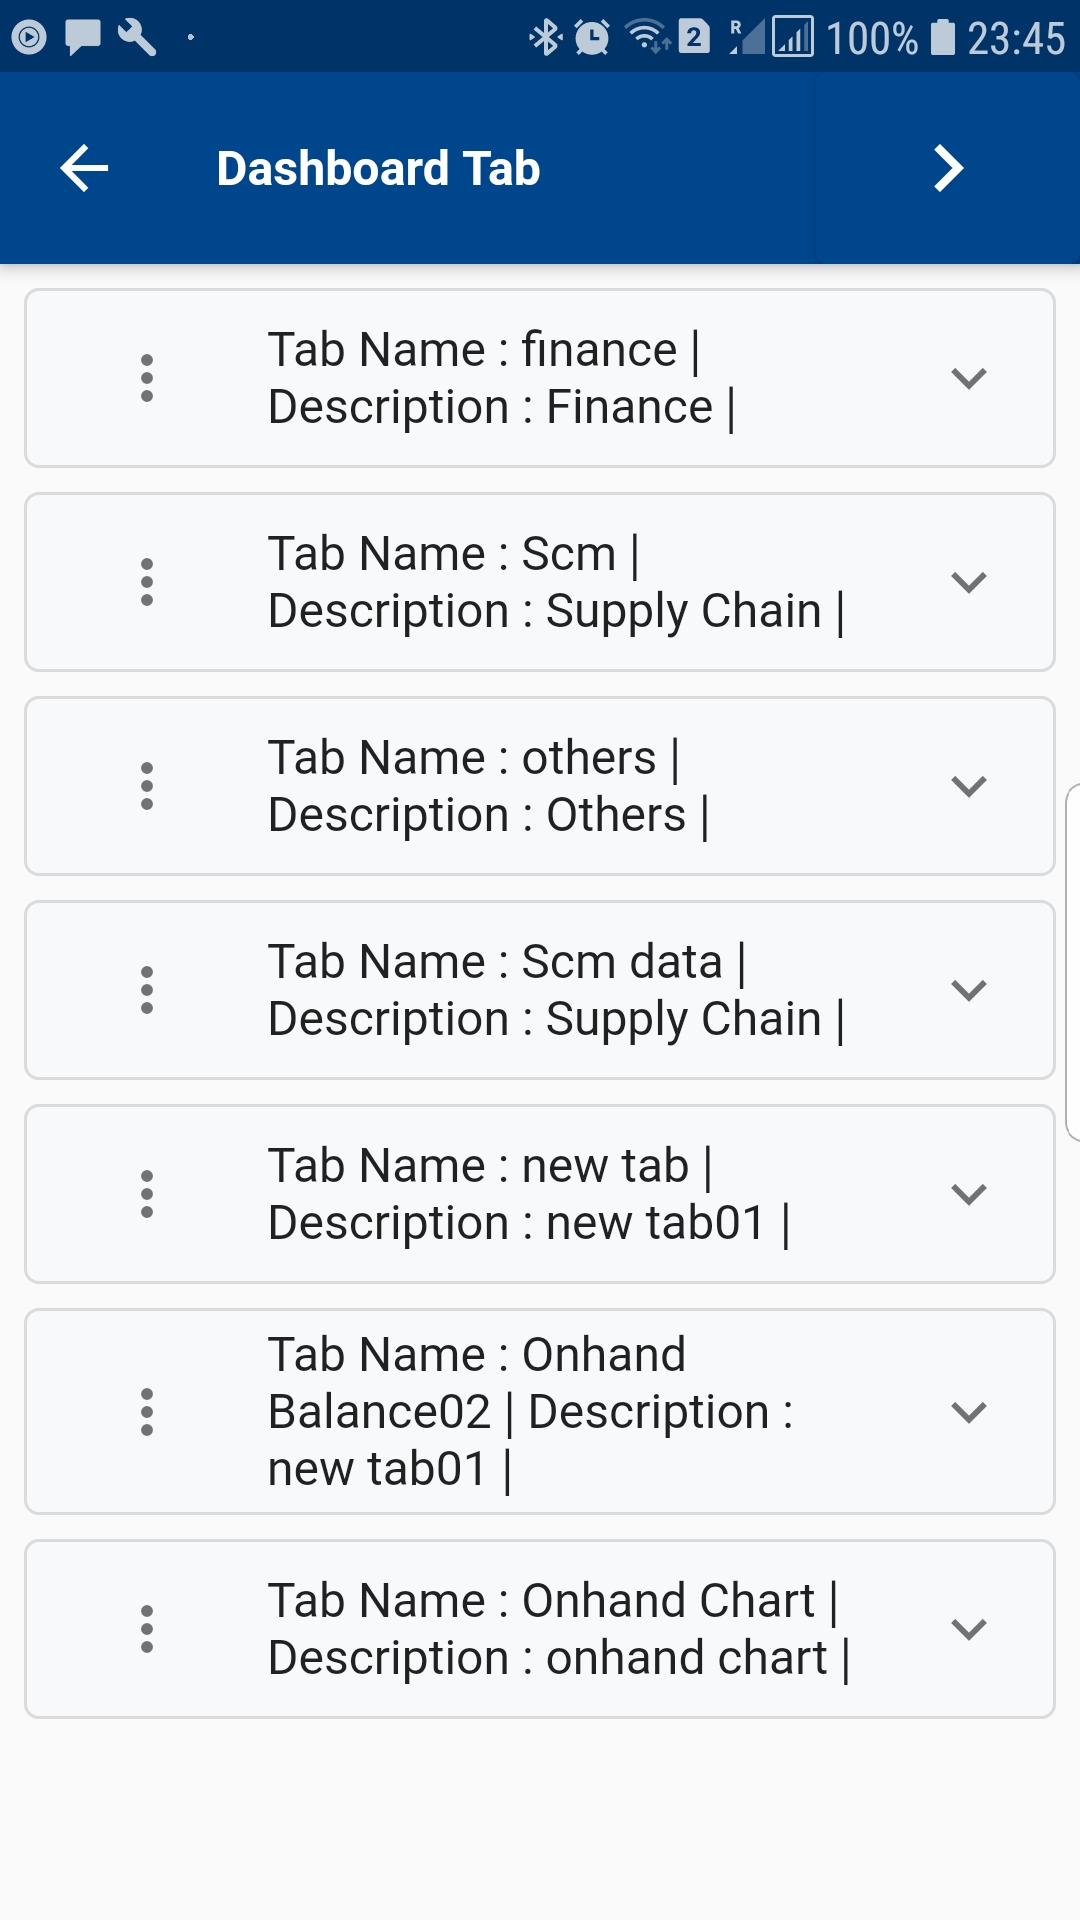
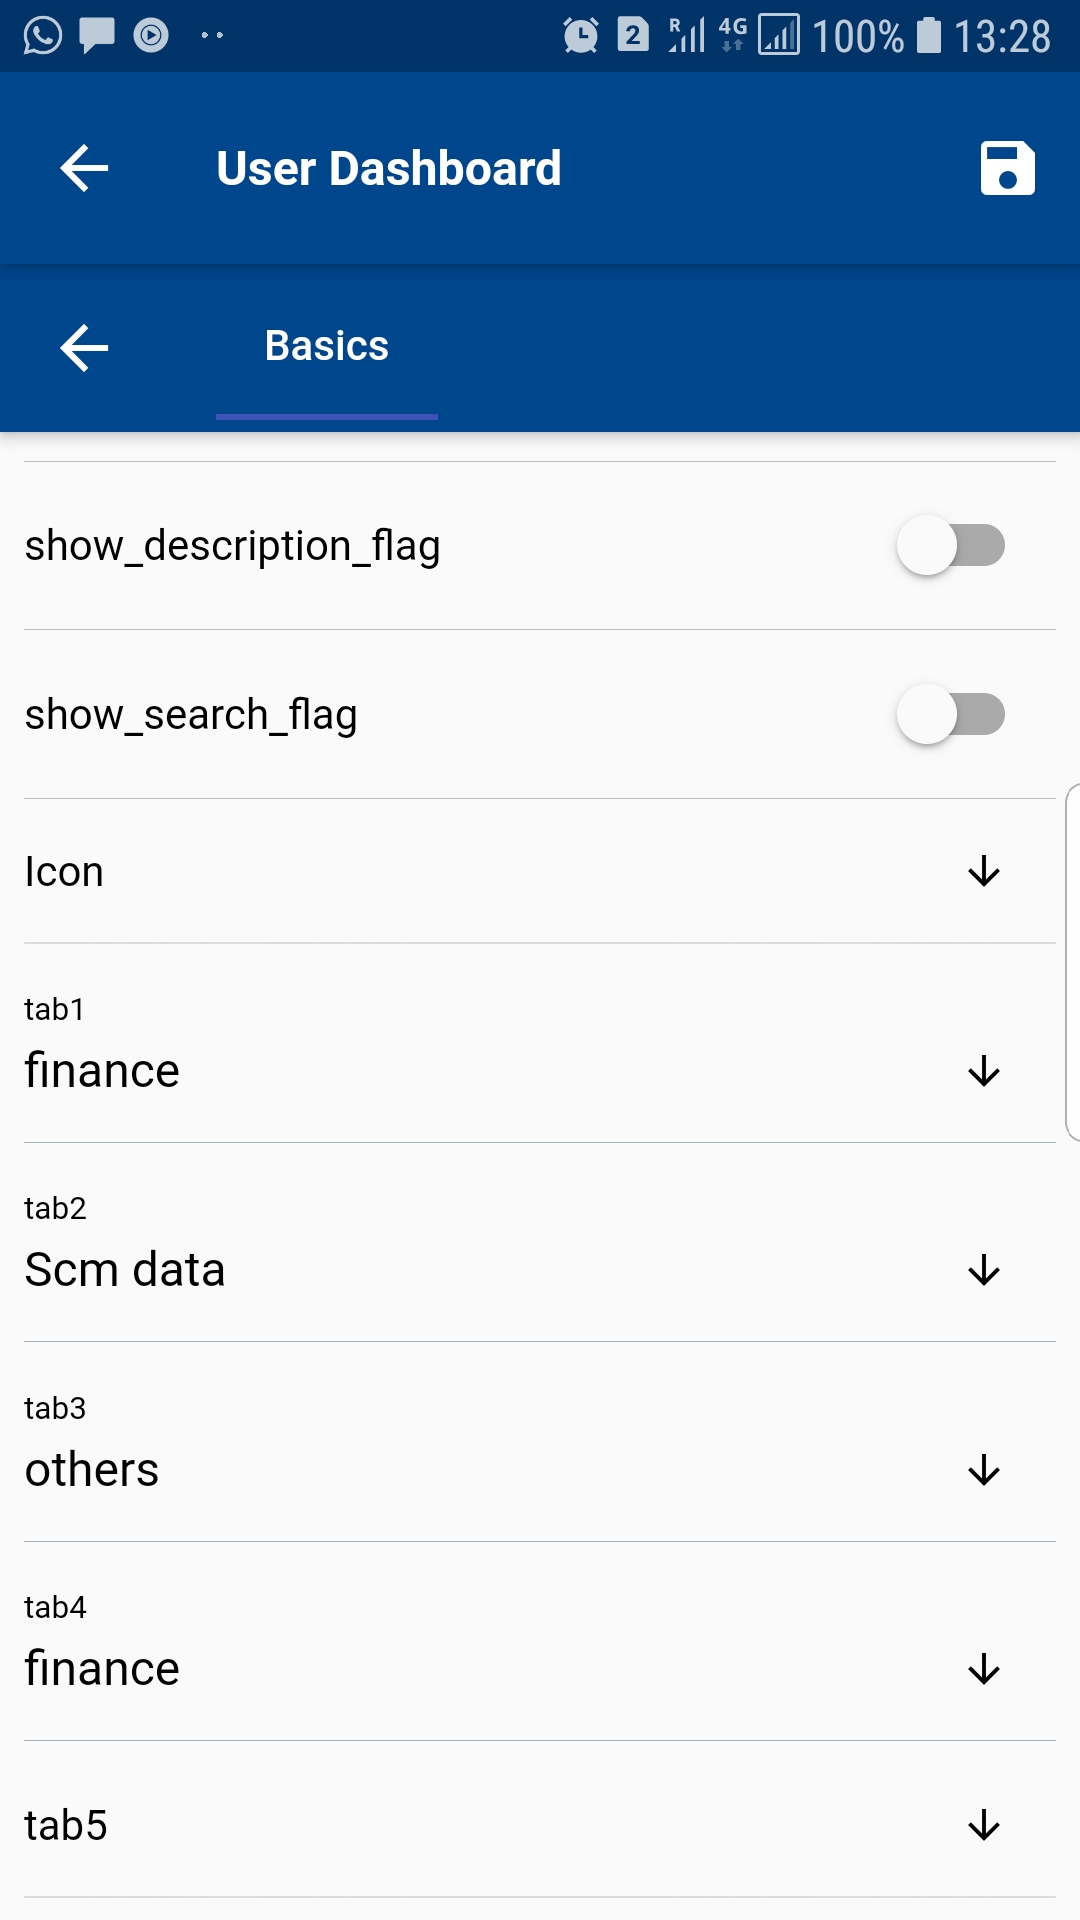
View/Edit a Tab
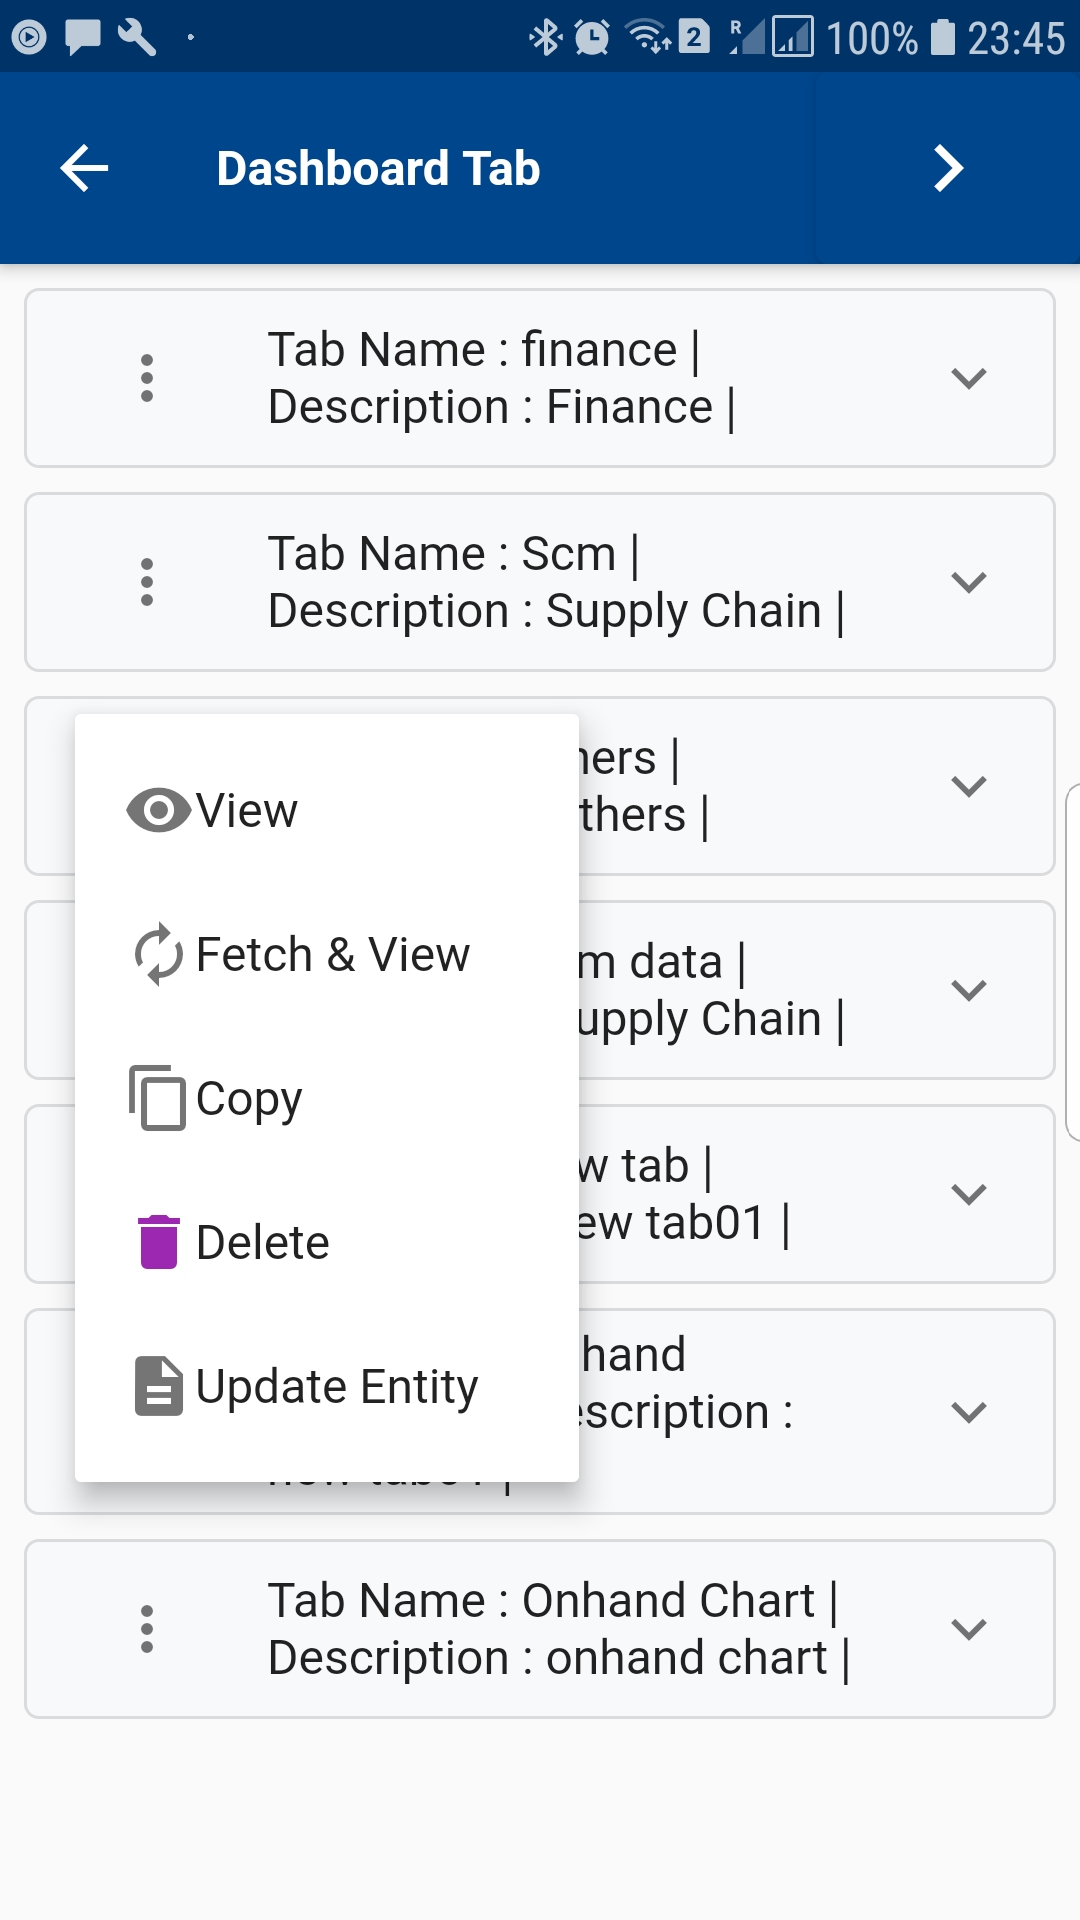
Click on View / Fetch-View to view and update the details of a tab. *There is no difference between View / Fetch-View, for a tab, as all the data are stored locally. However, for documents and transactions (such as POs, WOs, Item., etc.) Fetch-View always fetches data from the server but View the first check if the data has been fetched for the current session. If it finds any existing data in the cache, then it shows the data.
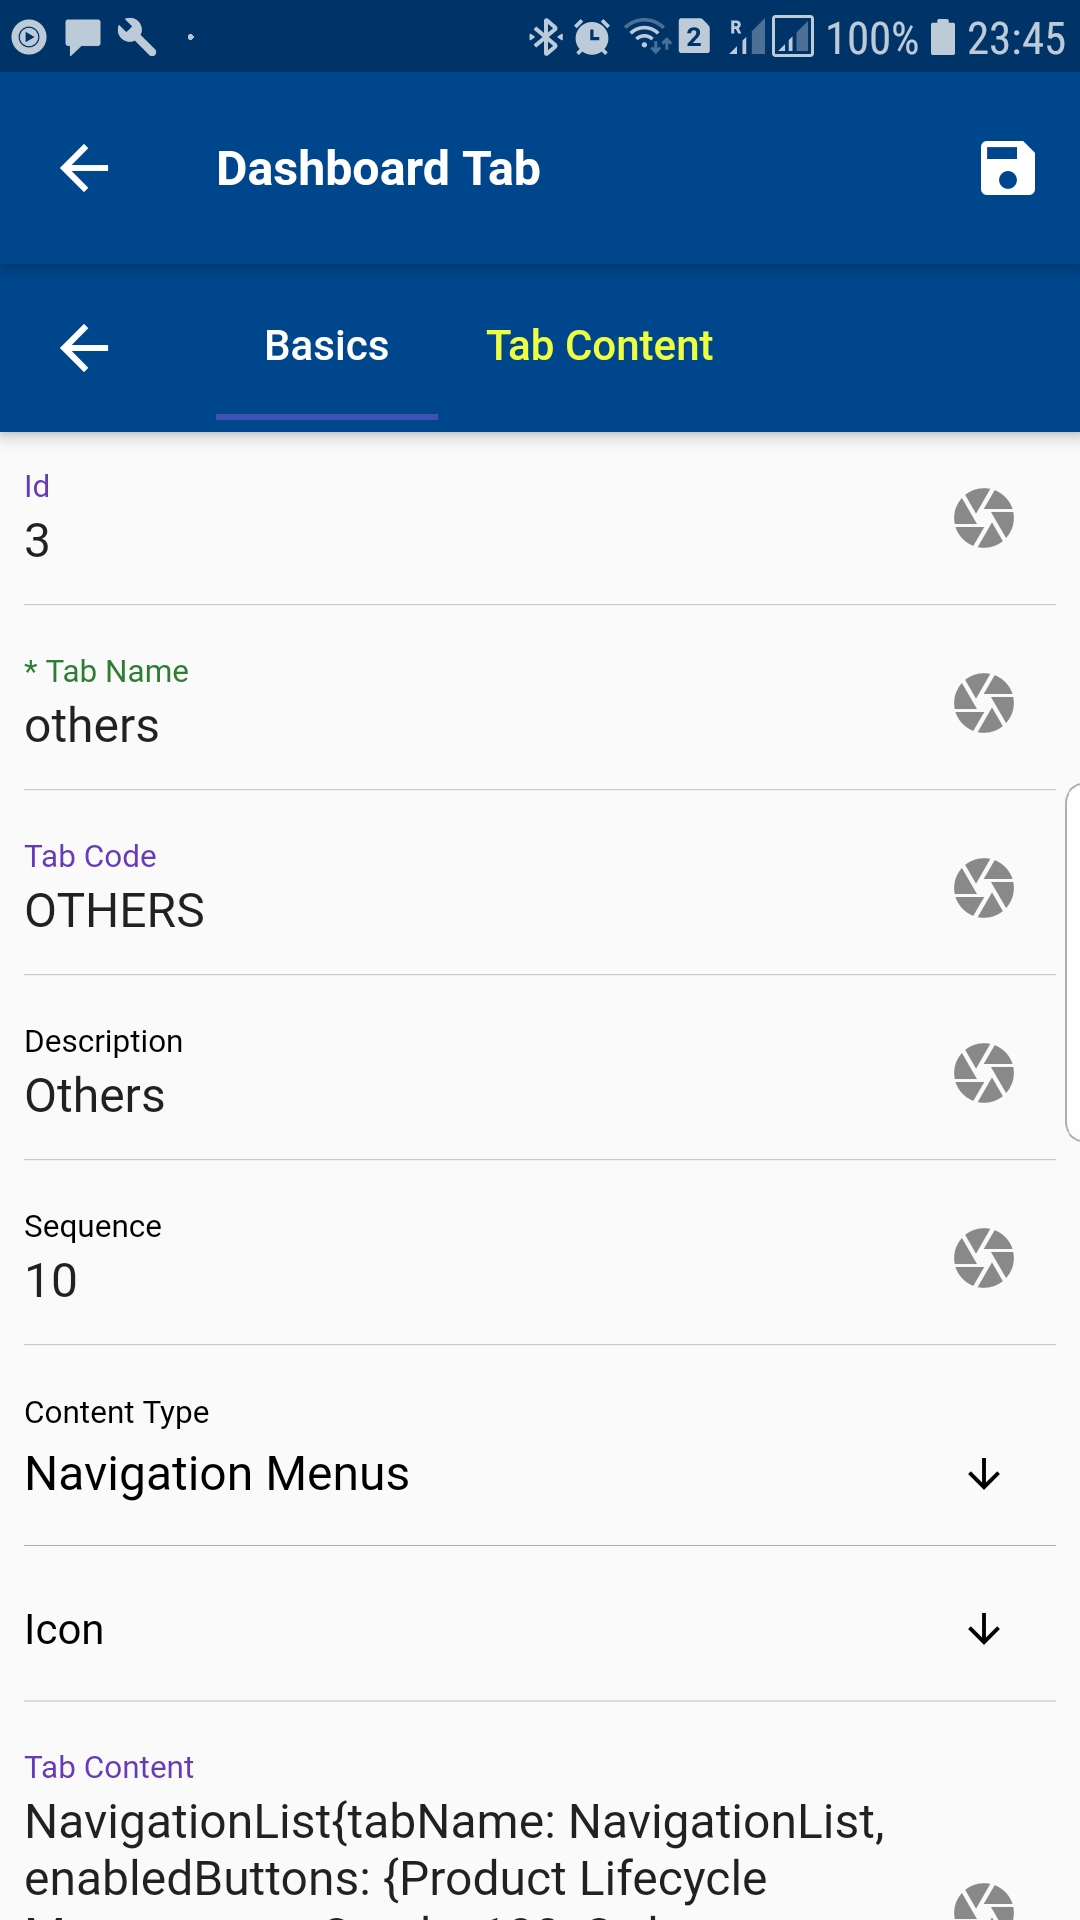
Review the details and make modifications as required. Click on the Save button at the top right corner to save the tab details.
Copy a Tab
To copy a Tab, click on the copy button on the search result screen.
The app will copy all the details of the selected tab and will take you to the view/edit form. Enter/Modify all the required information and click on save
Depending on the content type you select on the main tab, the app will show different values on tab content.

Enable the specific tab content (a query, or a chart, or several menus) you want to show on this tab
Delete a Tab
To delete a tab, click on the delete button on the search result screen.
The app will show you a confirmation dialog box.
Click on "Yes" to delete the dashboard. Click on "No" to cancel the action.
Create a new Tab
To create a Dashboard, click on the menu button (three dots ... on right side corner) on the search screen page and select "Create New".
The app will take you to a new dashboard form(same as the view/edit form). Enter all the information and click on save. Initially, the app will show only one tab. So, you need to select a content tab and re-open the screen again after saving it to view the second tab. In the second tab, you can select the contents you want to show on this tab.
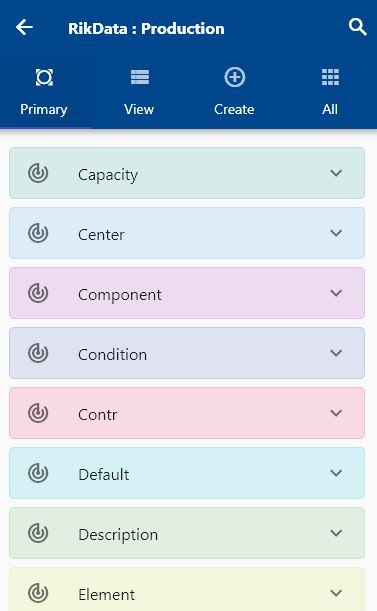
Menu List
You can click on any icon on the dashboard to view all the menus assigned to that module. You can configure which menus should appear in which module and in what sequence by changing the navigation path details.
You can view navigation menus grouped in a specific business function ex: all Shipping related transactions as a single group. The app allows you to create custom groups and assign groups to paths.
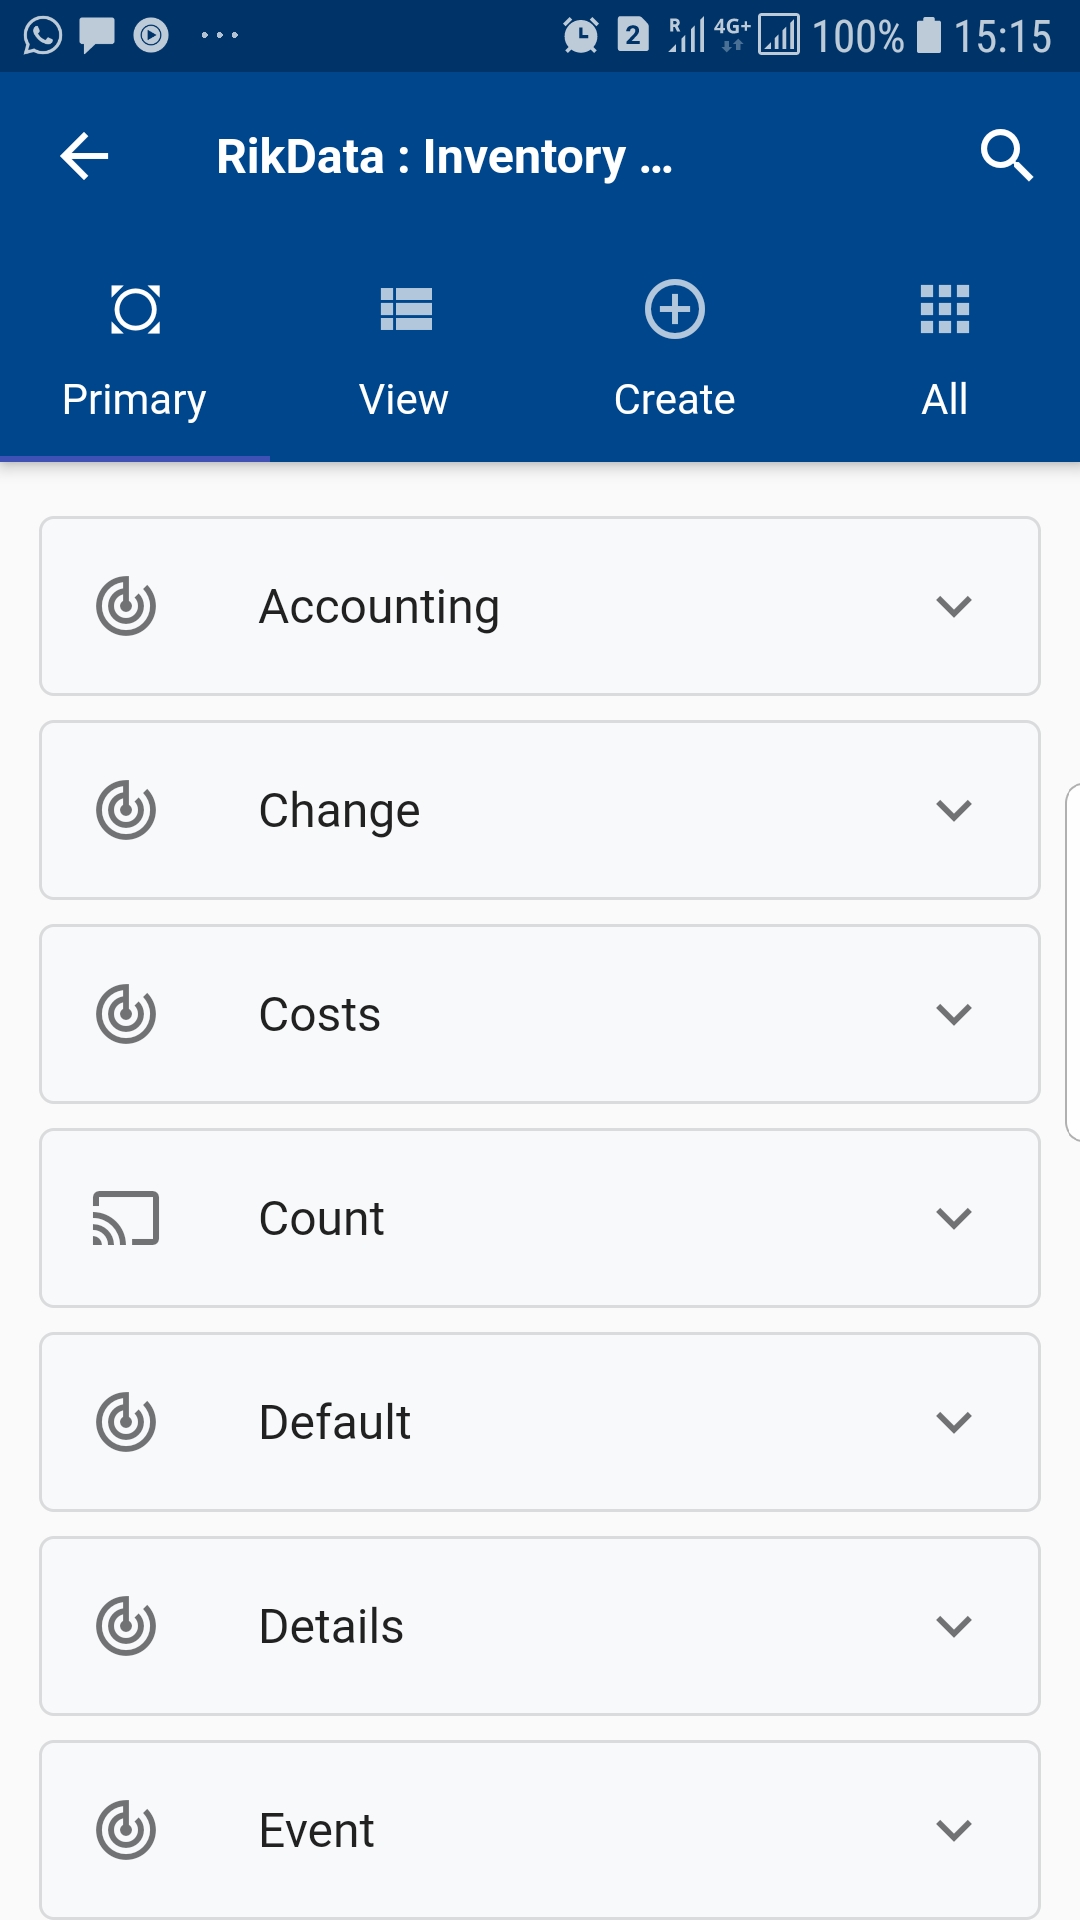
You can also view all the navigation menus of a module in a list without any group.
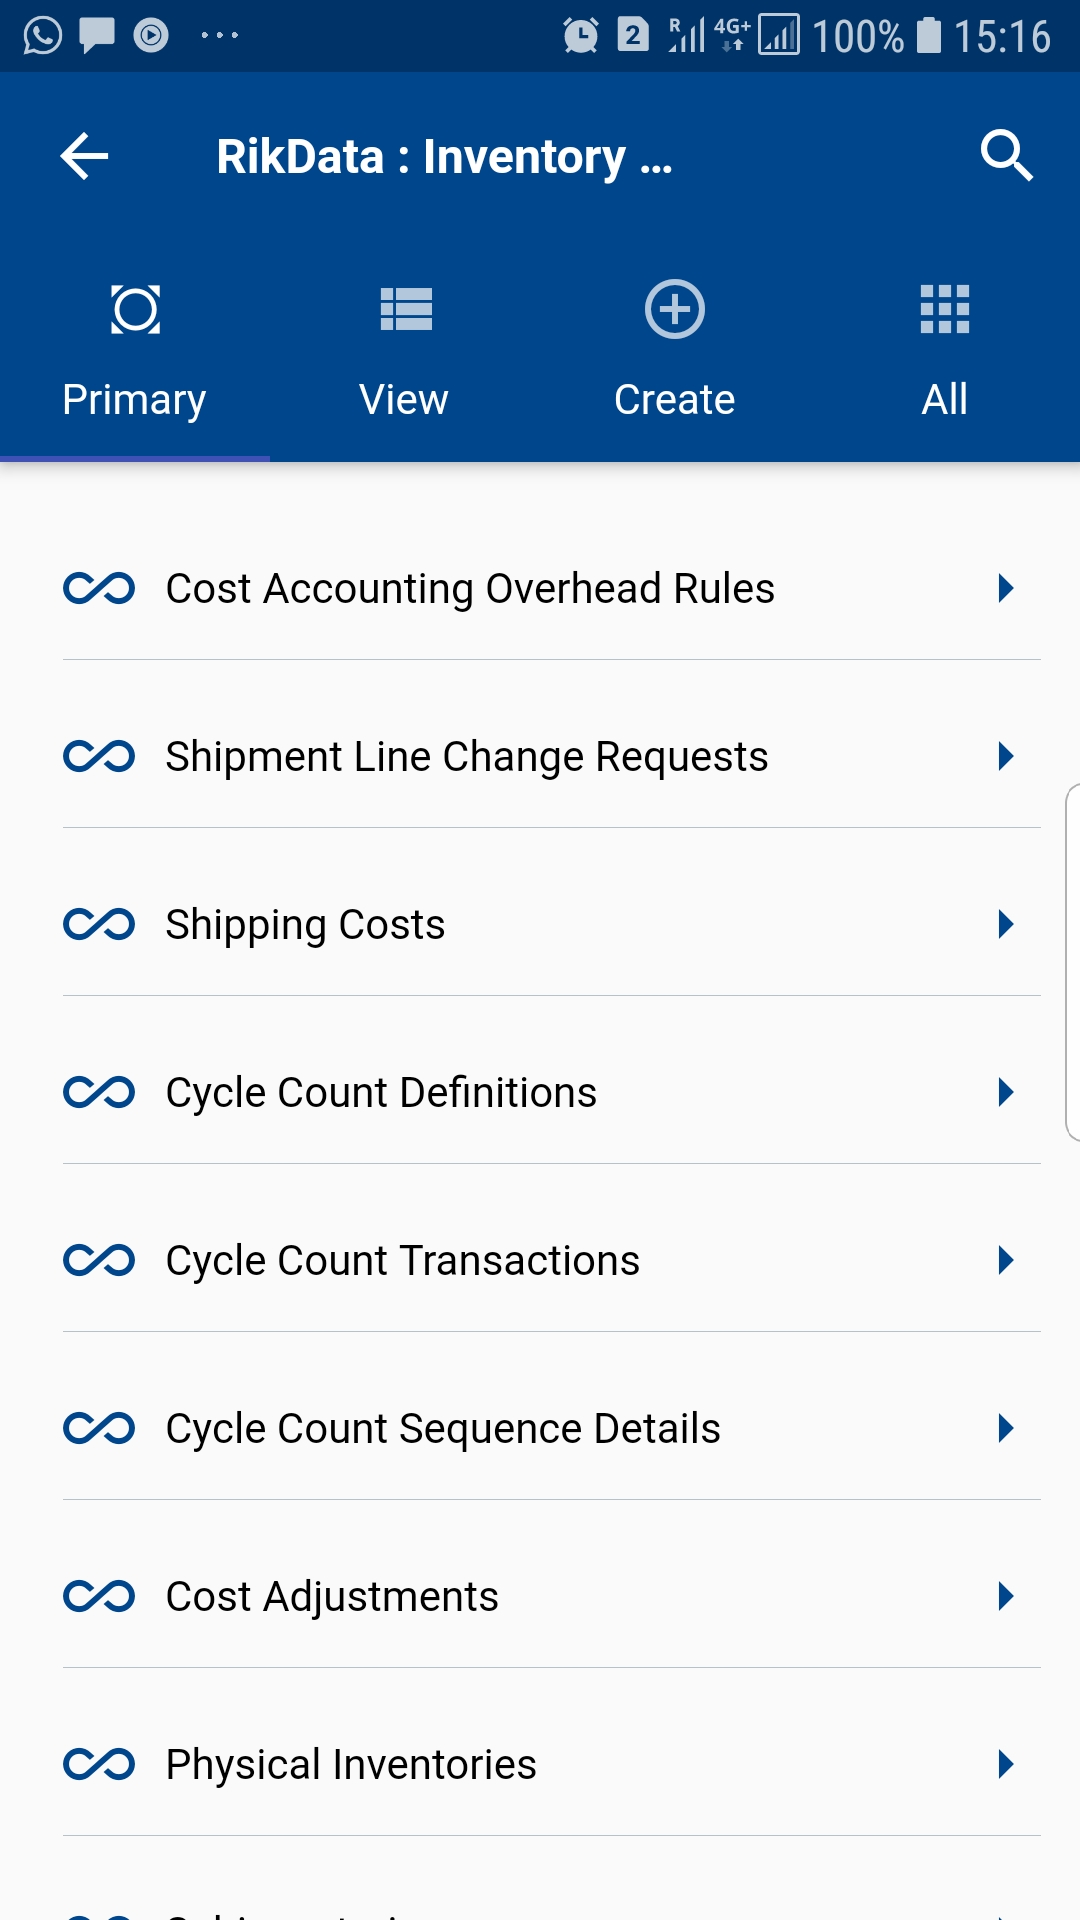
To view all the menus as a list without any group, disable the "ShowExpansionTileForMenus" button on the settings screen