Oracle Cloud Transactions
We create transactions in different ways in Oracle and SAP. Oracle's transaction process has remained the same for the last 15-20 years in all 11i, R12, and Cloud versions. Most of the transactions have separate forms (ex. Sub Inventory Transfer Form, Misc. Transaction Form, WIP Material / Resource Form, PO Receipt Form, etc.). SAP ECC used to be the same before MIGO. However, MIGO simplified and streamlined all the transactions to a single form, and, now in Hana S/4, we have the same functionality. OneApp uses a completely simplified and streamlined approach for all transactions. Irrespective of the underline ERP system, we do all transactions in the same way in OneApp.
Transactions in 4 Steps
- Search the document
- Select the transaction type
- Review and Update the details
- Save the transaction
Search the document:
First, we search the document we want to transact. Ex: Purchase Order, Work Order, Cycle Count, or Sales Order, etc. We first search the item we want to transact for transactions that don't involve any documents (such as Miscellaneous issue/receipt in Oracle or 501/502/561 type of transactions in SAP).
-
Select the transaction type:
Depending on the criteria we enter in step1, the app will show different results. We need to select the document/item we want to transact and the transaction type (Ex: Material Issue to WO in Oracle)
-
Review and Update the details:
The app will default various information as per our selection in step1, local settings, and the data available in the ERP. We need to review all the details and enter new details wherever applicable (Ex: Quantity, Serial Information, Sub Inventory in Oracle/Storage in SAP)
-
Save the transaction:
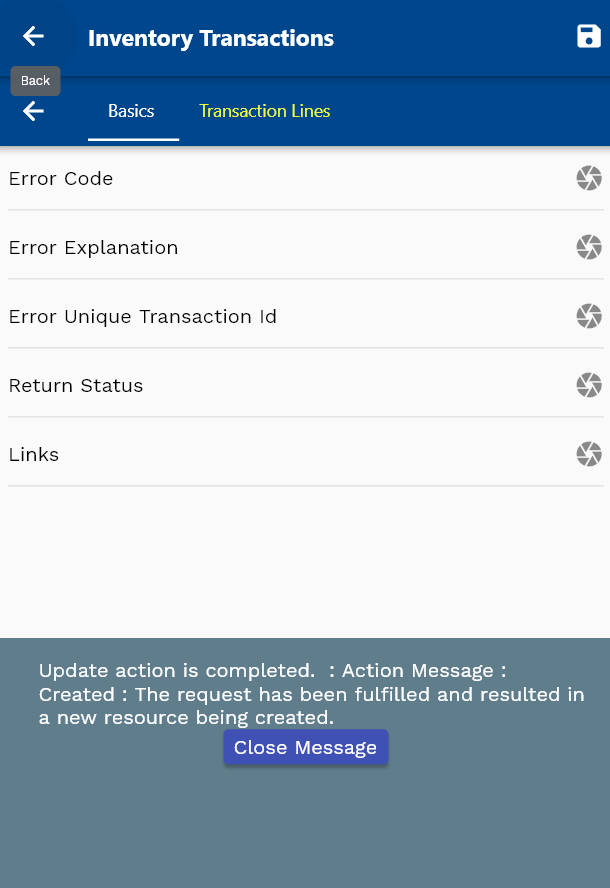
Finally, we click on the Save button. The app will validate all the information and will post it to the ERP system. If any error occurs in the ERP, the app will show the message returned from the ERP system to the user.
Using OneApp, you can do almost all transactions available in Oracle & SAP, such as
- Inventory - Misc. Issue, Misc. Receipt, Sub Inventory Transfer, Cycle Count Entry, etc
- Manufacturing - Components Issue/Return, Move Transaction (Including the last operation to Complete WO), Resource Transaction, Start/Stop, etc
- Inventory related to Sales - Picking, Shipping
- Inventory related to Purchasing - Receive, Inspect, PuAway
- All MIGO transactions in SAP
Inventory Transactions
You can do transactions in several ways
- Following the traditional method of navigating to a form and manually entering all the details
- Search an item you want to transact and then enter other information required to complete a transaction
This guide covers the second approach as it's more convenient to do a transaction using a mobile device.
Miscellaneous Issue / Receipt
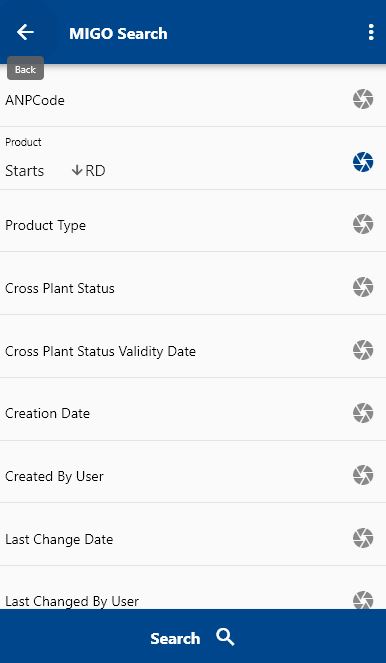
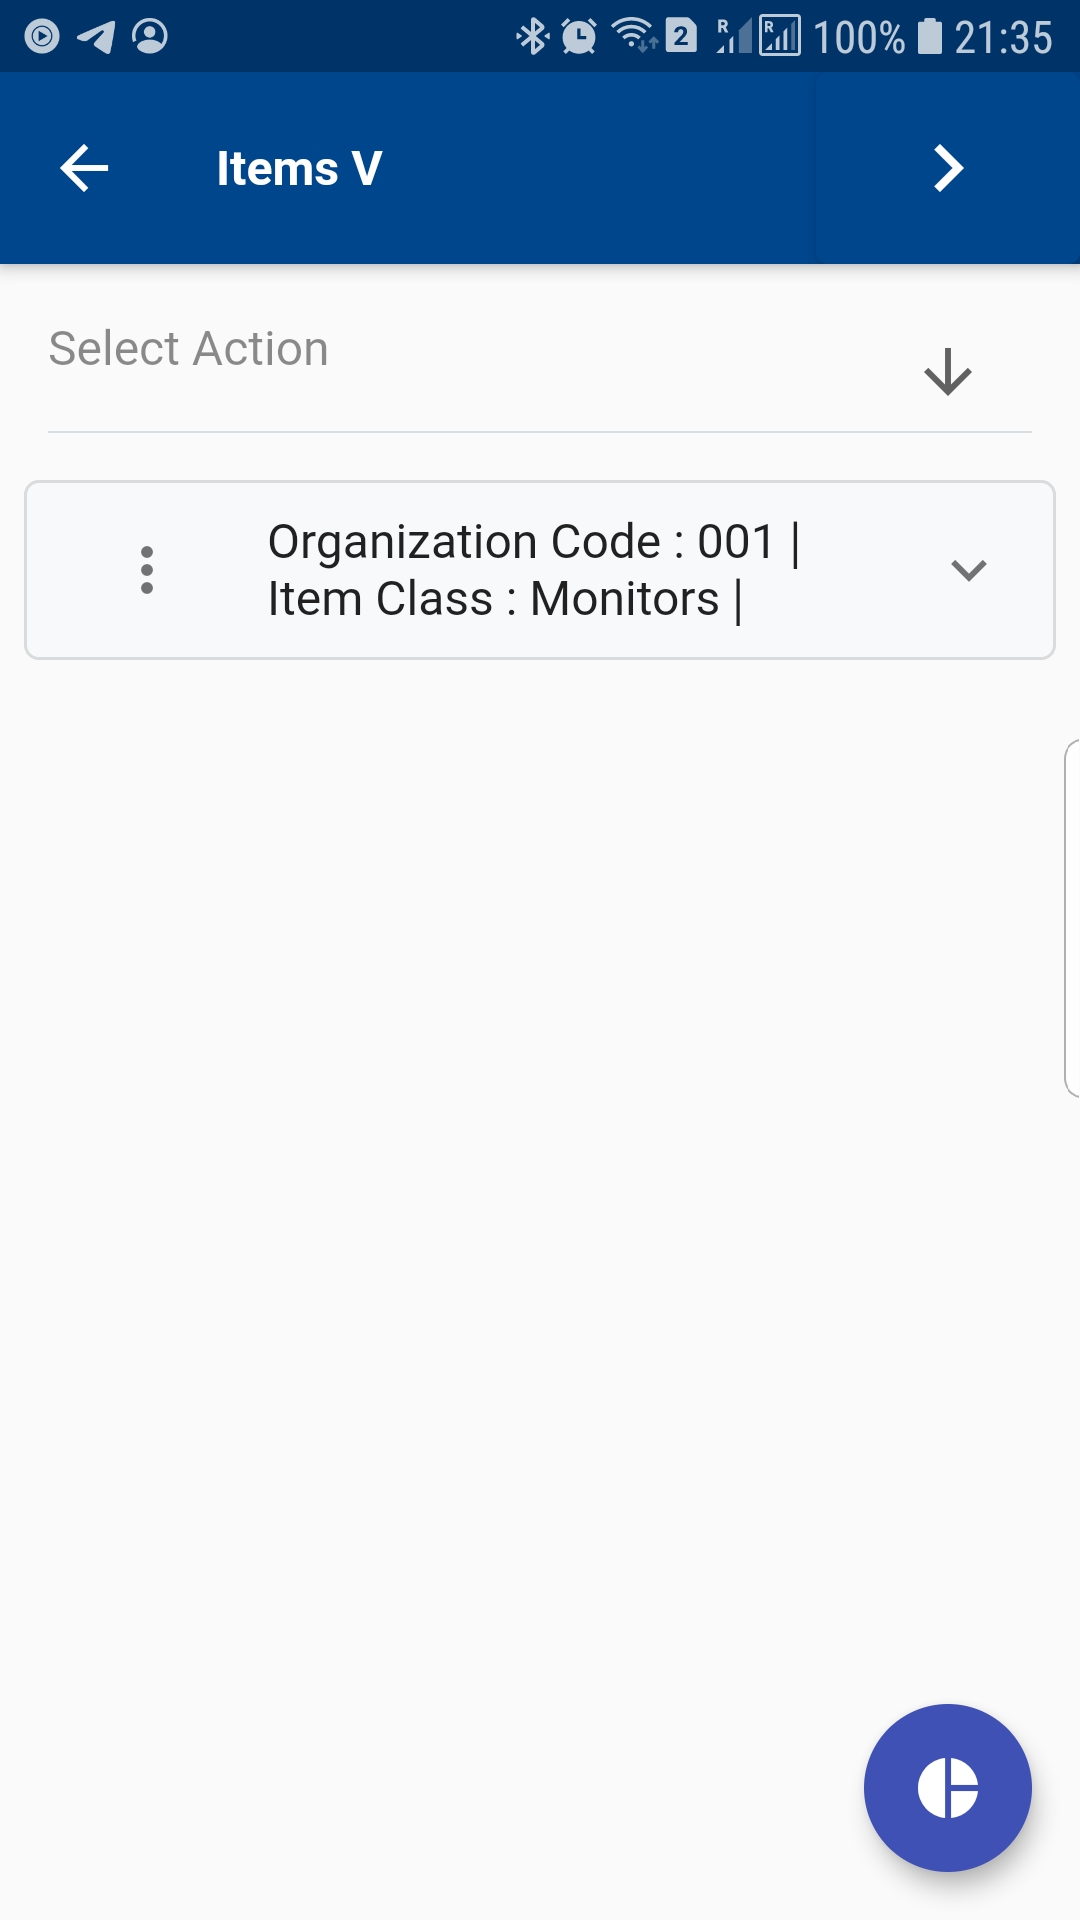
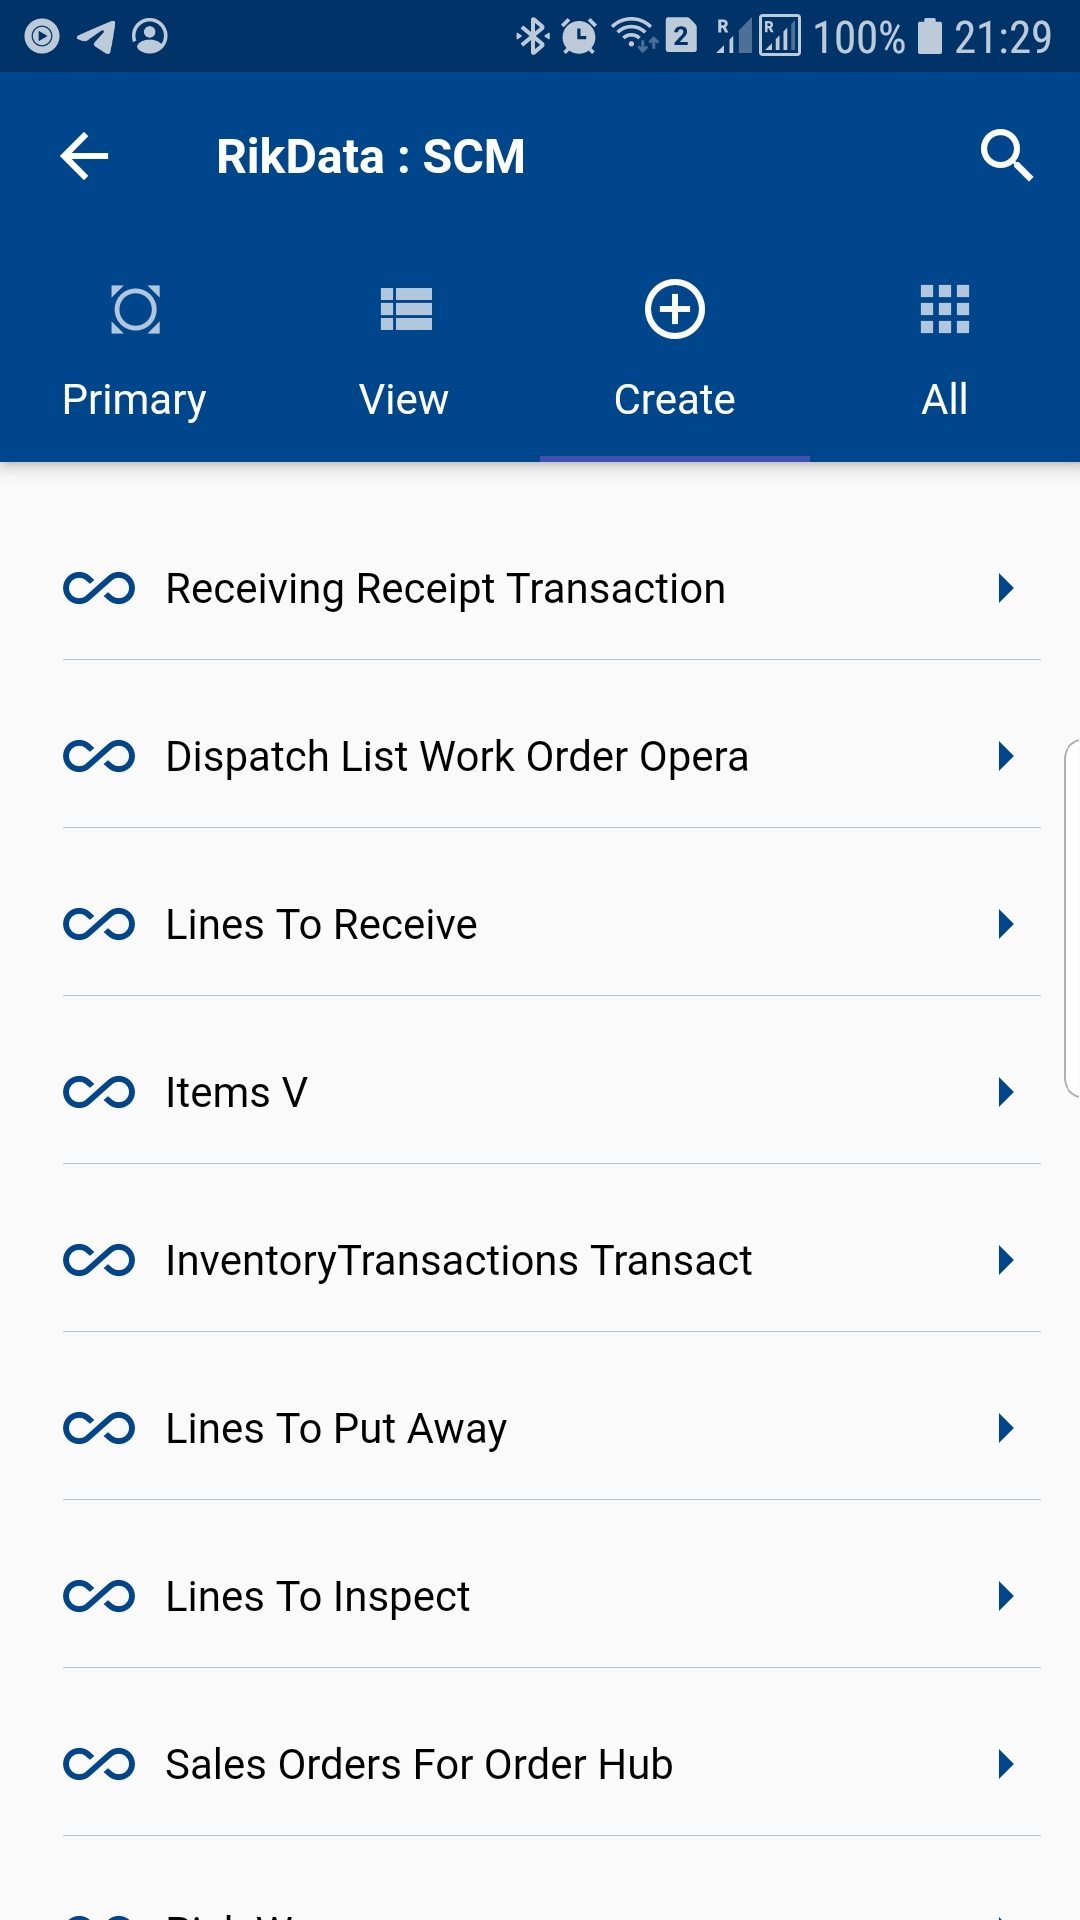
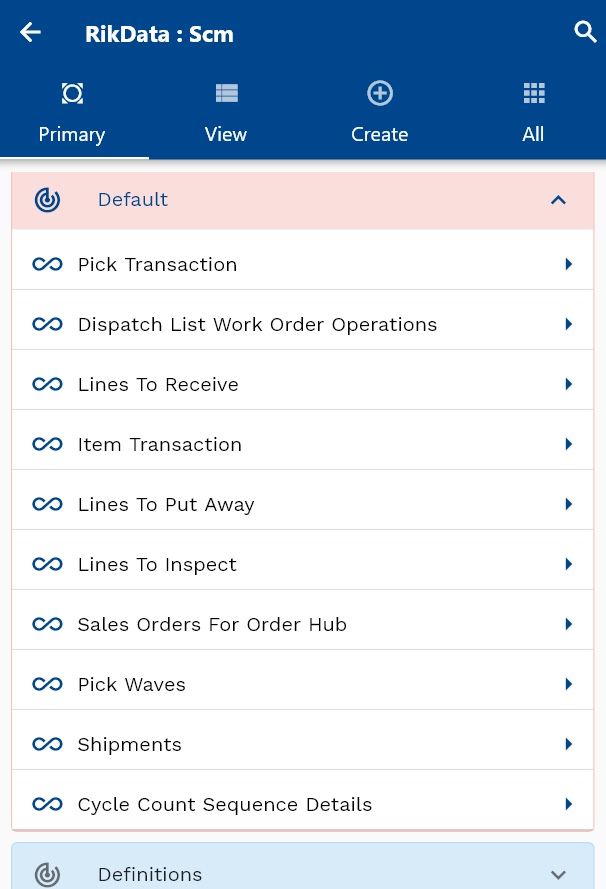
First, to do a miscellaneous issue/receipt transaction, navigate to the item search form from your dashboard/favorite.

Enter the item details or any other criteria in the search form and click on the search button.

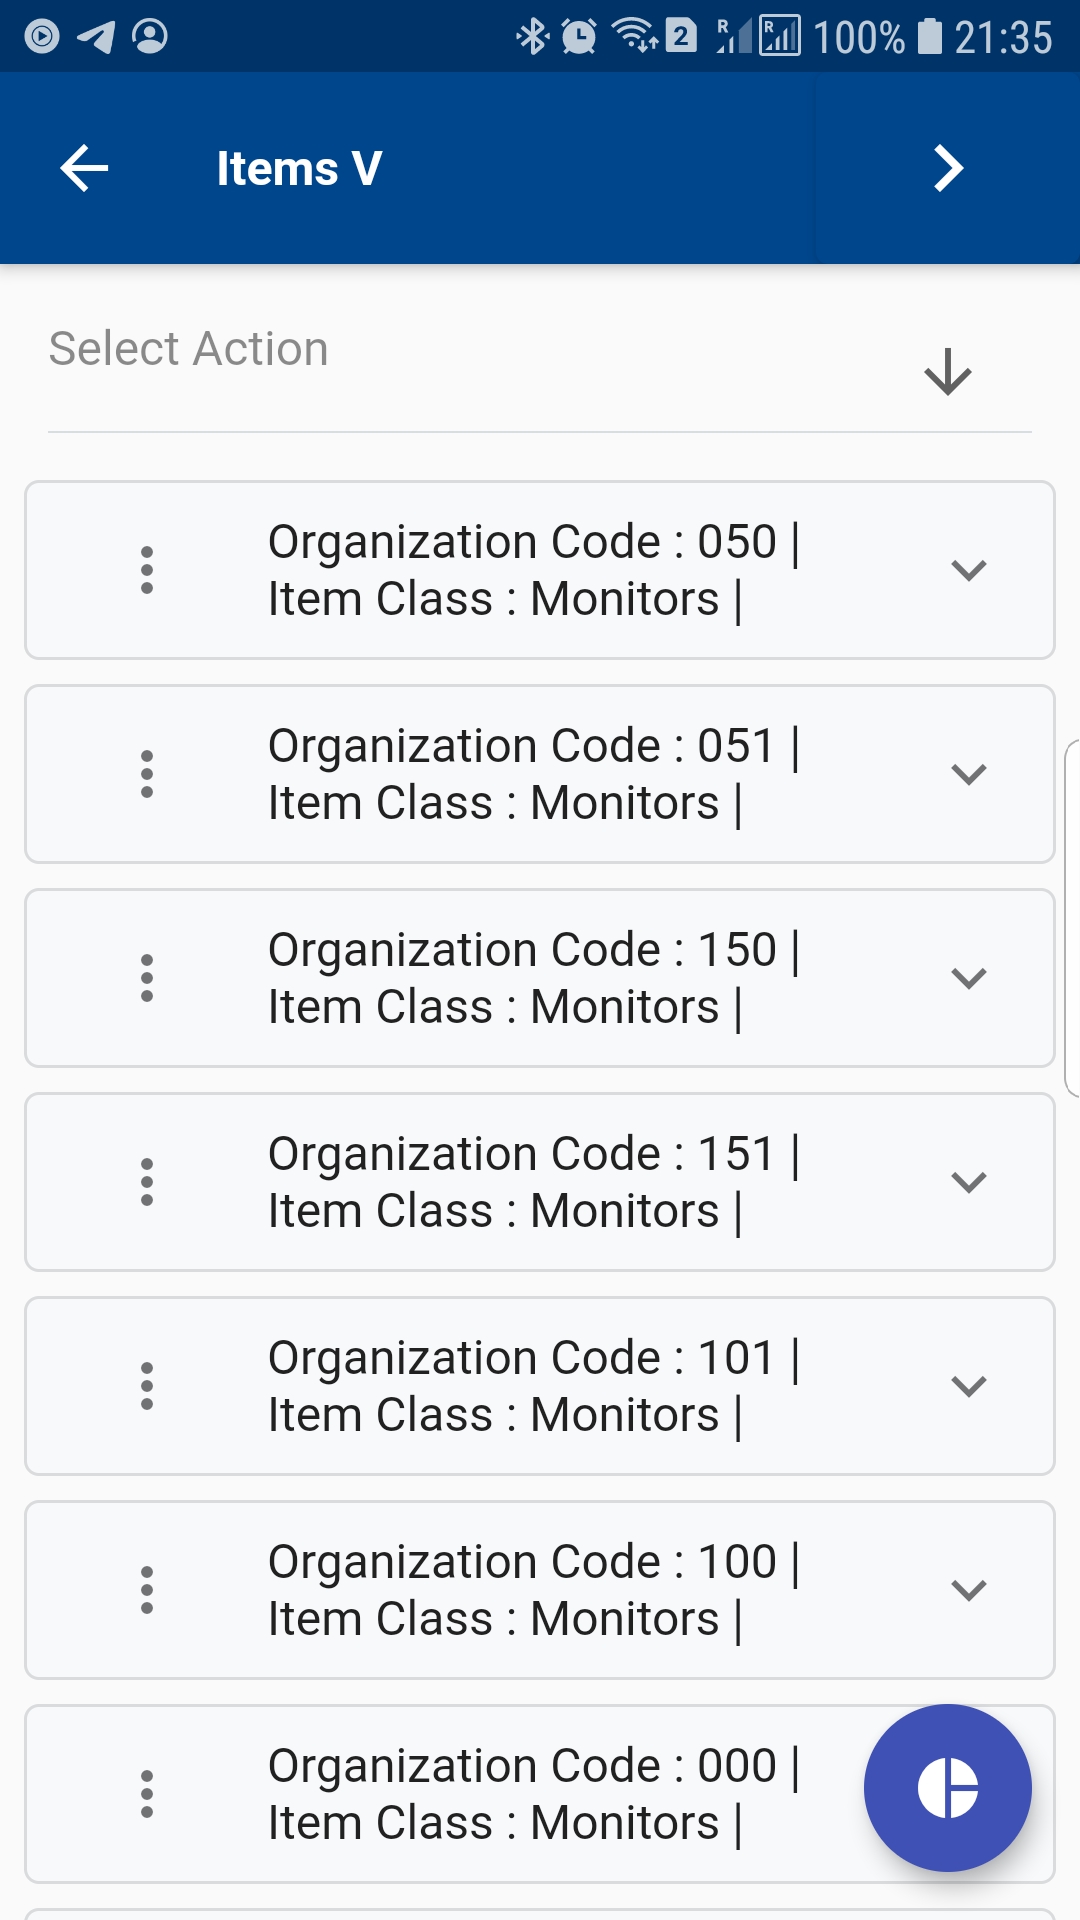
If you don't enter any organization code/name/id, then the app will show the same item in all assigned organizations.
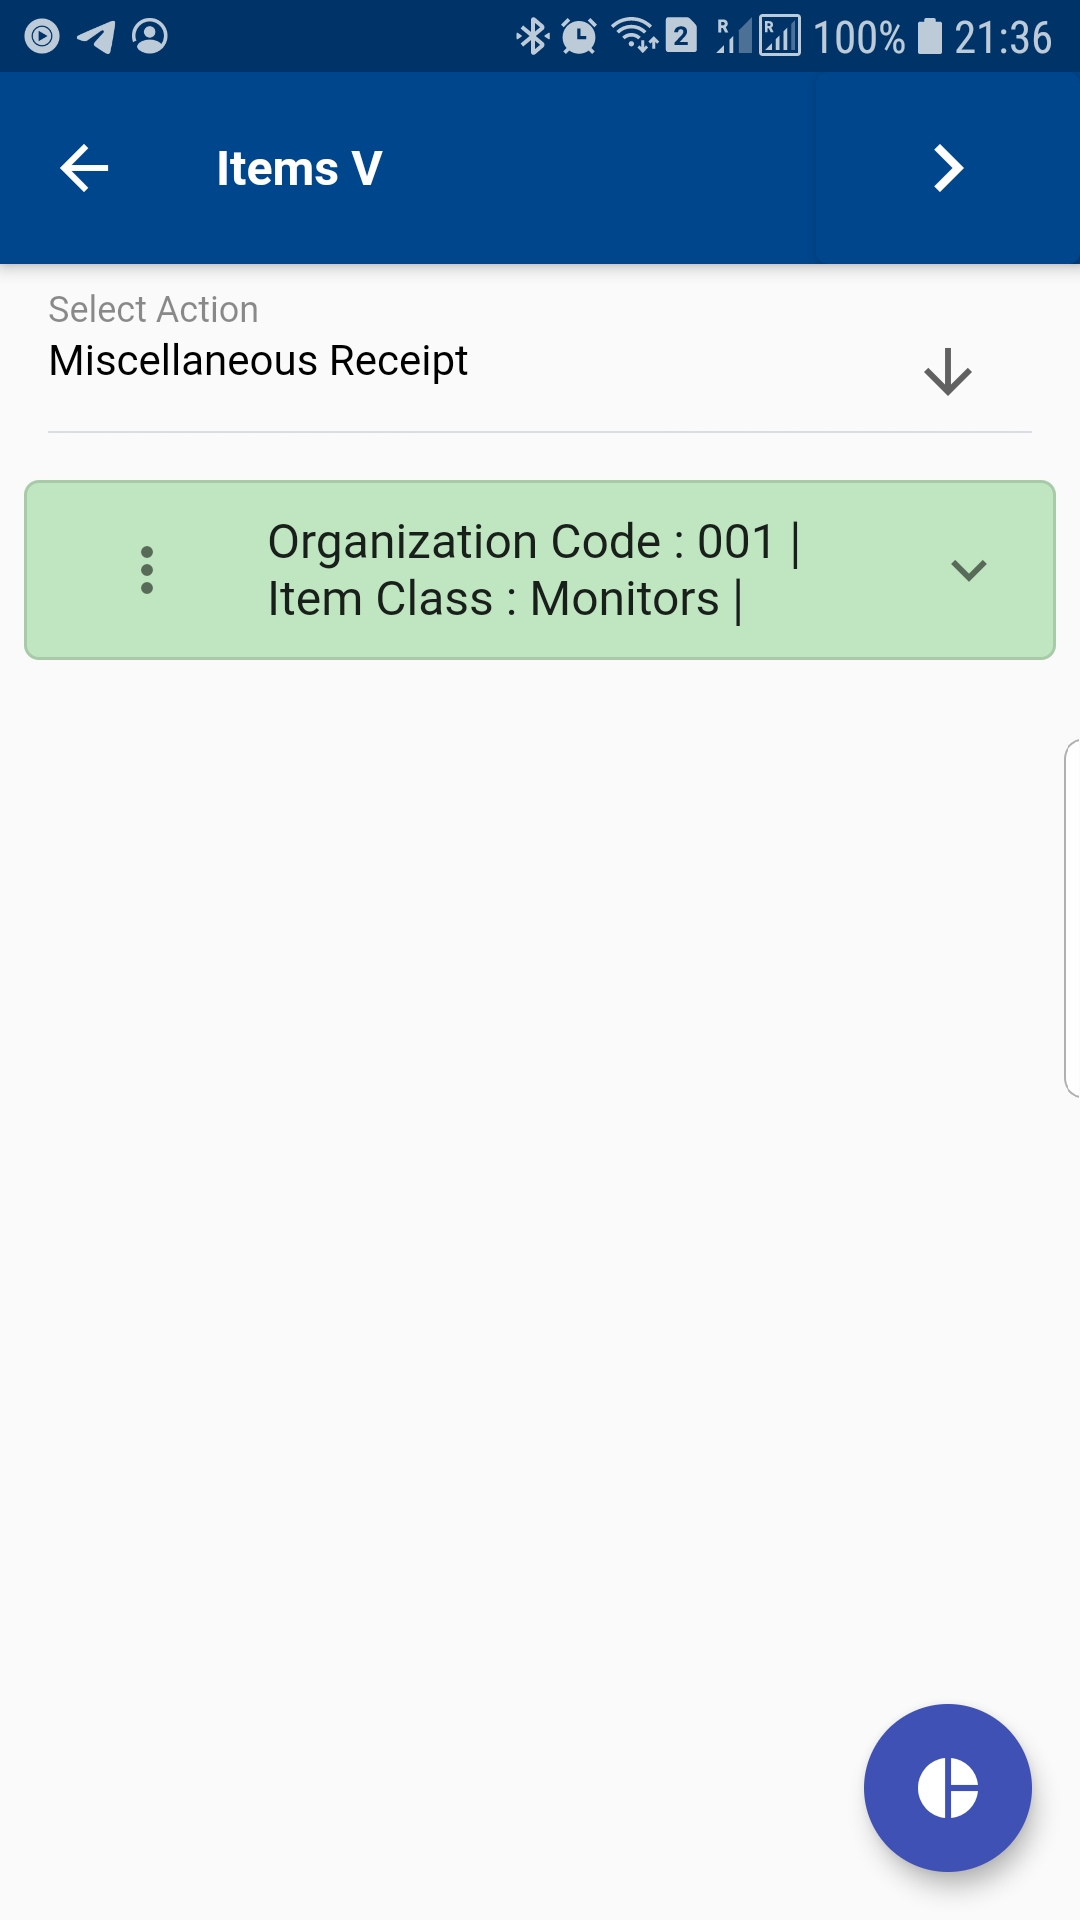
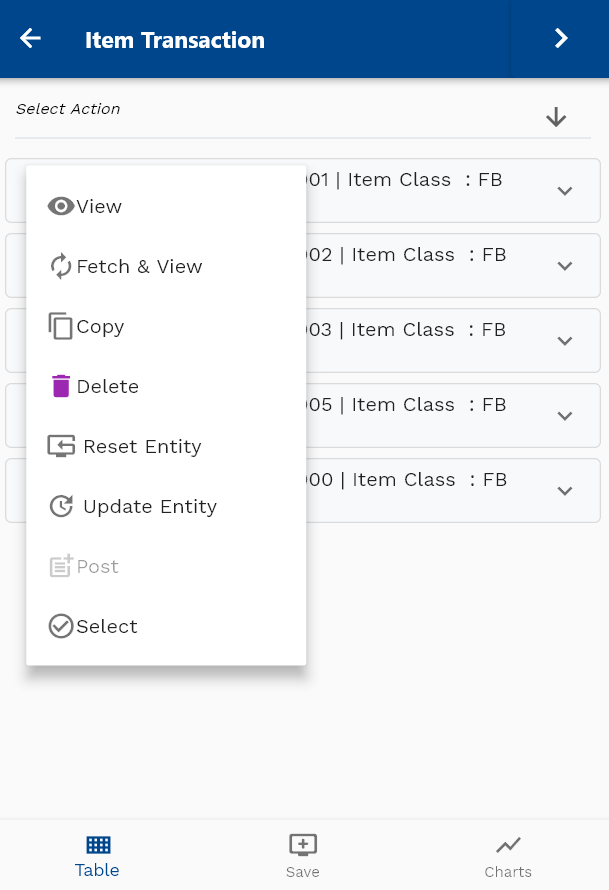
Click on the Menu against an item that you want to transact and click on the select button.
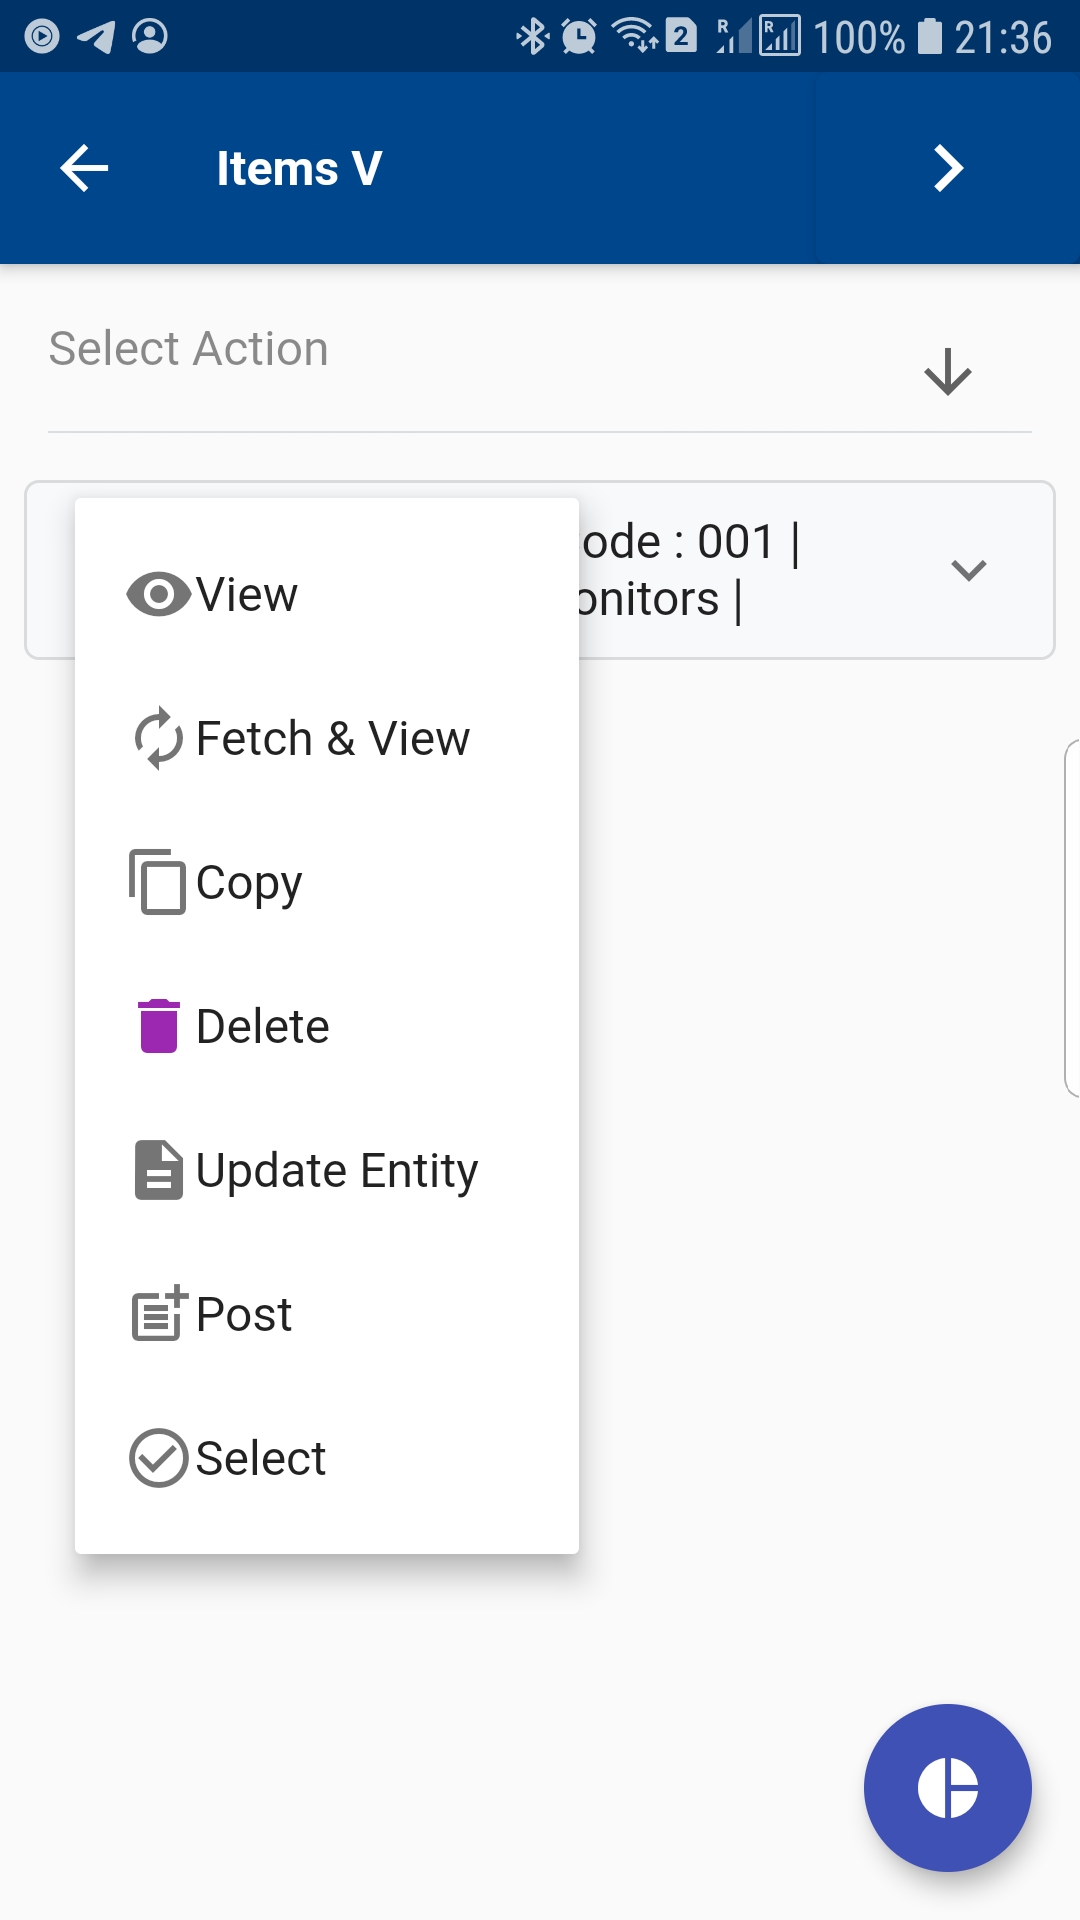
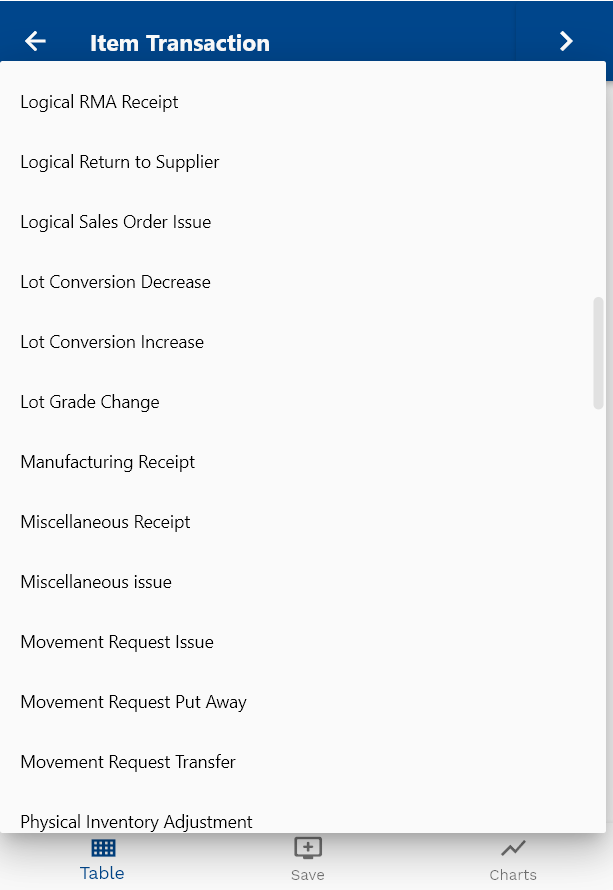
Next, select the transaction type (ex: Misc Issue / Receipt)
Even though the app shows all transaction types on this screen. Please don't use it for WIP/PO/SO-related transactions, as you might have to enter all the information manually. There are better ways to do PO Receipt and WIP Material Transactions by first searching the document.

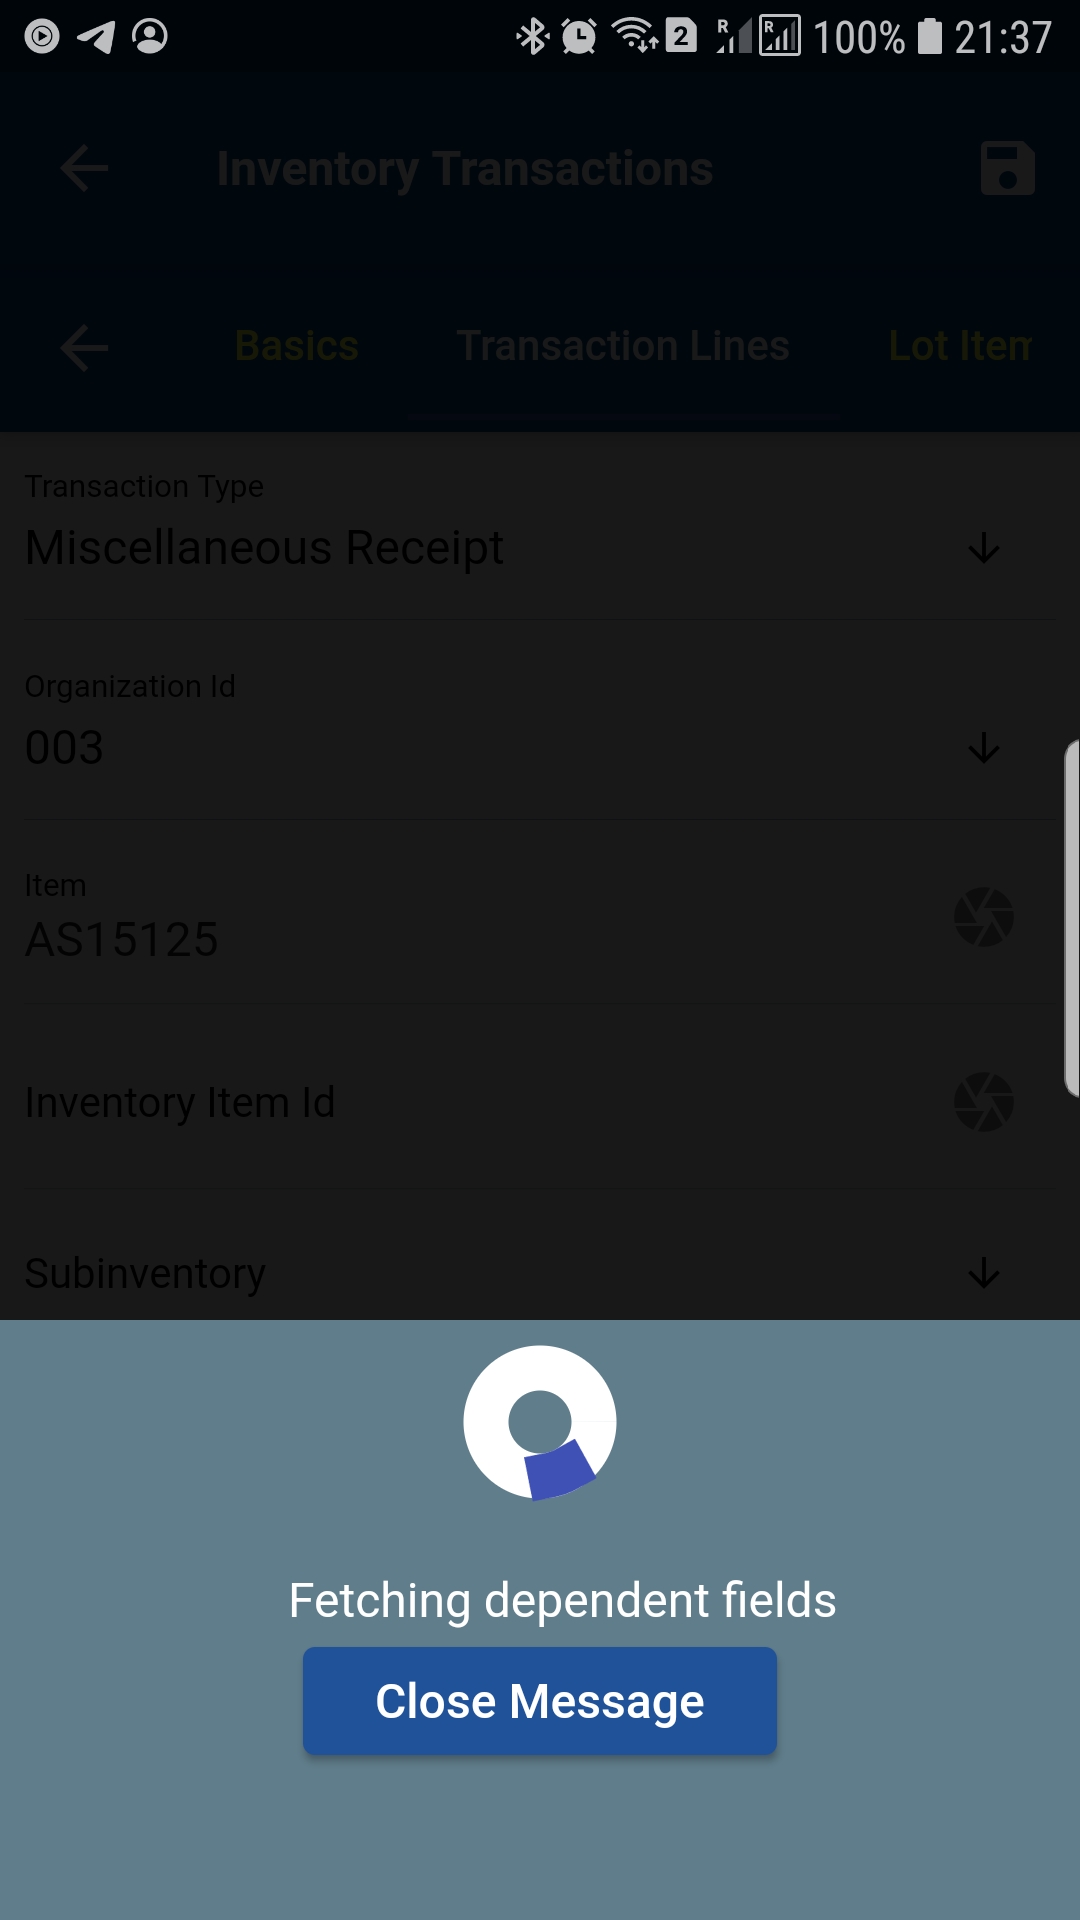
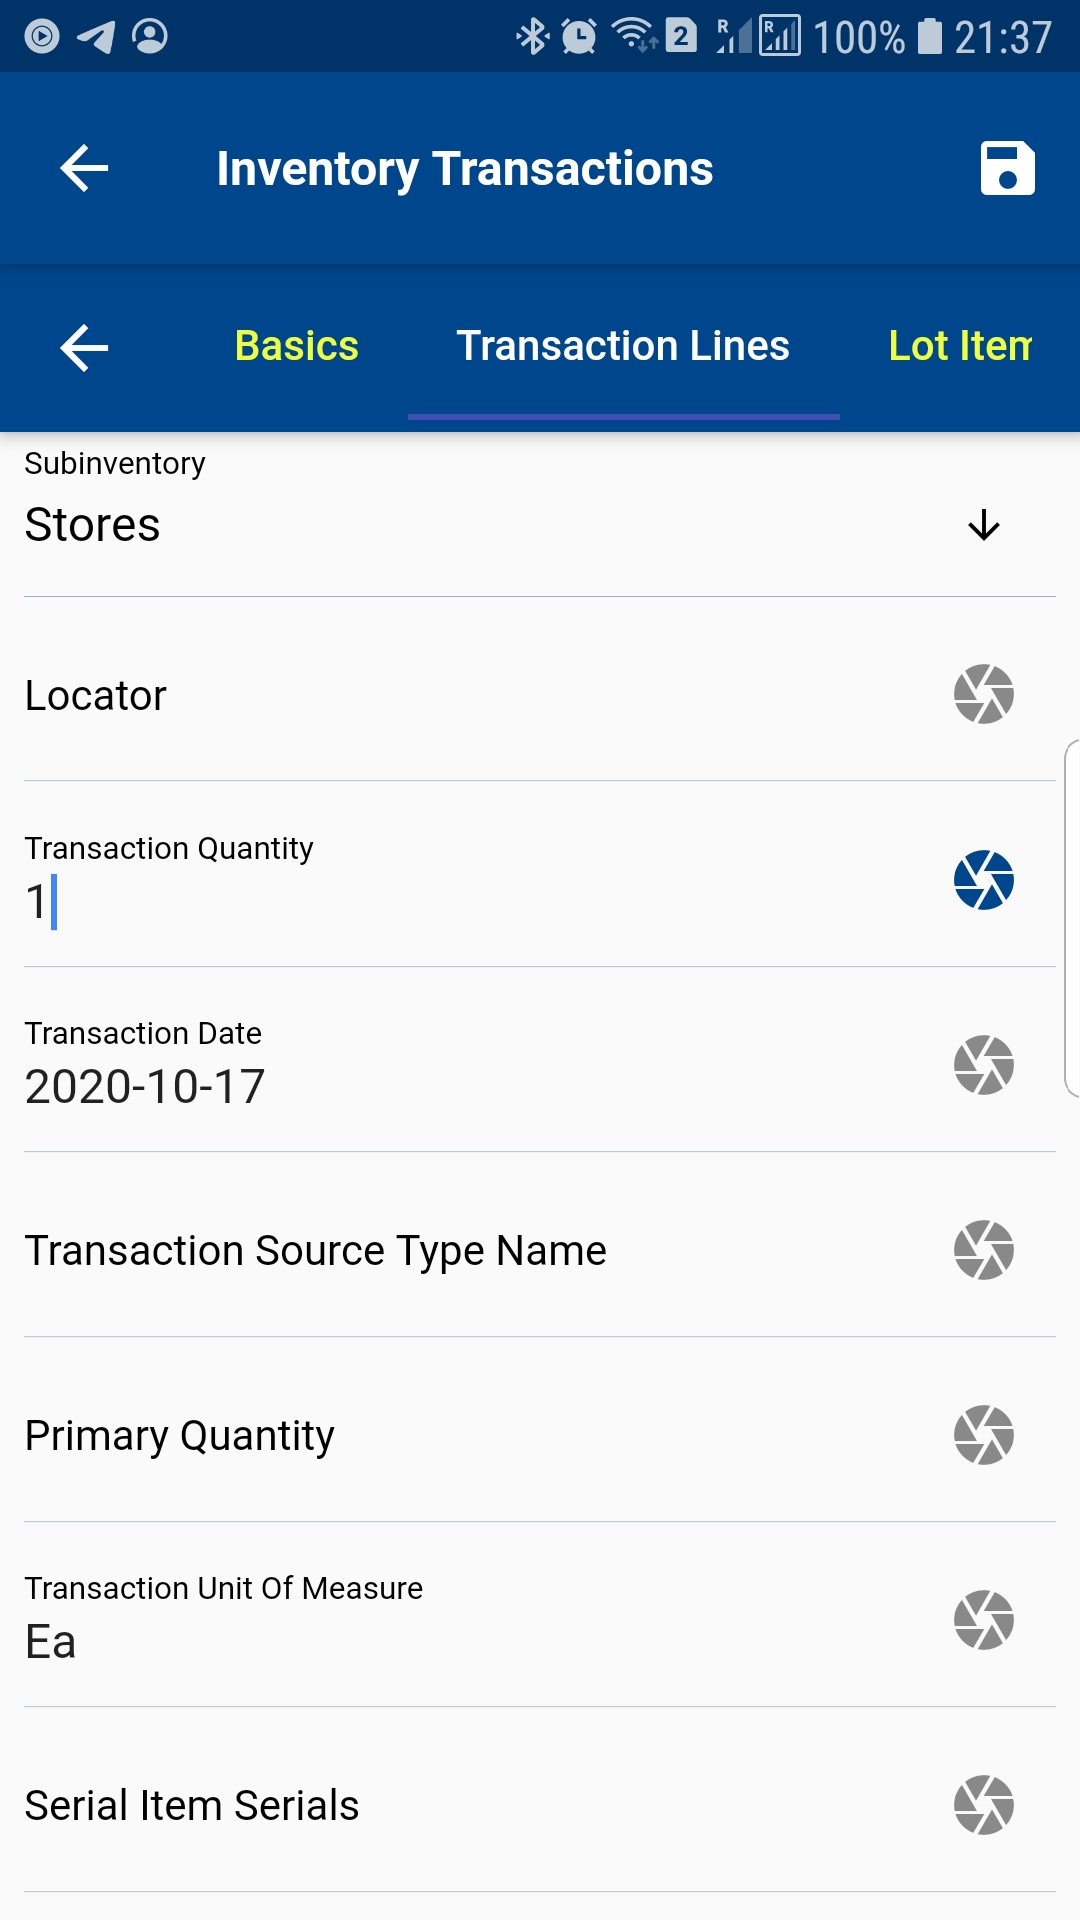
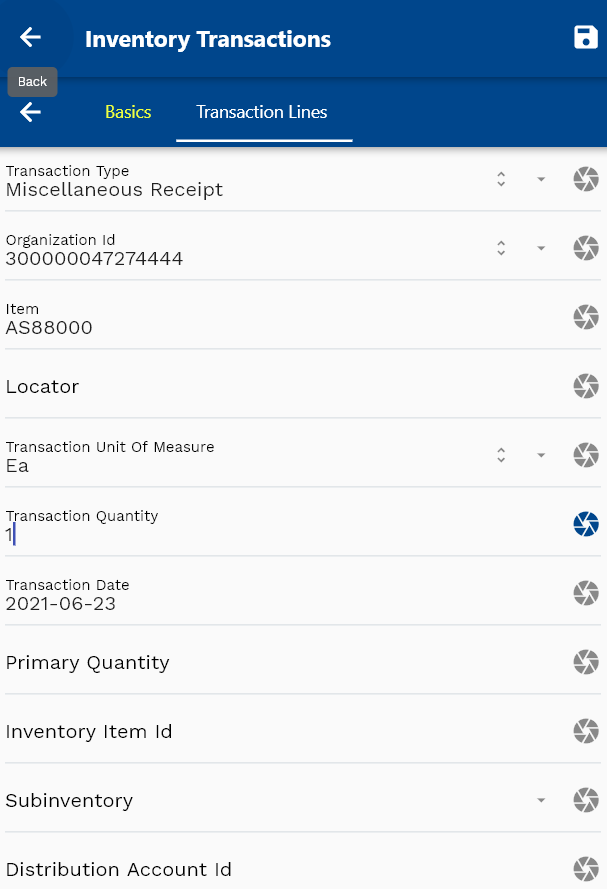
The app will take you to a confirmation screen where you need to validate all information and enter some other information such as Quantity, Serial Number, Lot Number, etc.
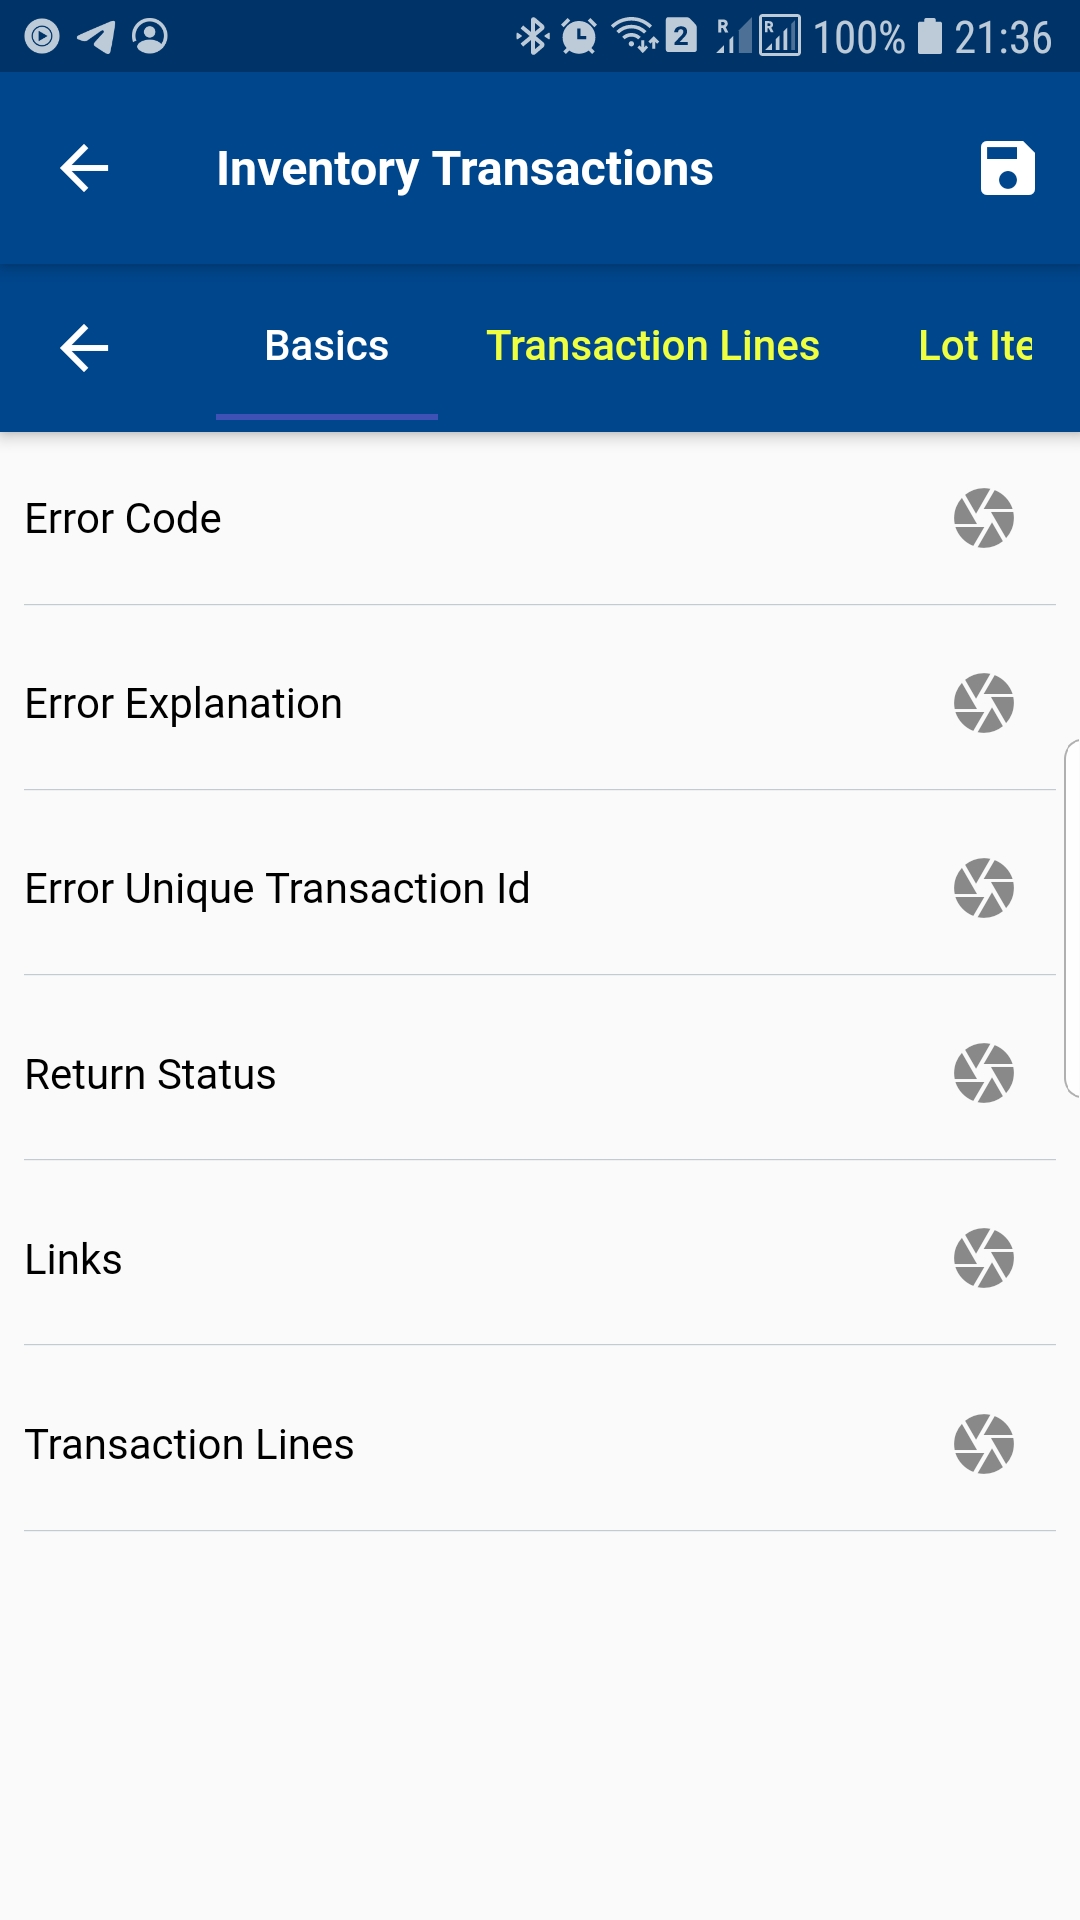
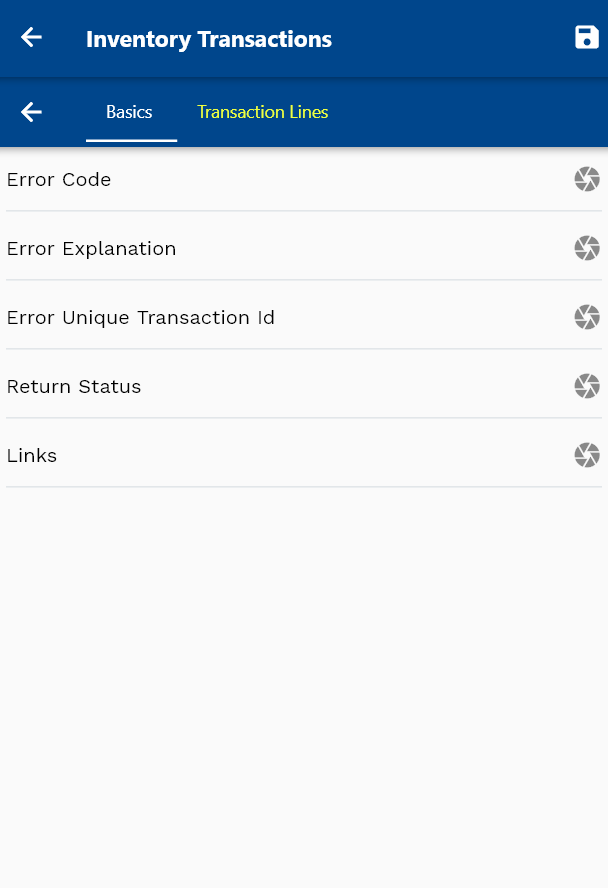
The inventory transaction screen will show several tabs. The first Tab (Basic tab) contains information about the completed transaction. So, you can ignore it while doing a new transaction. Scroll to the next tab that contains all transaction line details.
You can transact multiple lines together for Work Orders and Purchase Orders but for misc. transactions, you can transact only one item at a time

Verify all the information, and enter all the other required details such as
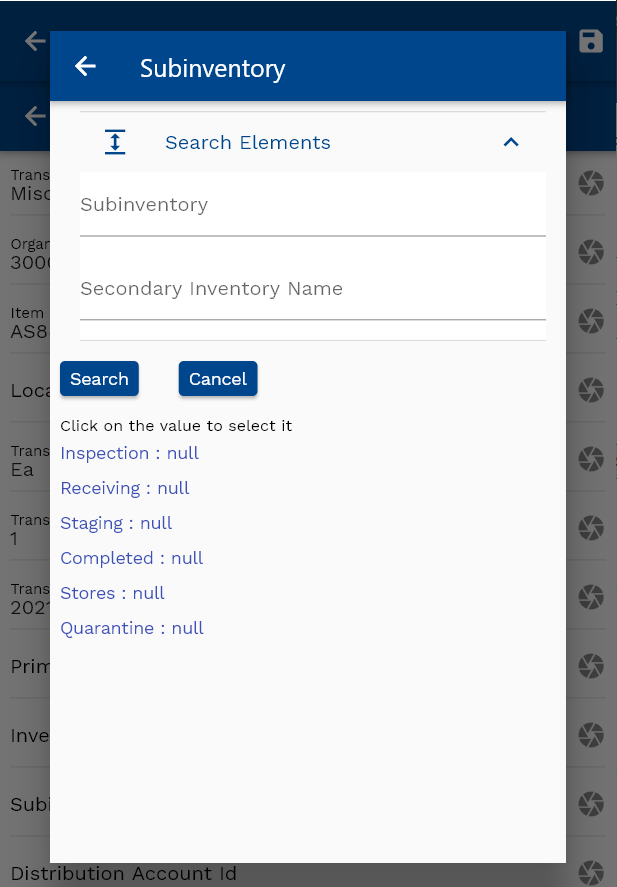
- Sub Inventory (Issue from Misc. Issue and Receipt for Misc. Receipt)
- Locator - if sub inventory is locator control
- Cost - if applicable
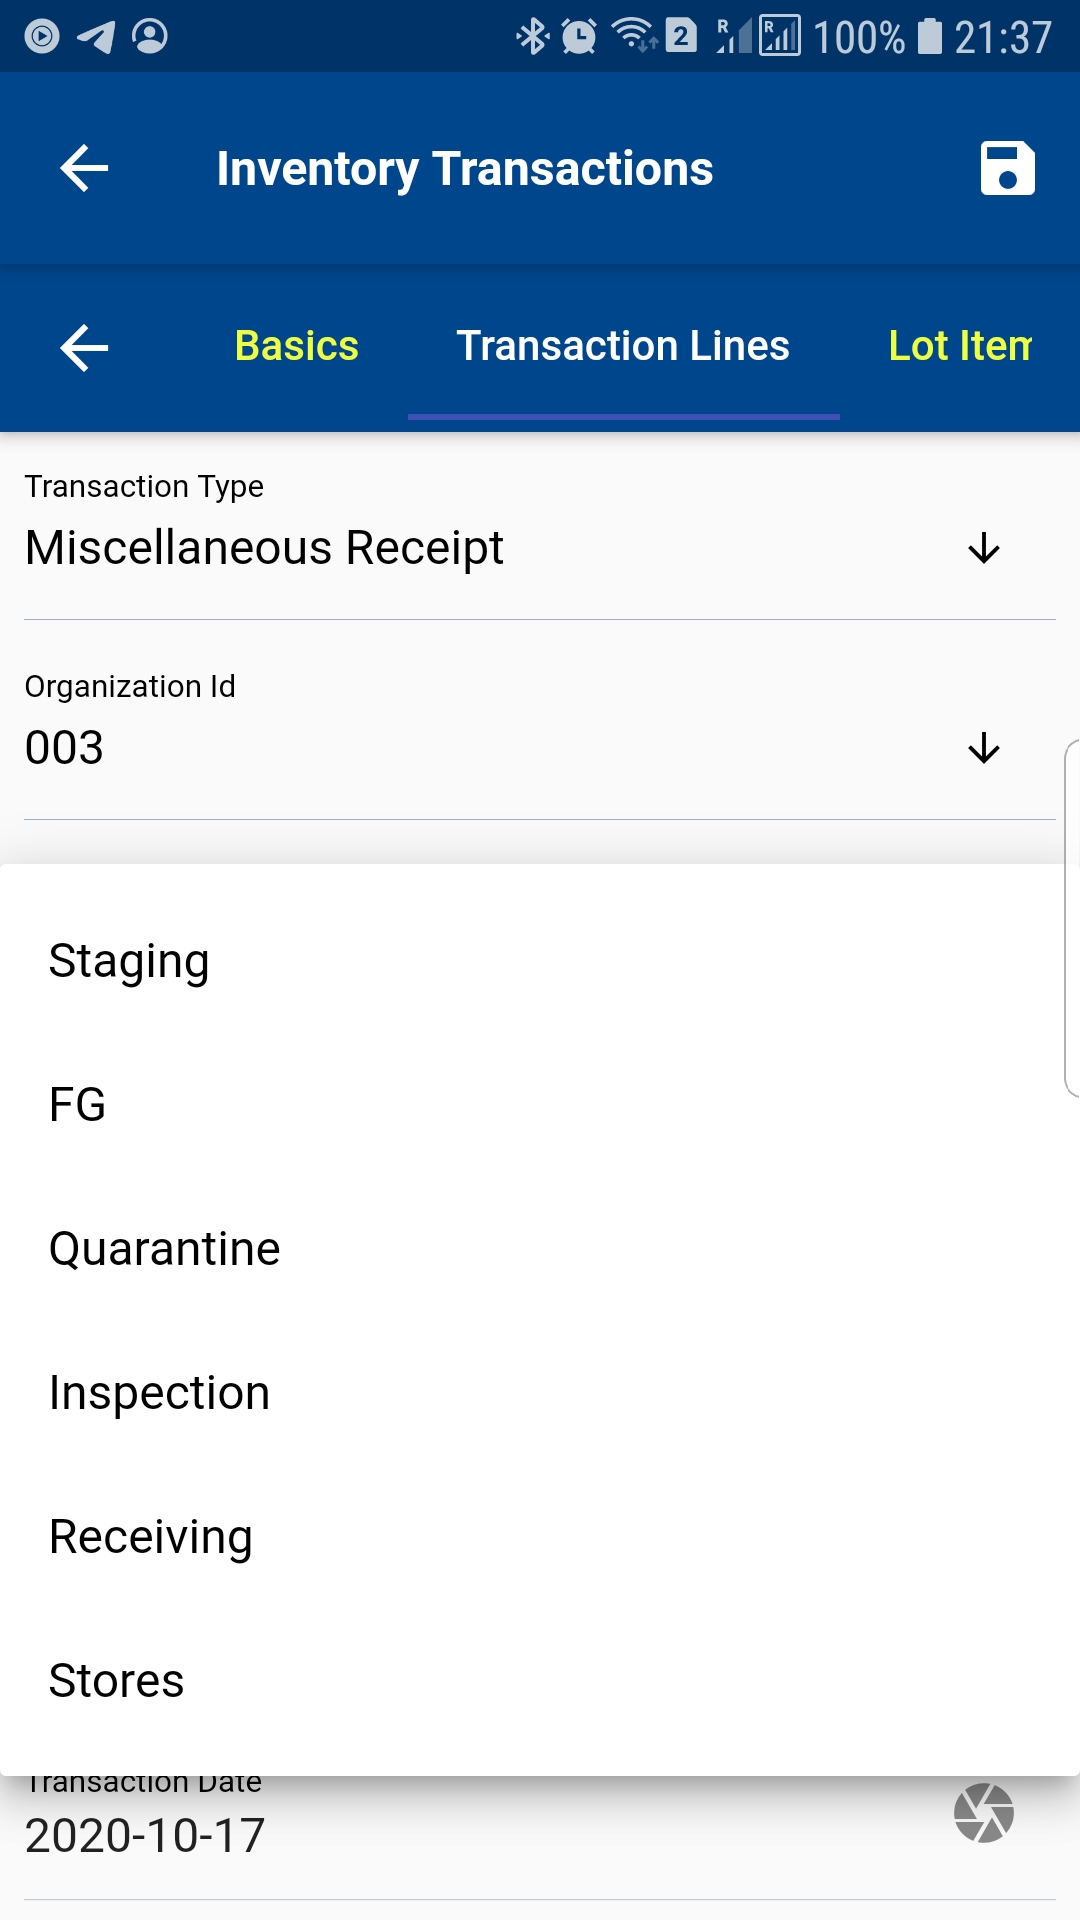
Next, click on the Save button.
Subinventory Transfers
From Oracle Docs
Use a subinventory transfer to transfer material within your current organization between subinventories, or between two locators within the same subinventory. Examples of subinventory transfers are transferring between asset and expense subinventories, and transferring between tracked and non-tracked subinventories.
Source
To create a subinventory transfer, navigate to the "Items Search" form from your dashboard/favorite.
Enter the item/organization details or any other criteria in the search form and click on the search button.
Click on the Menu against an item that you want to transfer and click on the select button.
Next, select the transaction type as "Subinventory Transfer."
The app will fetch all the related information required to complete the Subinventory Transfer. It will take you to a confirmation screen where you need to validate all information and enter other required details such as From Subinventory, To Subinventory, Quantity, Serial, and Lot Infomation.
Scroll up and down to view all the fields. You can configure the navigation menu for Inventory Transaction to control what fields should be shown to the user and in what sequence. You can also make fields mandatory and read-only depending on your business requirements.
Next, click on the Save button.
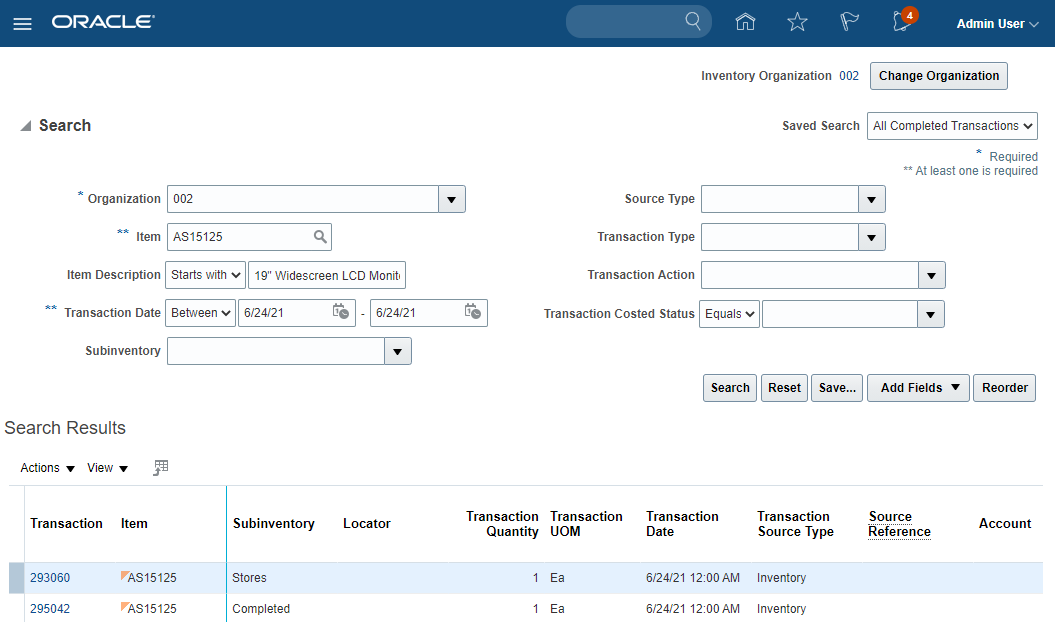
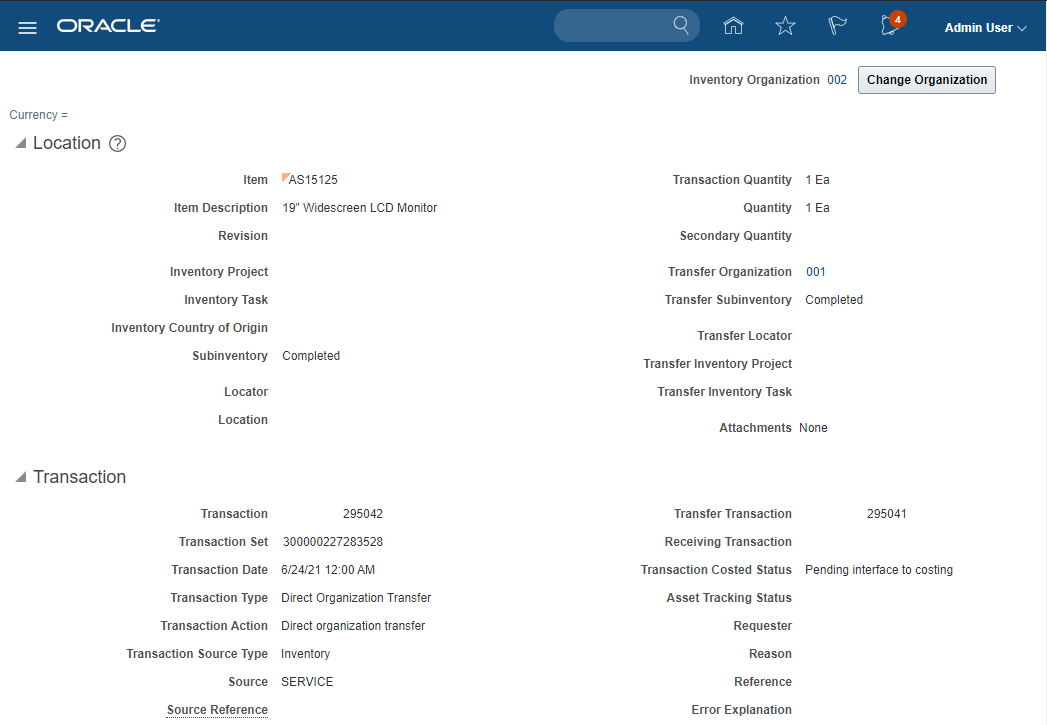
You can review the details on the Oracle cloud.
Create Pick Wave
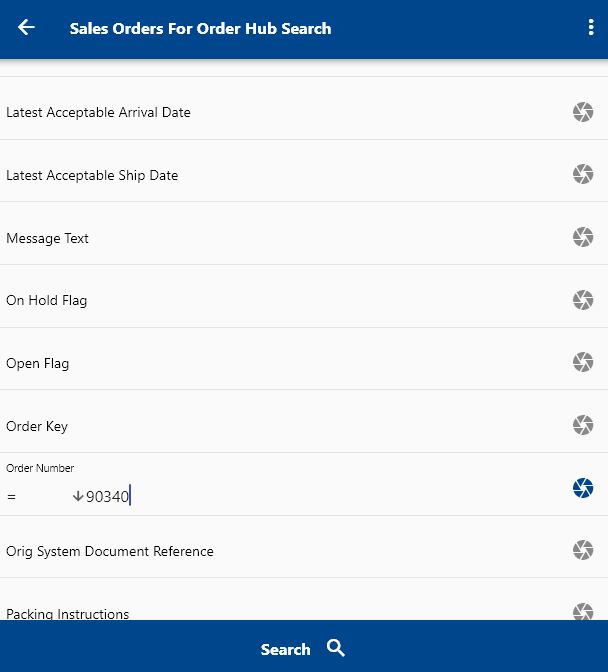
A pick wave is a batch of shipment lines that are pick released together based on specific business-related criteria. To create a pick, navigate to the sales order form from your dashboard/favorite.

Enter the order/customer details or any other criteria in the search form and click on the search button.
Click on the Menu against an item that you want to transact and click on the select button.
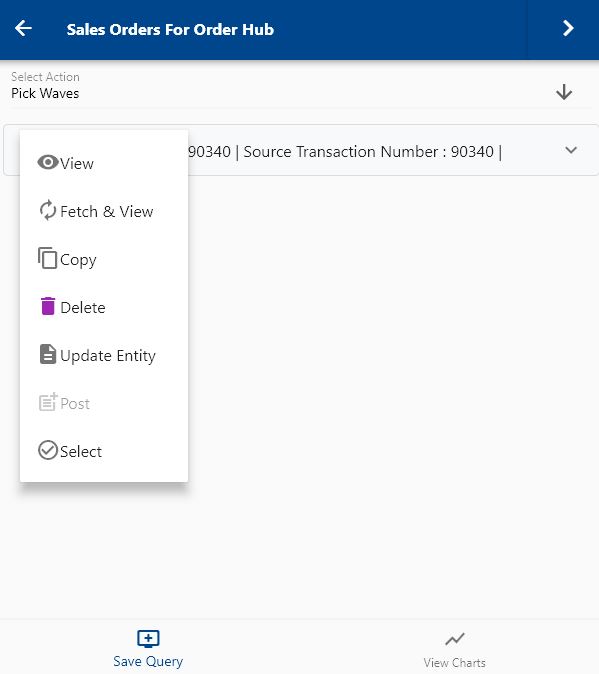

Next, select the transaction type as pick wave.
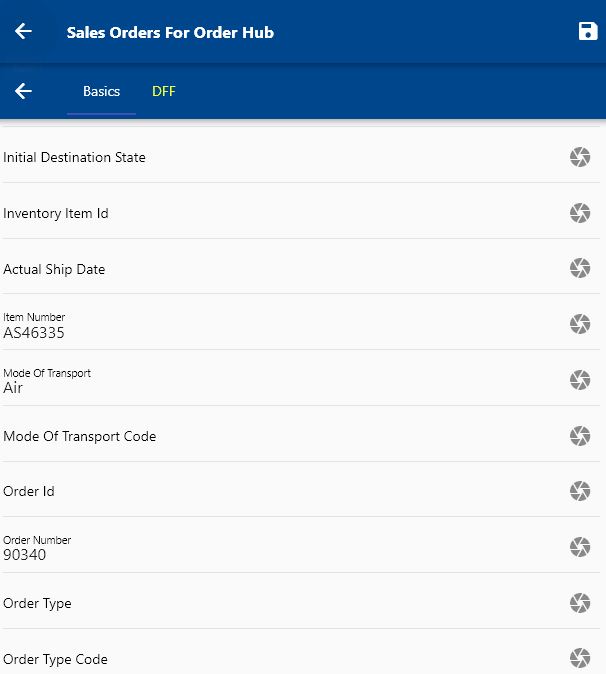
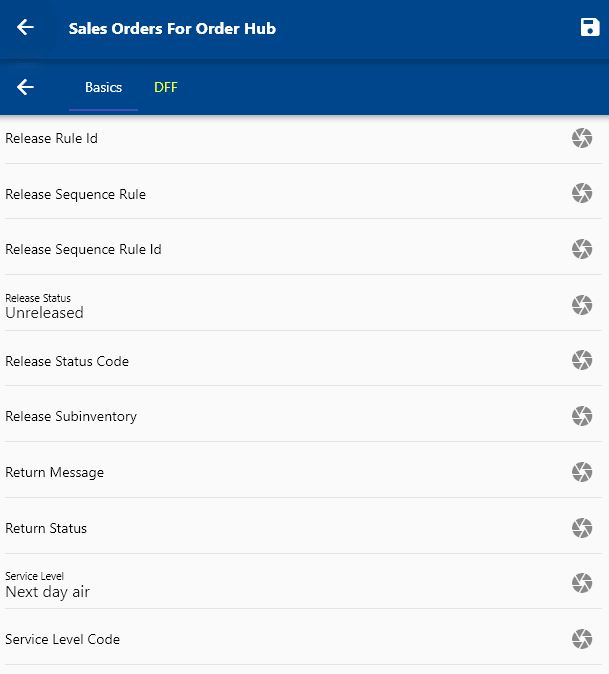
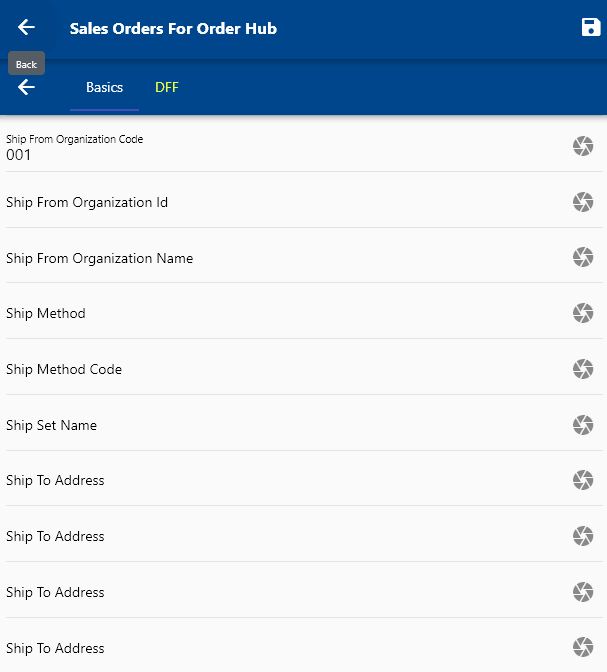
The app will fetch all the related information required to complete the pick wave process and take you to a confirmation screen to validate all information and change any detail as needed.
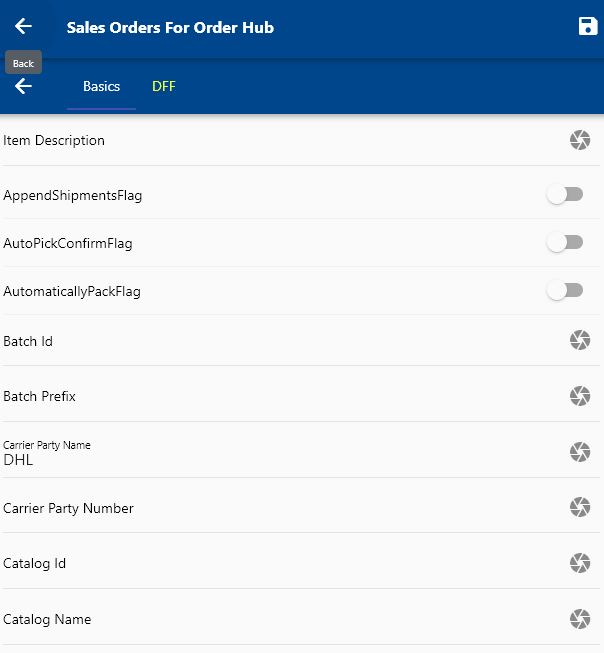


Enable "CreateShipmentsFlag," and "PickReleaseFlag" if you want to pick release the orders.
Scroll up and down to view all the fields. You can configure the navigation menu for Pickwave to control what fields are visible to a user and in which sequence. You can also make fields mandatory and read-only depending on your business requirements.
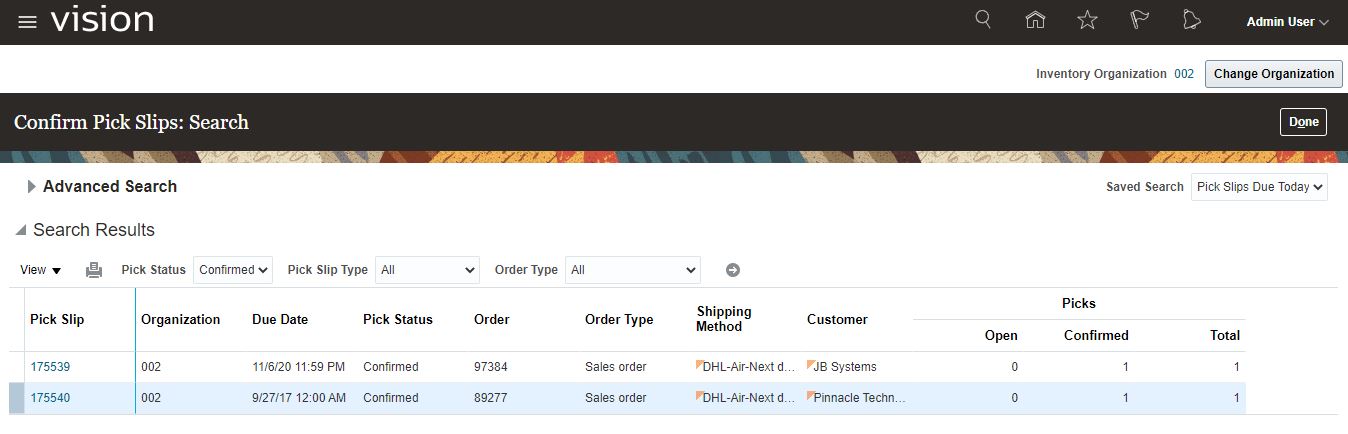
Next, click on the Save button. You can review the picklist details on the Oracle cloud.
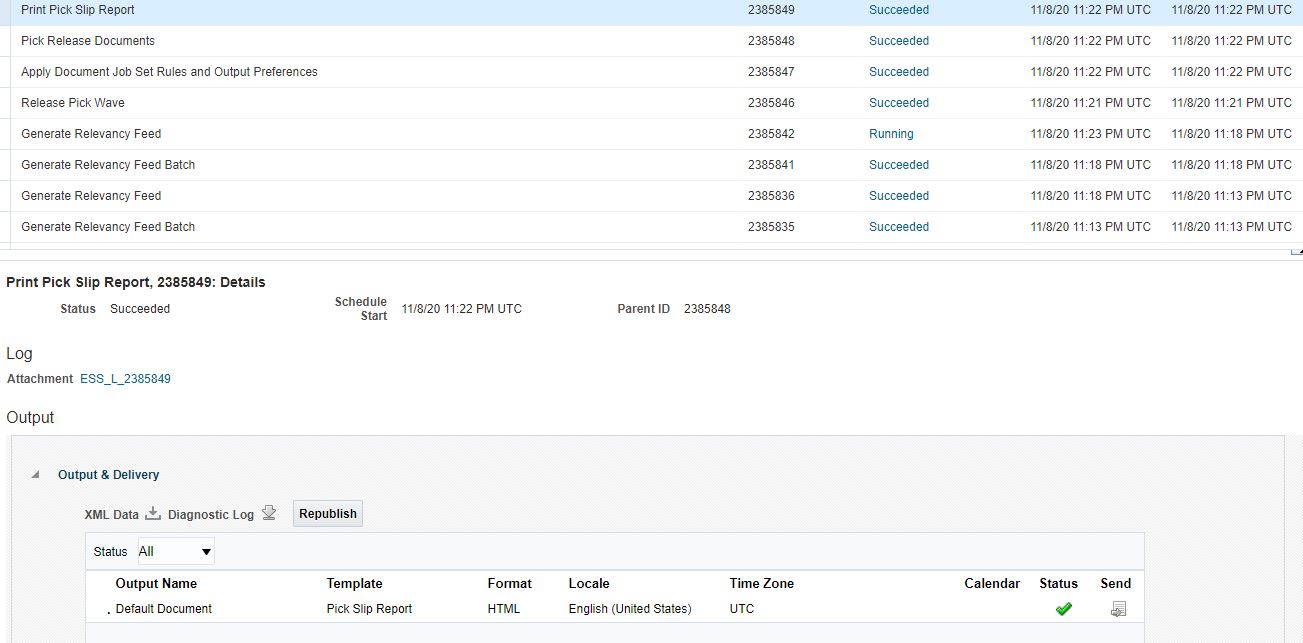

In case of any error, the system will show you show the error message received from the Oracle cloud.
Confirm Pick Wave (Pick Transaction)

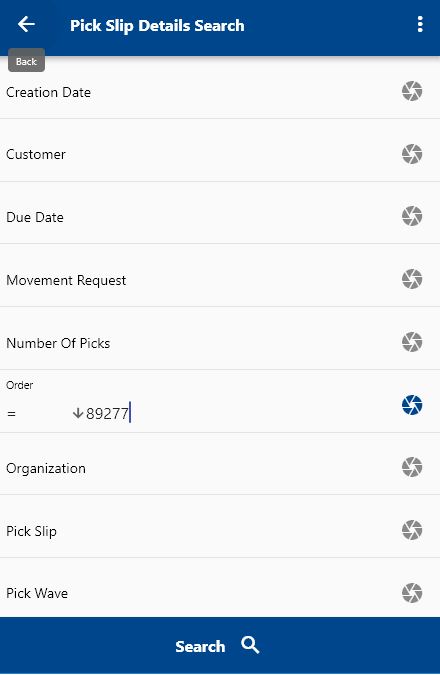
The Pick Transactions resource allows confirming picks on a pick slip. It will capture the quantity and inventory details like subinventory, locator, lot, and serial numbers and the necessary exceptions. To confirm pick, navigate to the pick slip details search form from your dashboard/favorite.

Enter the order/customer details or any other criteria in the search form and click on the search button.

Click on the Menu against an item that you want to transact and click on the select button.
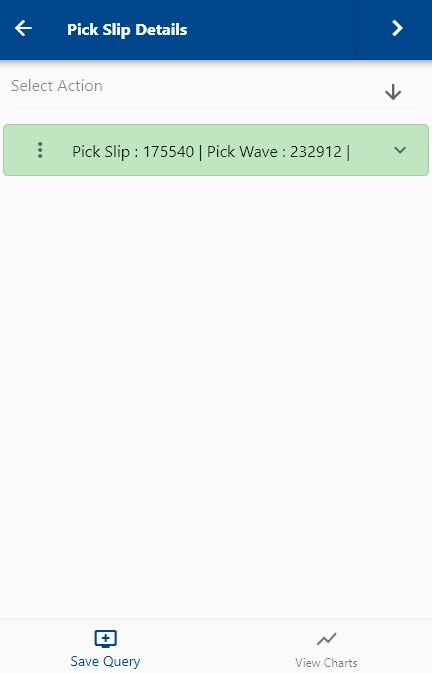

Next, select the transaction type as pick transaction.
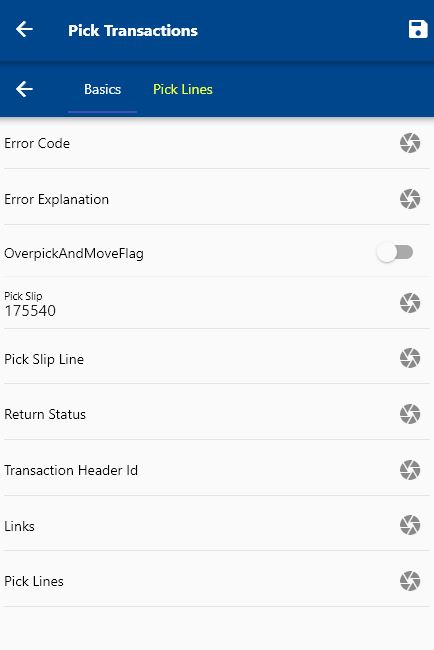
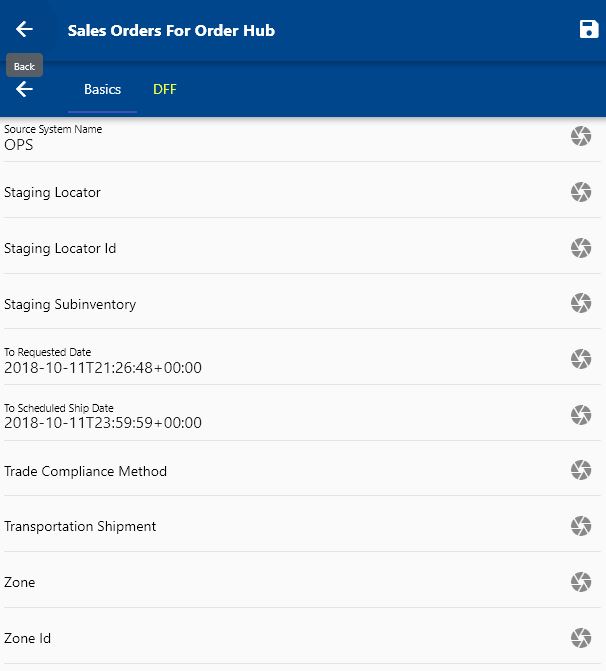
The app will fetch all the related information required to complete the pick wave process. It will take you to a confirmation screen where you need to validate all information and enter some other information such as Quantity, Subinventory, etc.
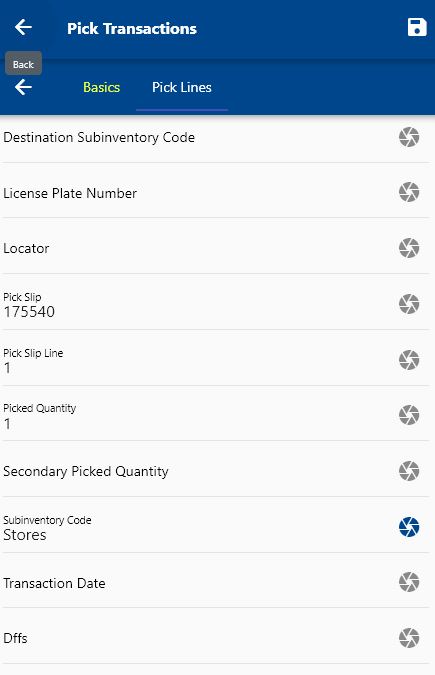
Scroll up and down to view all the fields. You can configure the navigation menu for Pickwave to control what fields are visible to a user and in which sequence. You can also make fields mandatory and read-only depending on your business requirements.
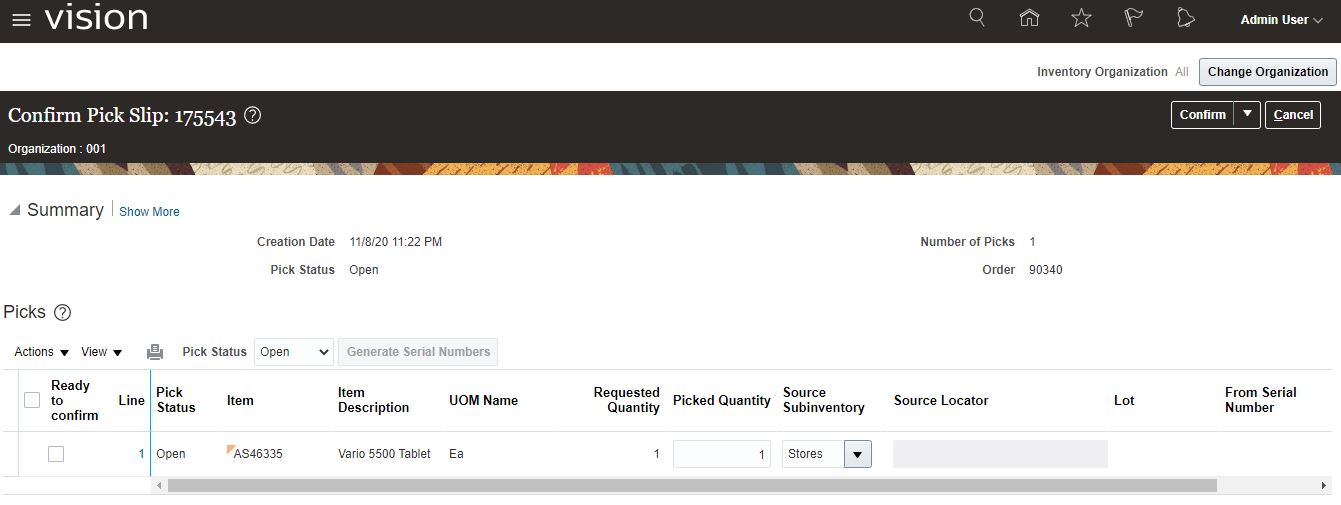
Next, click on the Save button.
Ship Confirm
Ship confirm is the process of confirming that items have shipped through a shipment against a sales order/internal order. A shipment comprises a set of shipment lines grouped by specific common shipping attributes scheduled to be sent to a customer's ship-to location on a particular date and time. You can include items from different sales orders in a shipment. You can either manually or automatically group shipment lines to create a shipment.
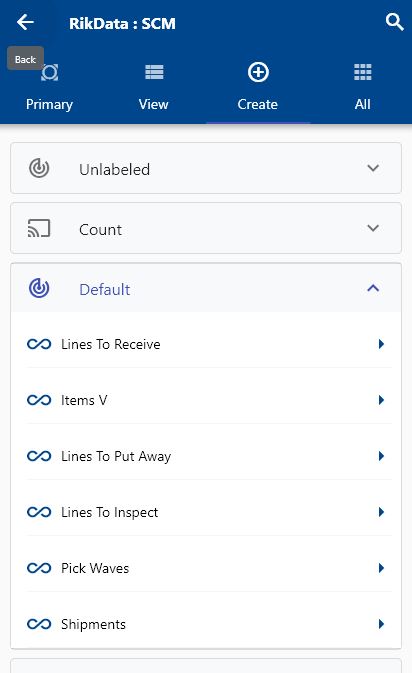
To do a ship confirm a transaction, navigate the shipments search form from your dashboard/favorite.
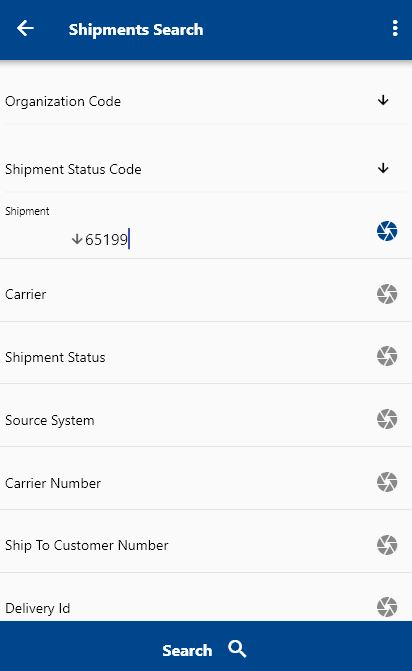
Enter the shipment details or any other criteria in the search form and click on the search button.
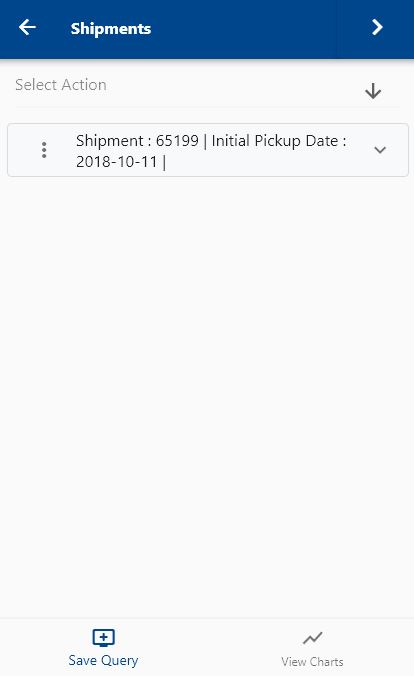
Click on the Menu against an item that you want to transact and click on the select button.
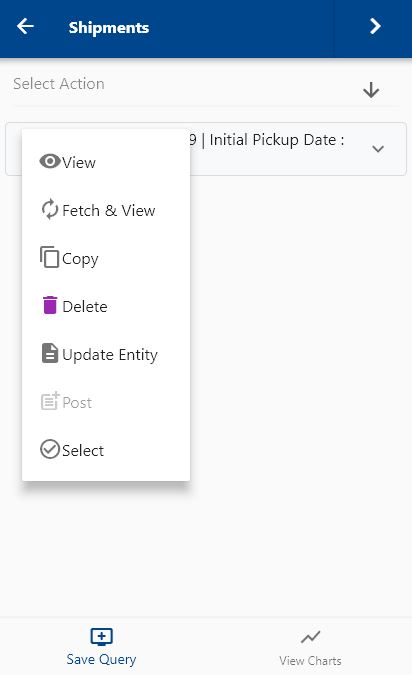
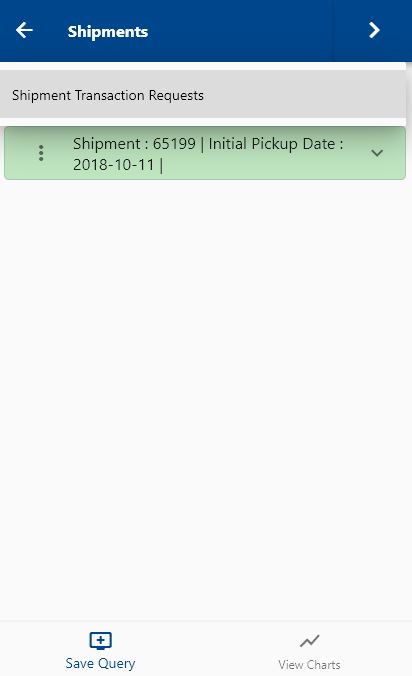
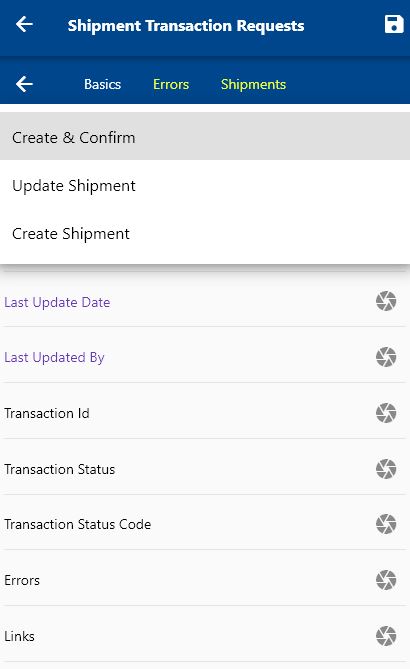
Next, select the transaction type as the shipment transaction request.

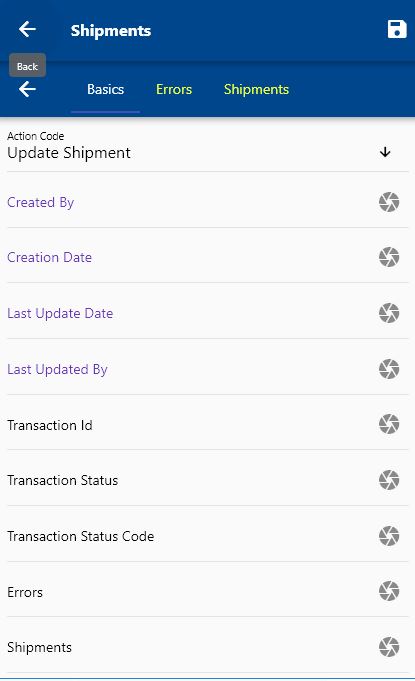
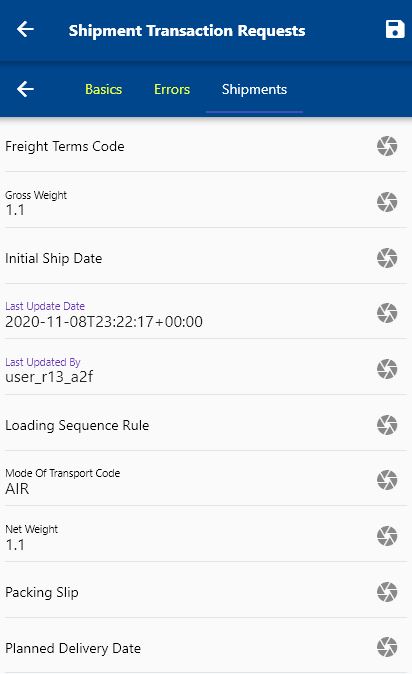
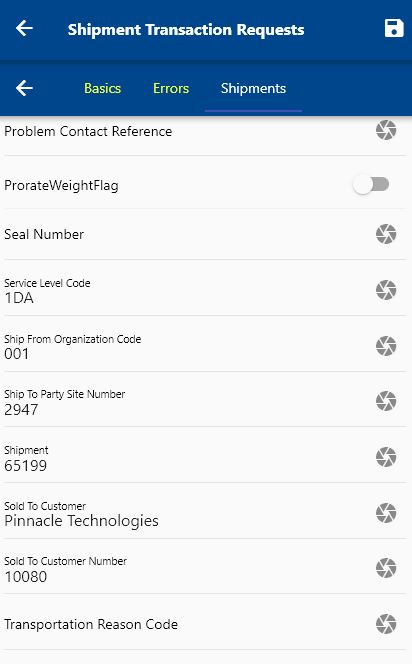
The app will fetch all the related information required to complete the shipment process. It will take you to a confirmation screen where you need to validate all information and enter some other information such as Action Code, Carrier, etc.
Scroll up and down to view all the fields. You can configure the navigation menu for shipment transactions to control what fields are visible to a user and in which sequence. You can also make fields mandatory and read-only depending on your business requirements.

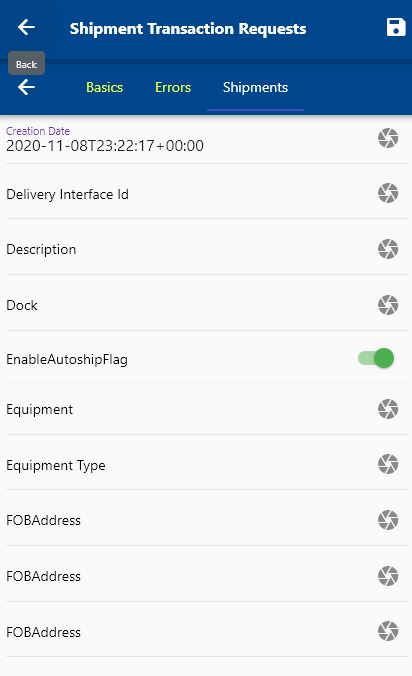
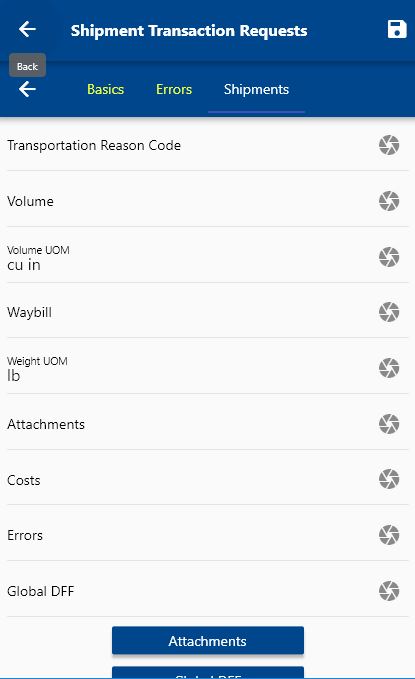
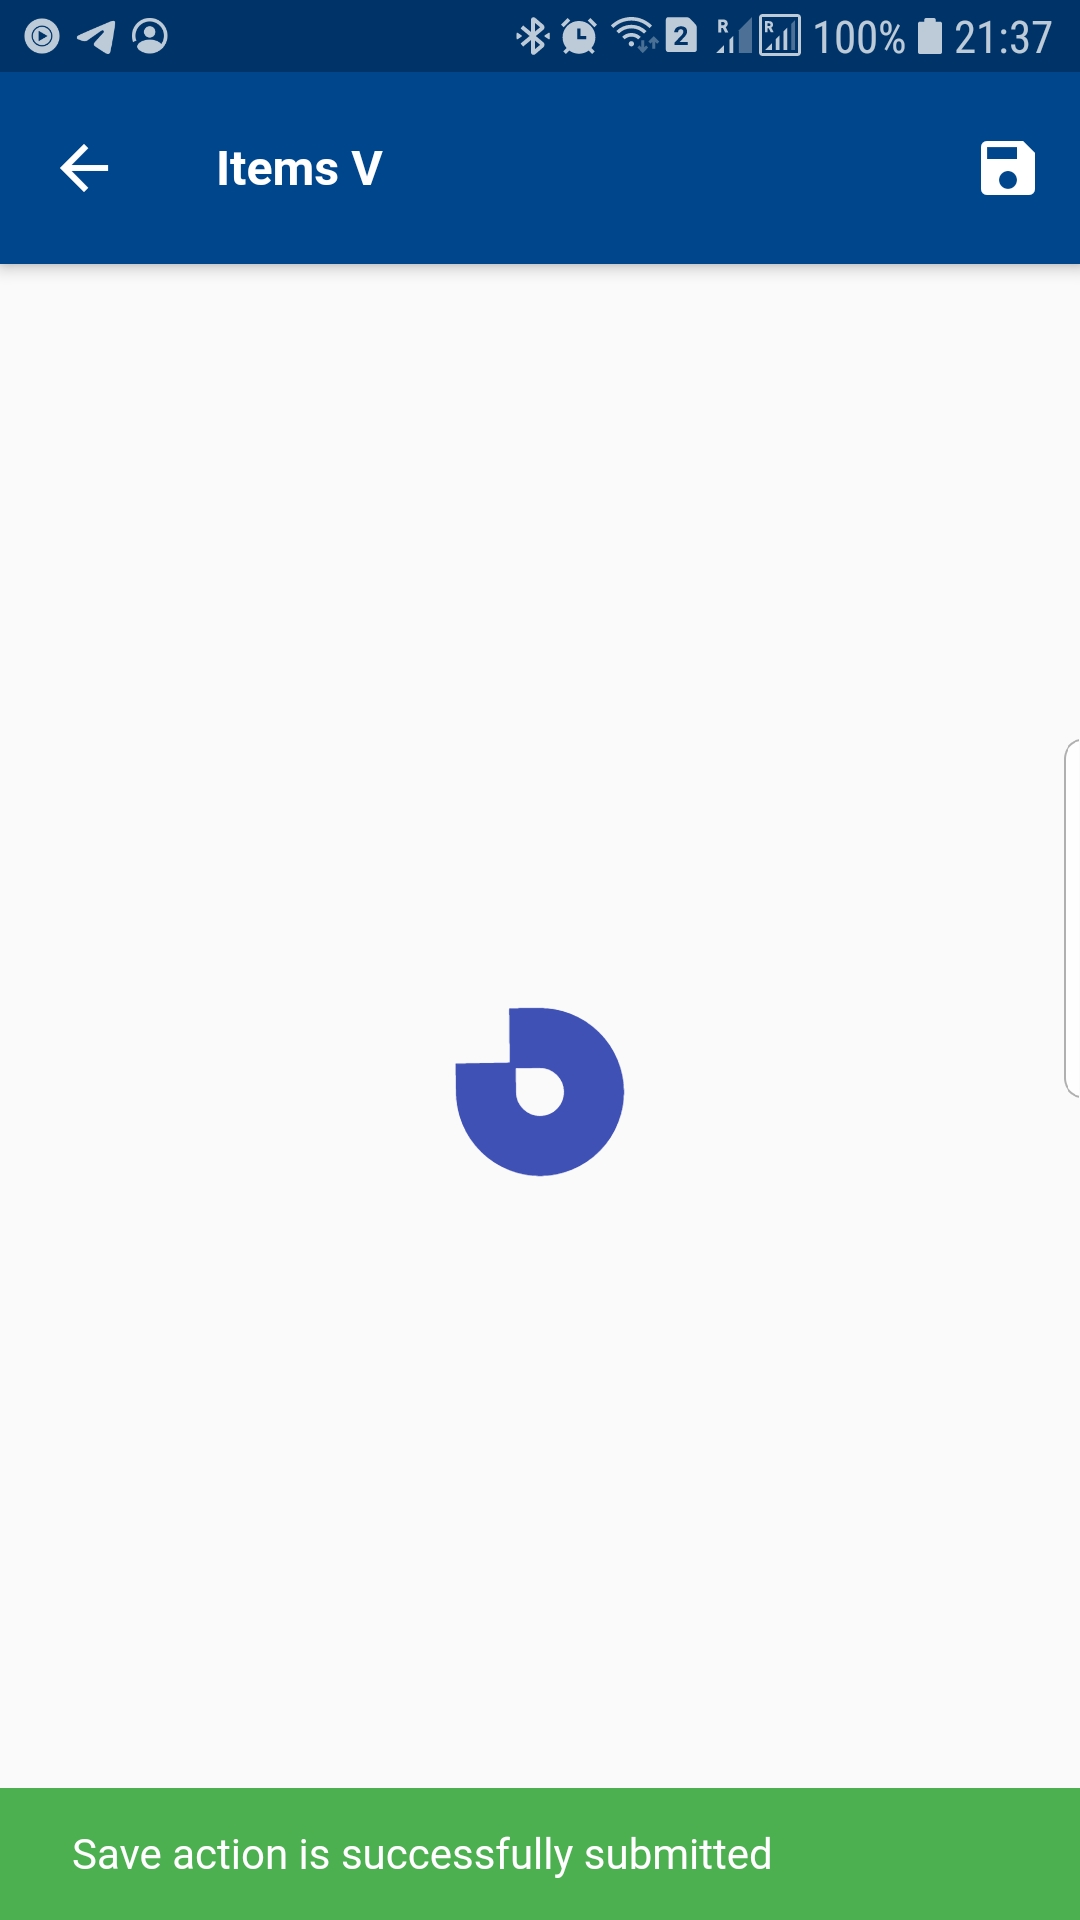
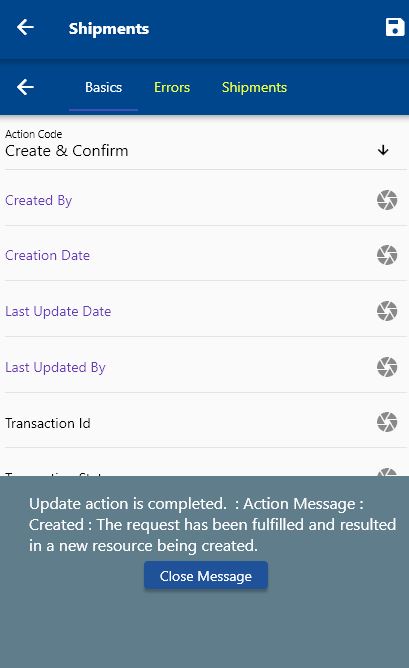
Next, click on the Save button.
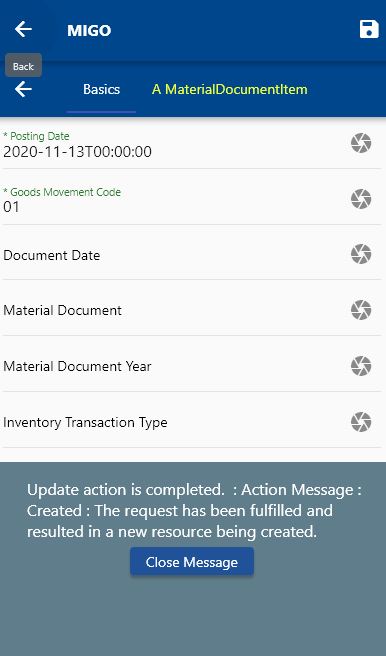
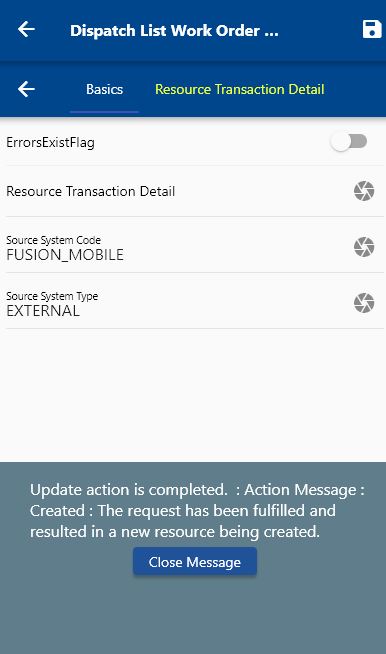
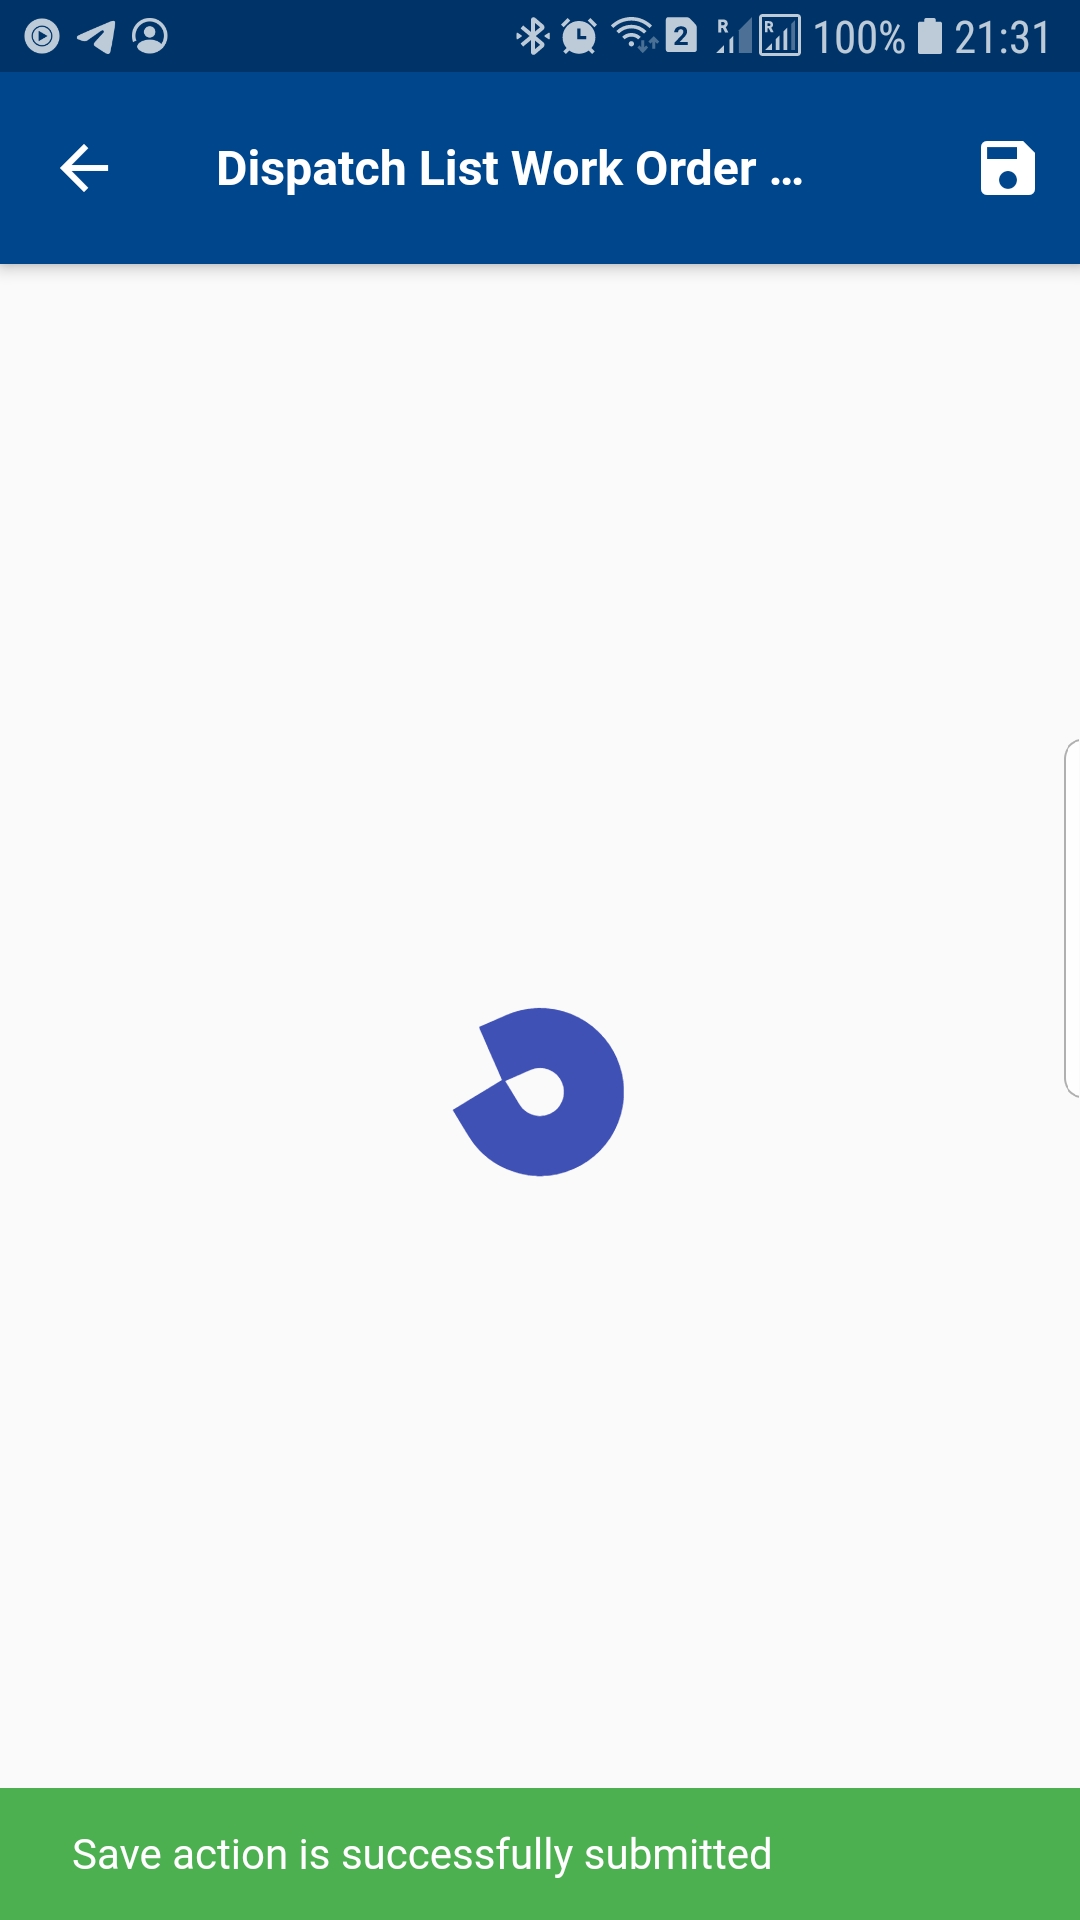
The system will complete the transaction and will show you the below message.
Serial/Lot Number
If an item is serial or lot controlled, you need to enter the serial and lot details in the serial/lot tab. If you don't enter, the app will show below warning message, and won't submit the transaction to the server.
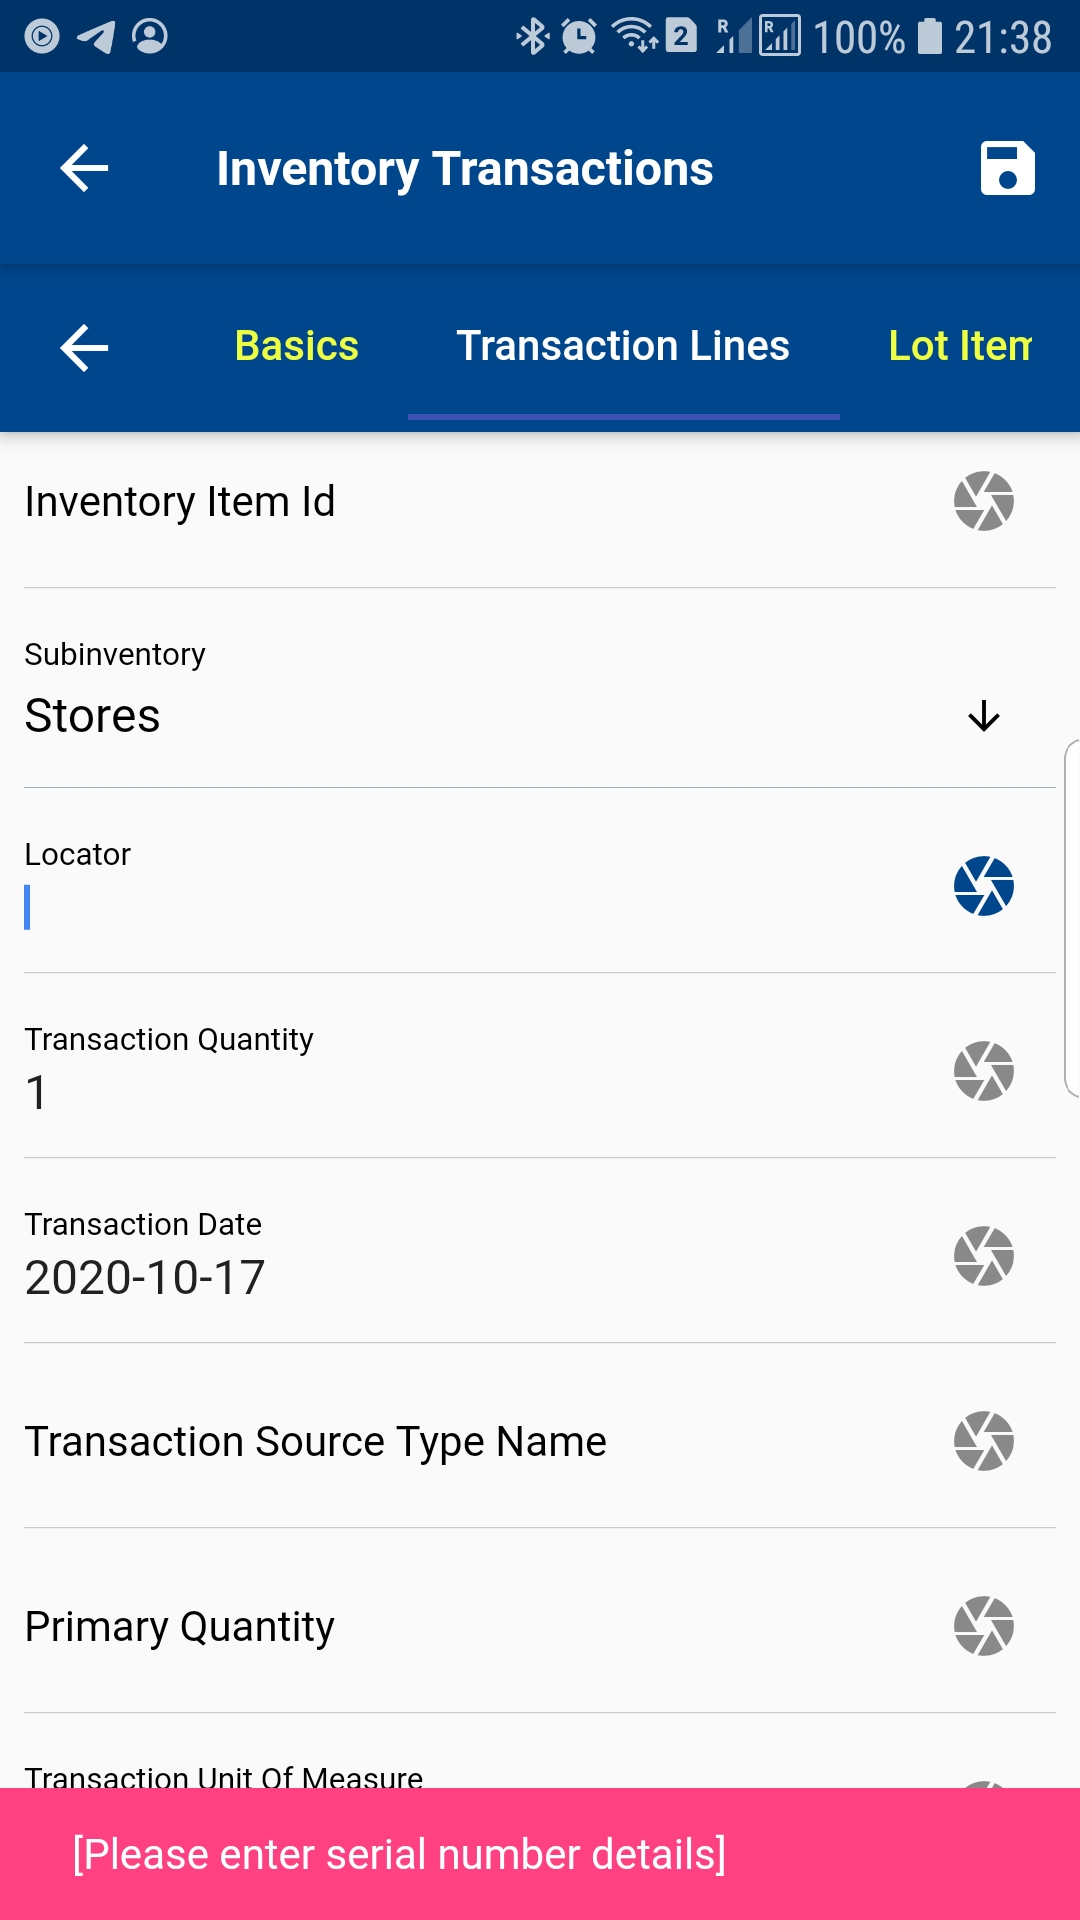
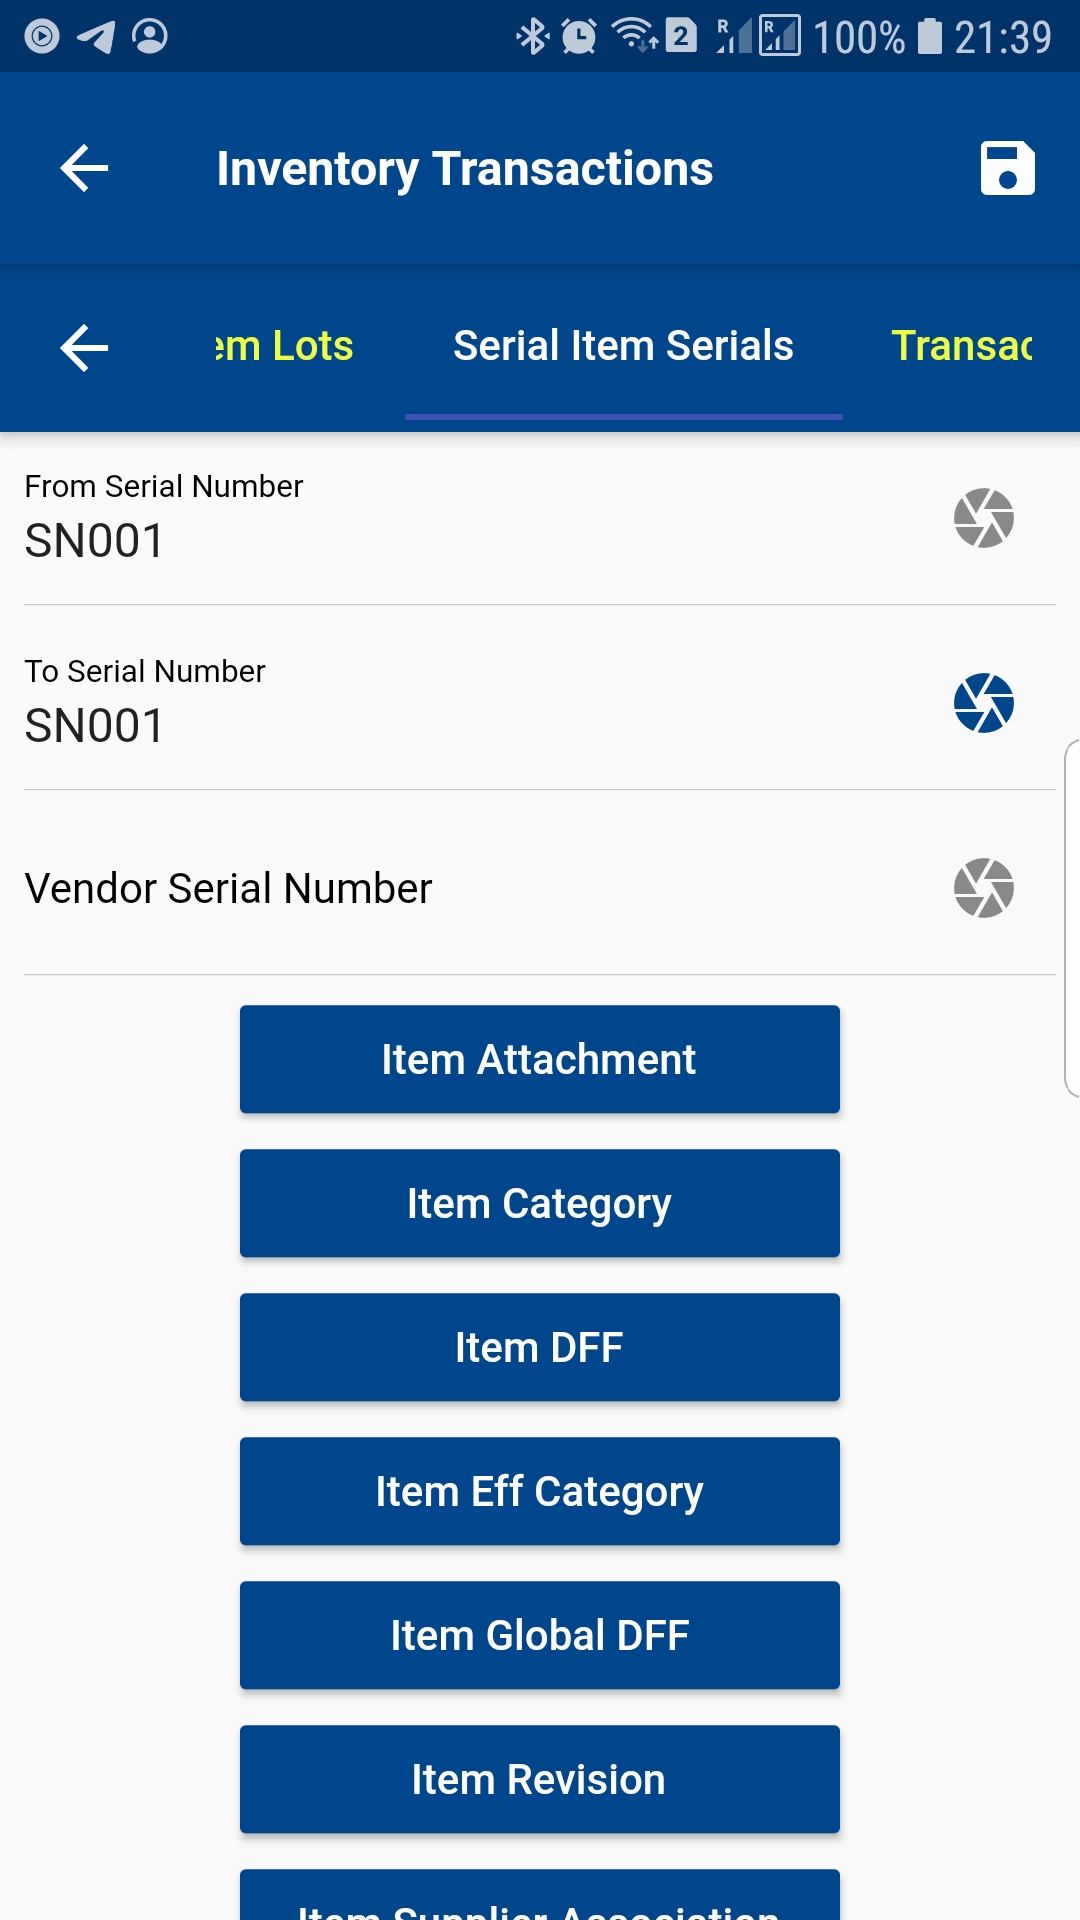
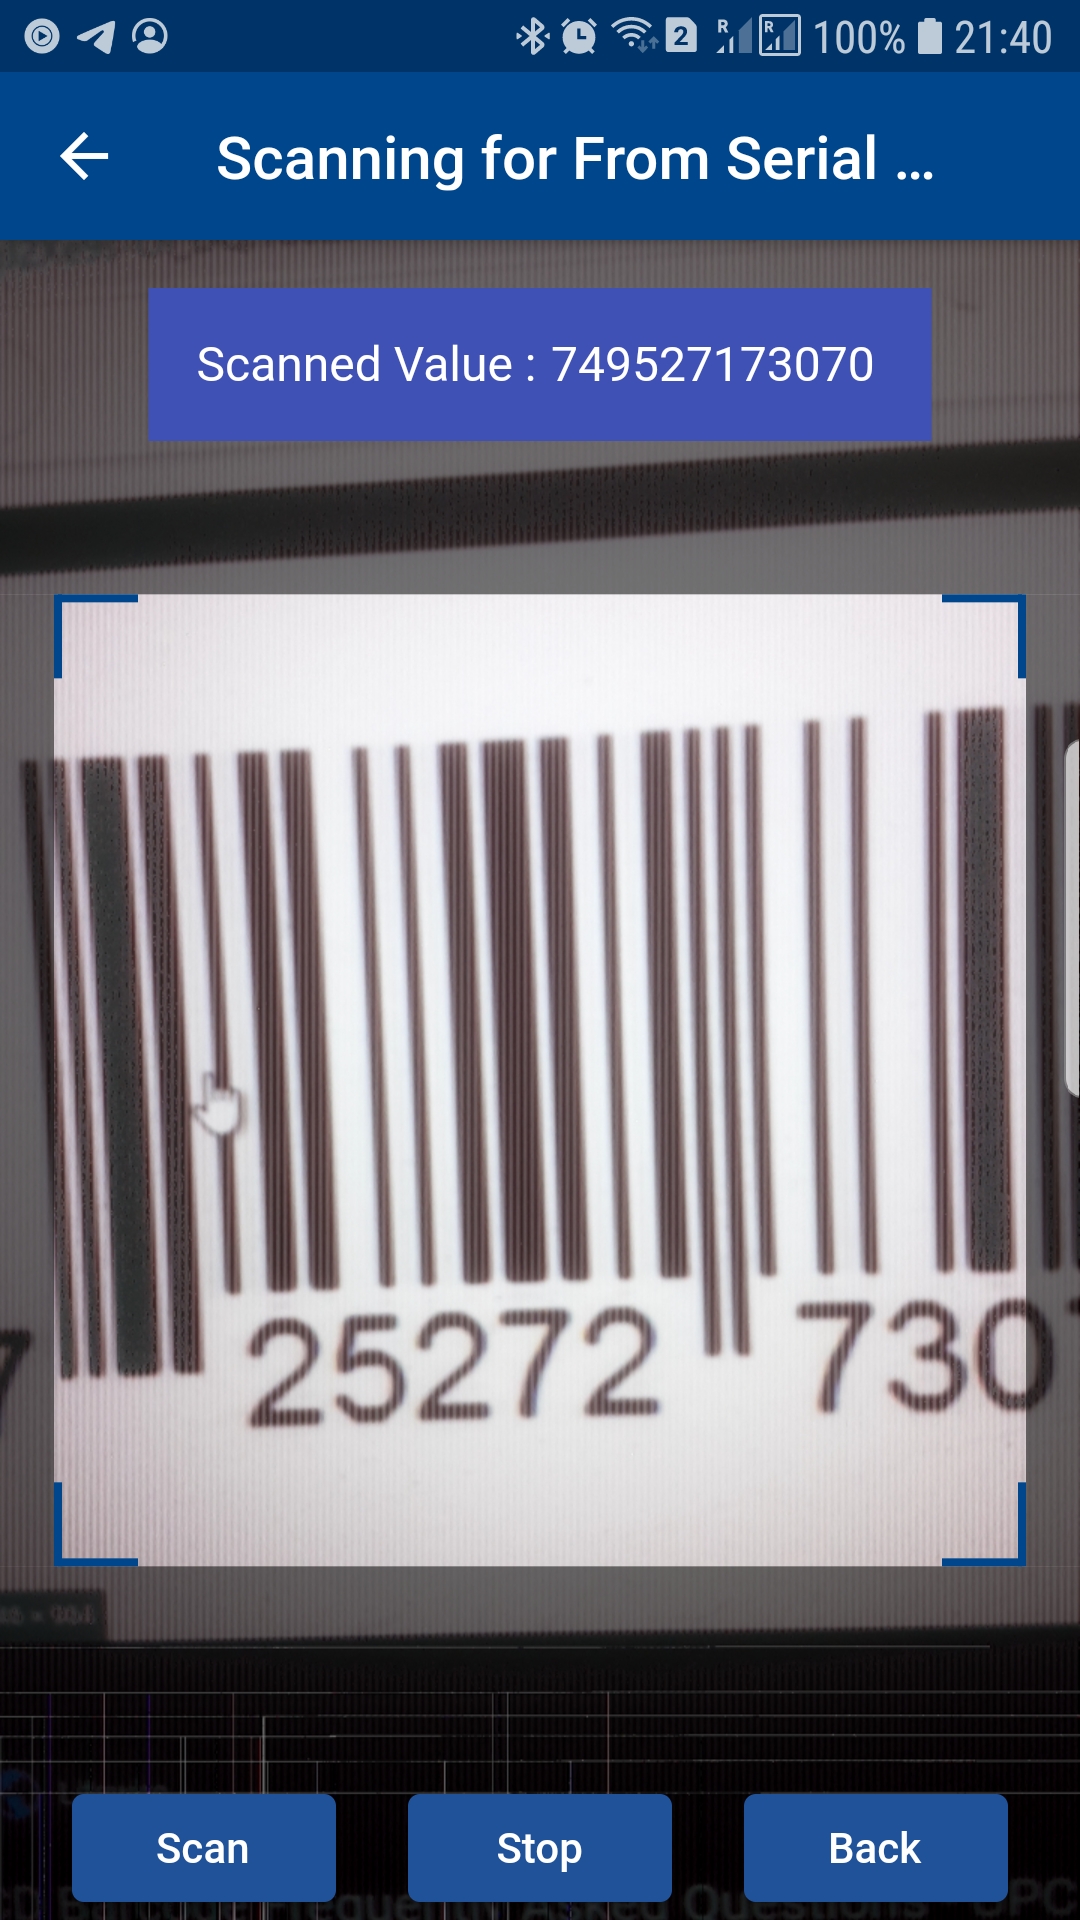
To enter serial/lot number details, scroll to the serial number tab and enter/scan From Serial and To Serial numbers.
Manufacturing Transactions
You can view and complete all work order-related transactions using OneApp. The process of all transactions are the same
- Search a work order using dispatch list
- Select the operations you want to transact
- Select the transaction type (Start/Stop, Move, Material or Resource)
- Review all the details
- Enter any required information (Ex: Date & Time for Start, To Operation For Move, Lot/Serial for Material, etc.)
- Save the transaction
Material Transaction
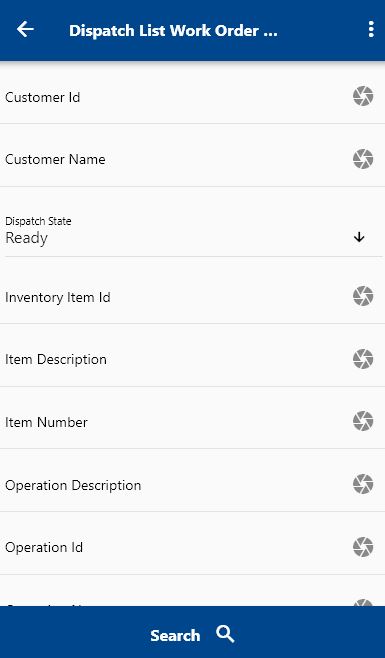
To do a material transaction against a Work Order, first, navigate to the dispatch list form.
You can navigate the dispatch list form from your dashboard, favorite, or just by using a quick search.
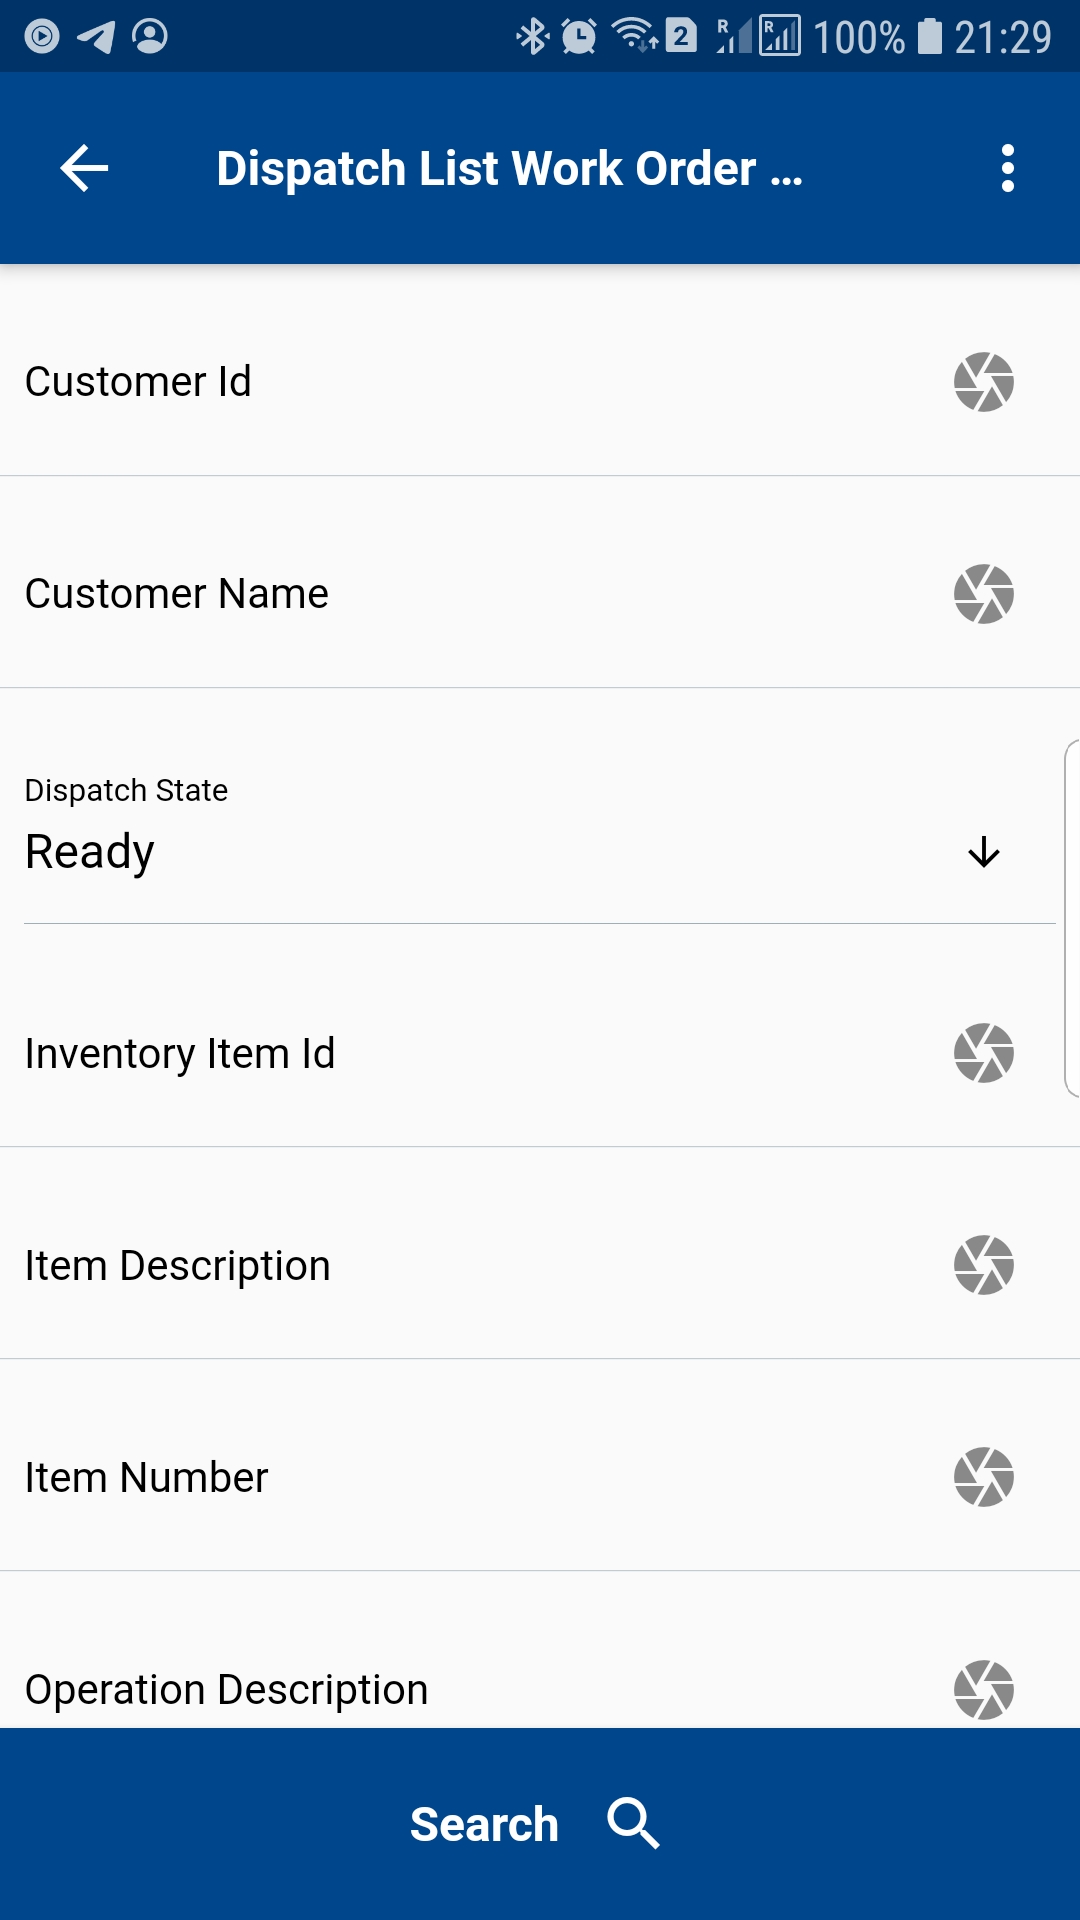
Enter the item or organization code or work order number in the search form and then click on the search button.
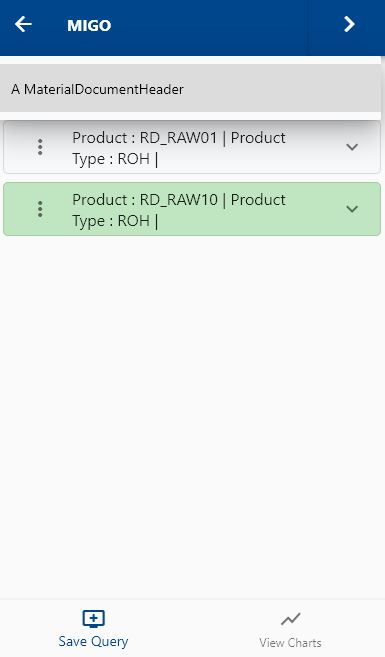
The app will show all the available work orders with operation details. To view the work order details (such item, description, dates, etc.), you click on the expand button, and the app will show you all the details. You can also visit the work order details form by clicking on the Fetch/View button, but that's not required to complete a transaction. If you navigate the work order details screen, use the back button to navigate back to the current search result screen.
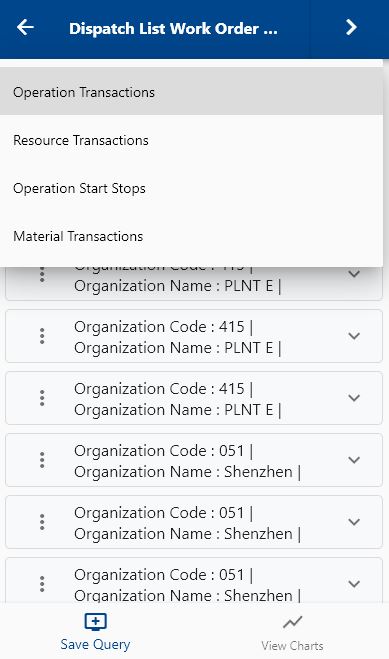
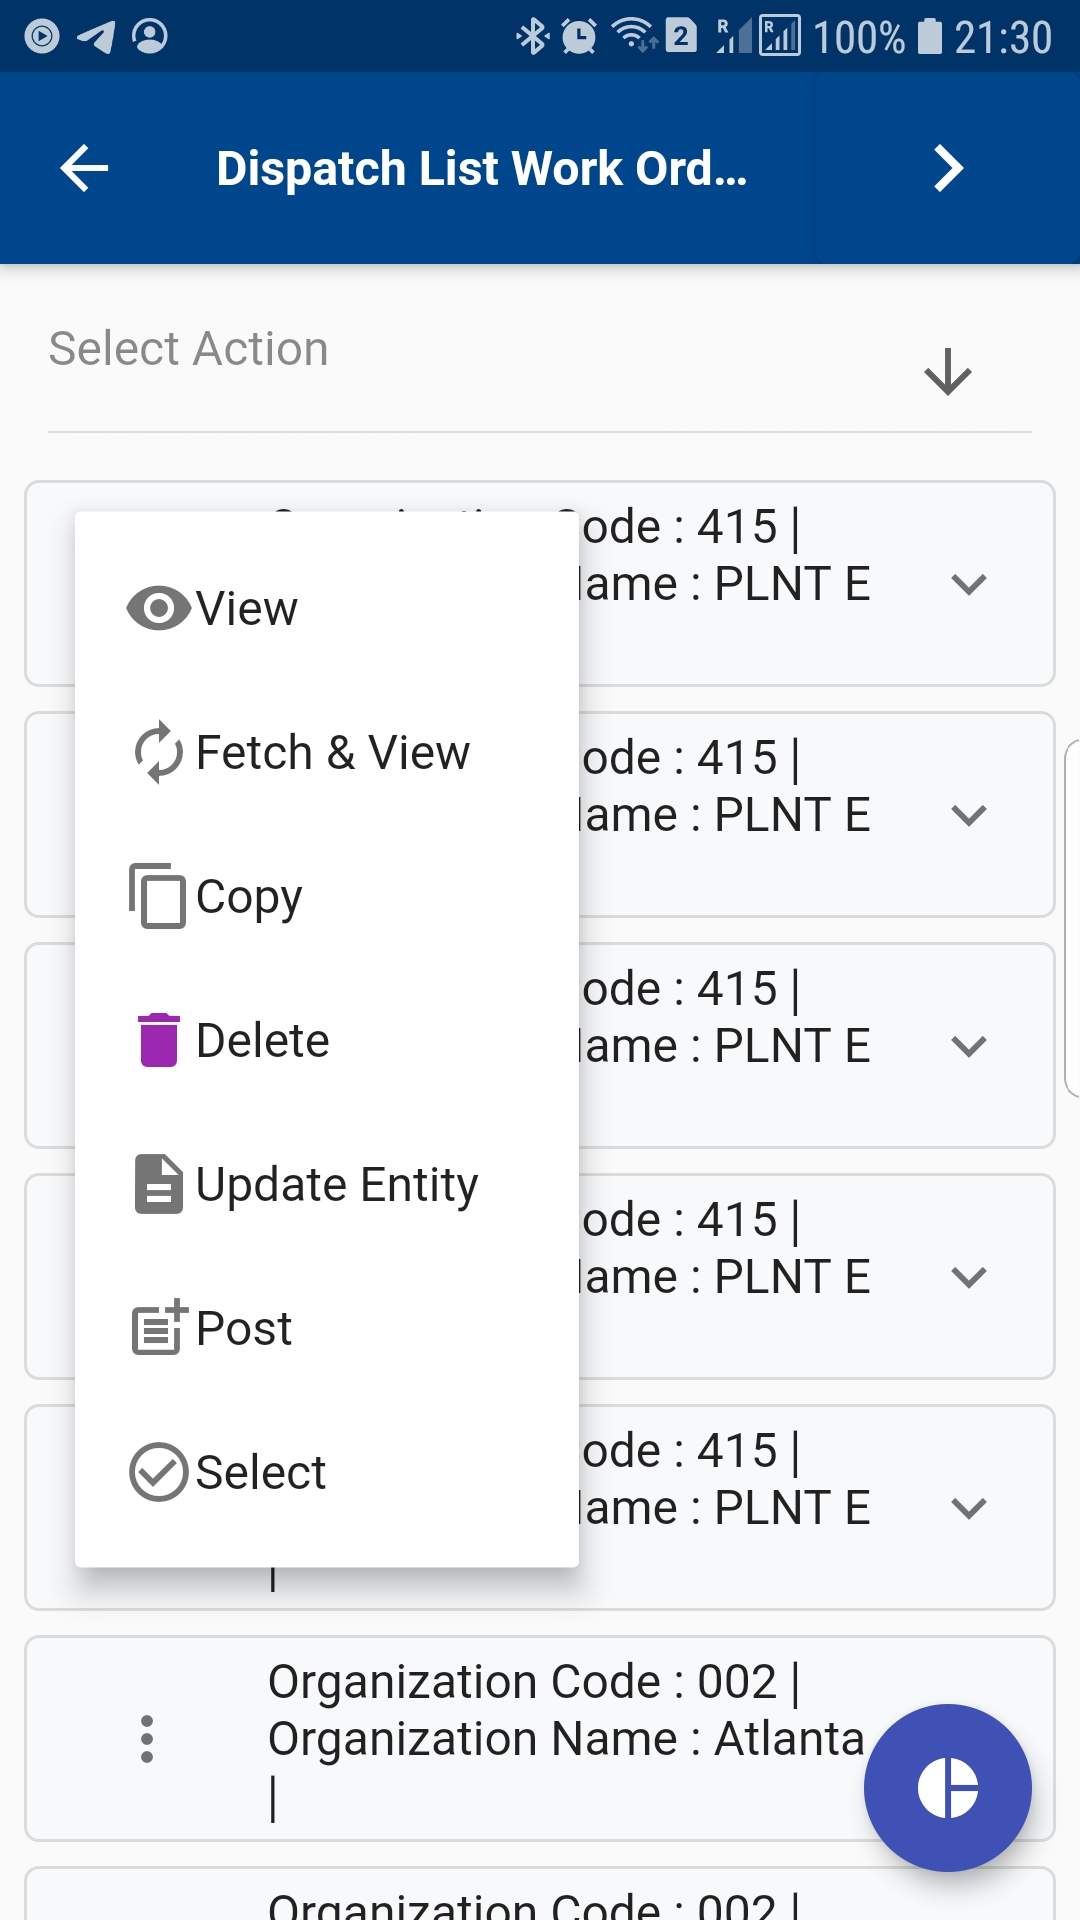
Click on the Menu against an operation to do a material transaction and click on the select button.
Next, select "Material Transaction" in the transaction type list of values.

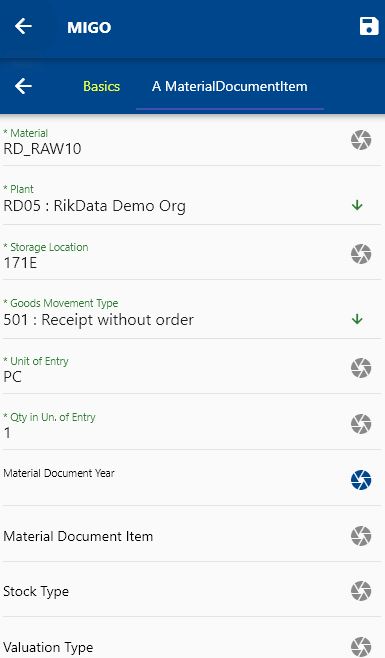
The app will take you to a confirmation screen where you need to validate all information and enter some other information such as Quantity, Serial Number, Lot Number, etc.
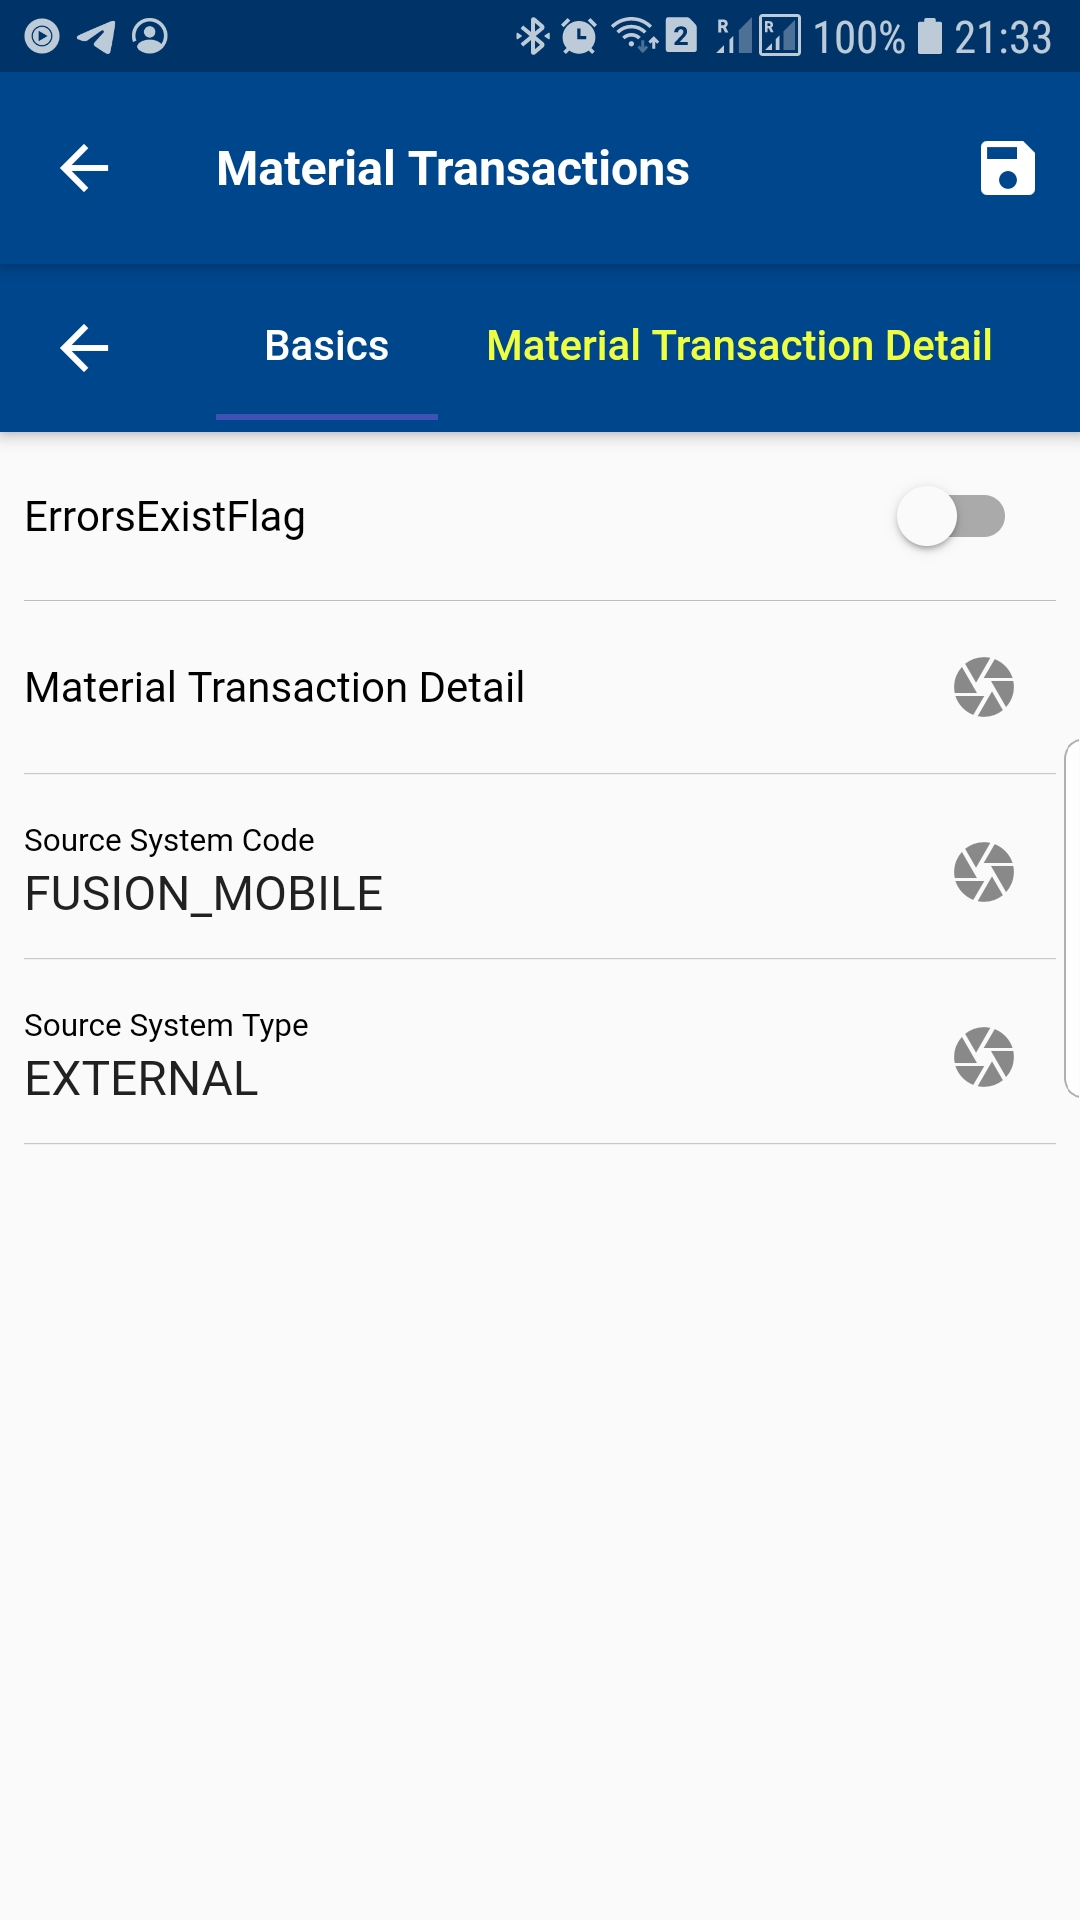
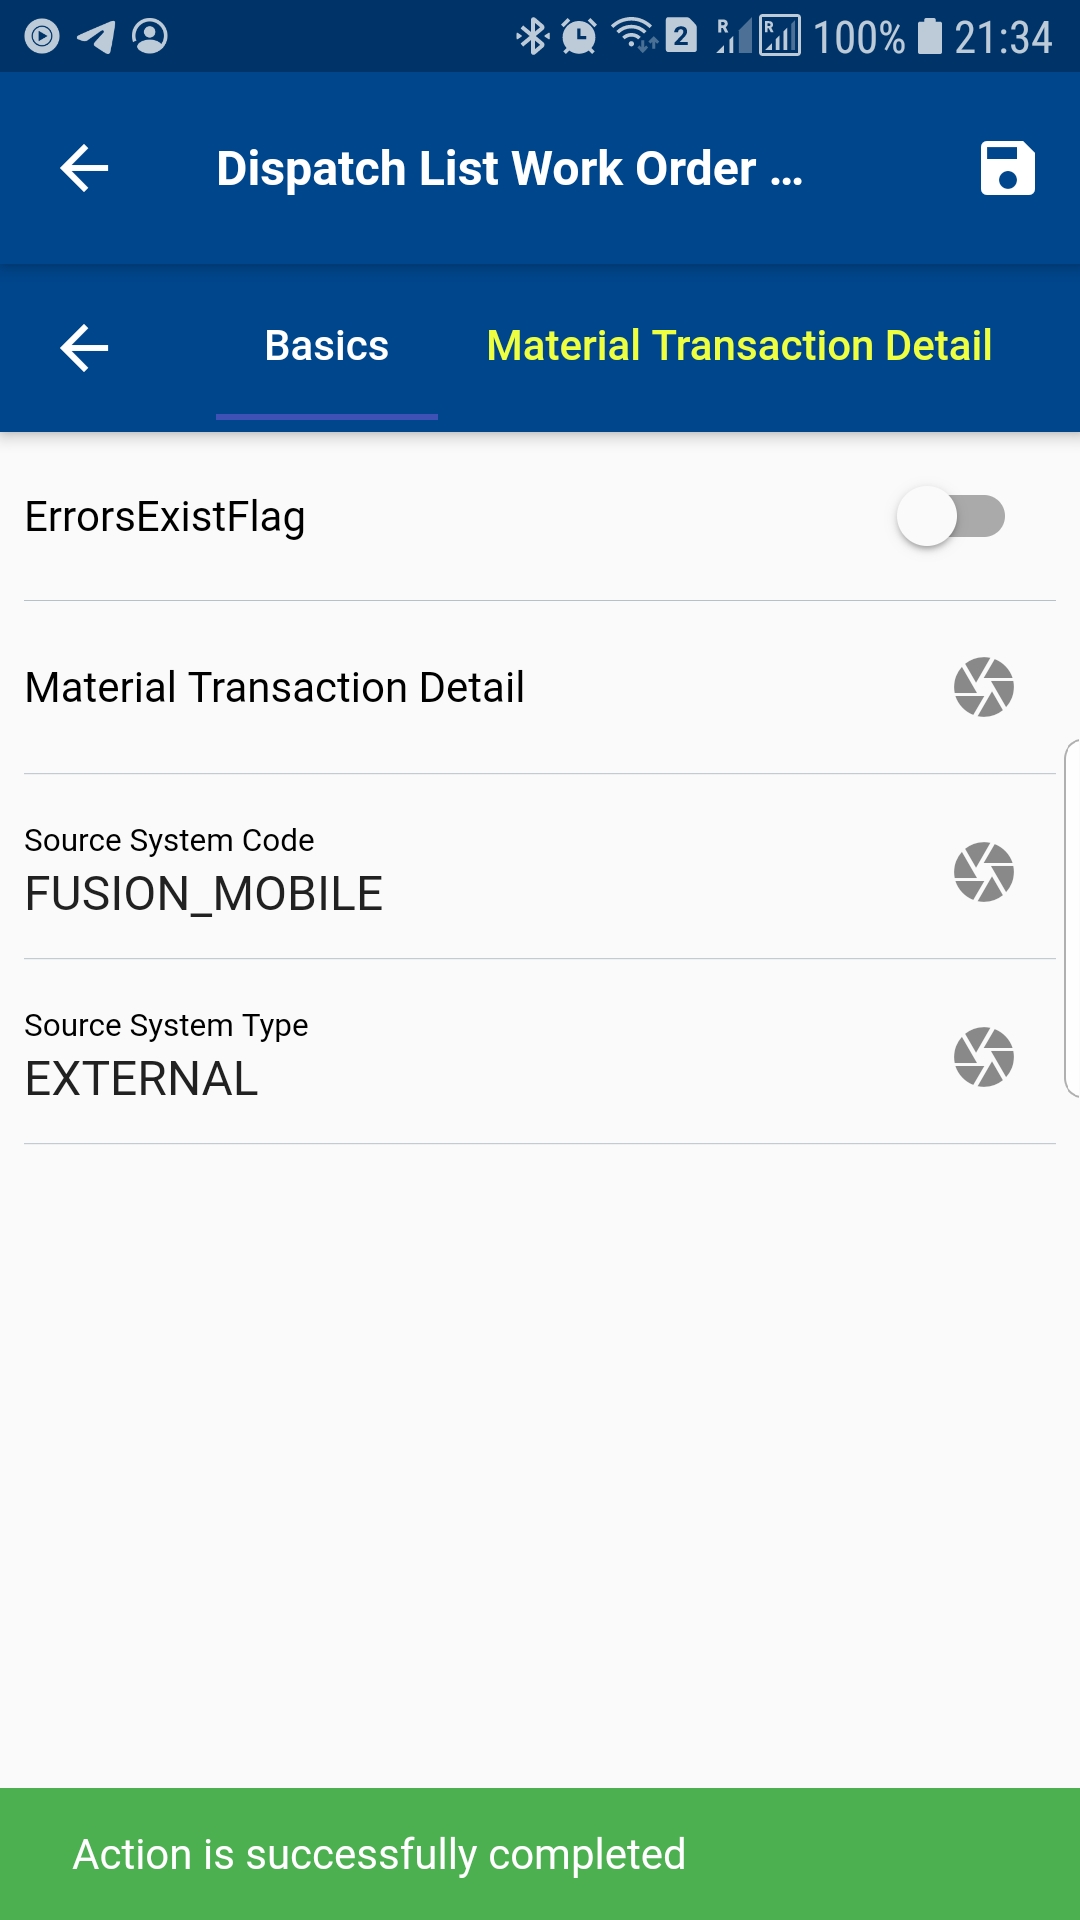
The transaction screen will show several tabs. The first Tab (Basic tab) contains information that is required to complete the material transaction. Source System Code and Source System Type are needed to complete a material transaction using REST API, and thus the app will default the value from the navigation menu configuration. If required, you can manually change the value.
You can change the default value of Source System Code and Source System Type in the menu path for material transactions
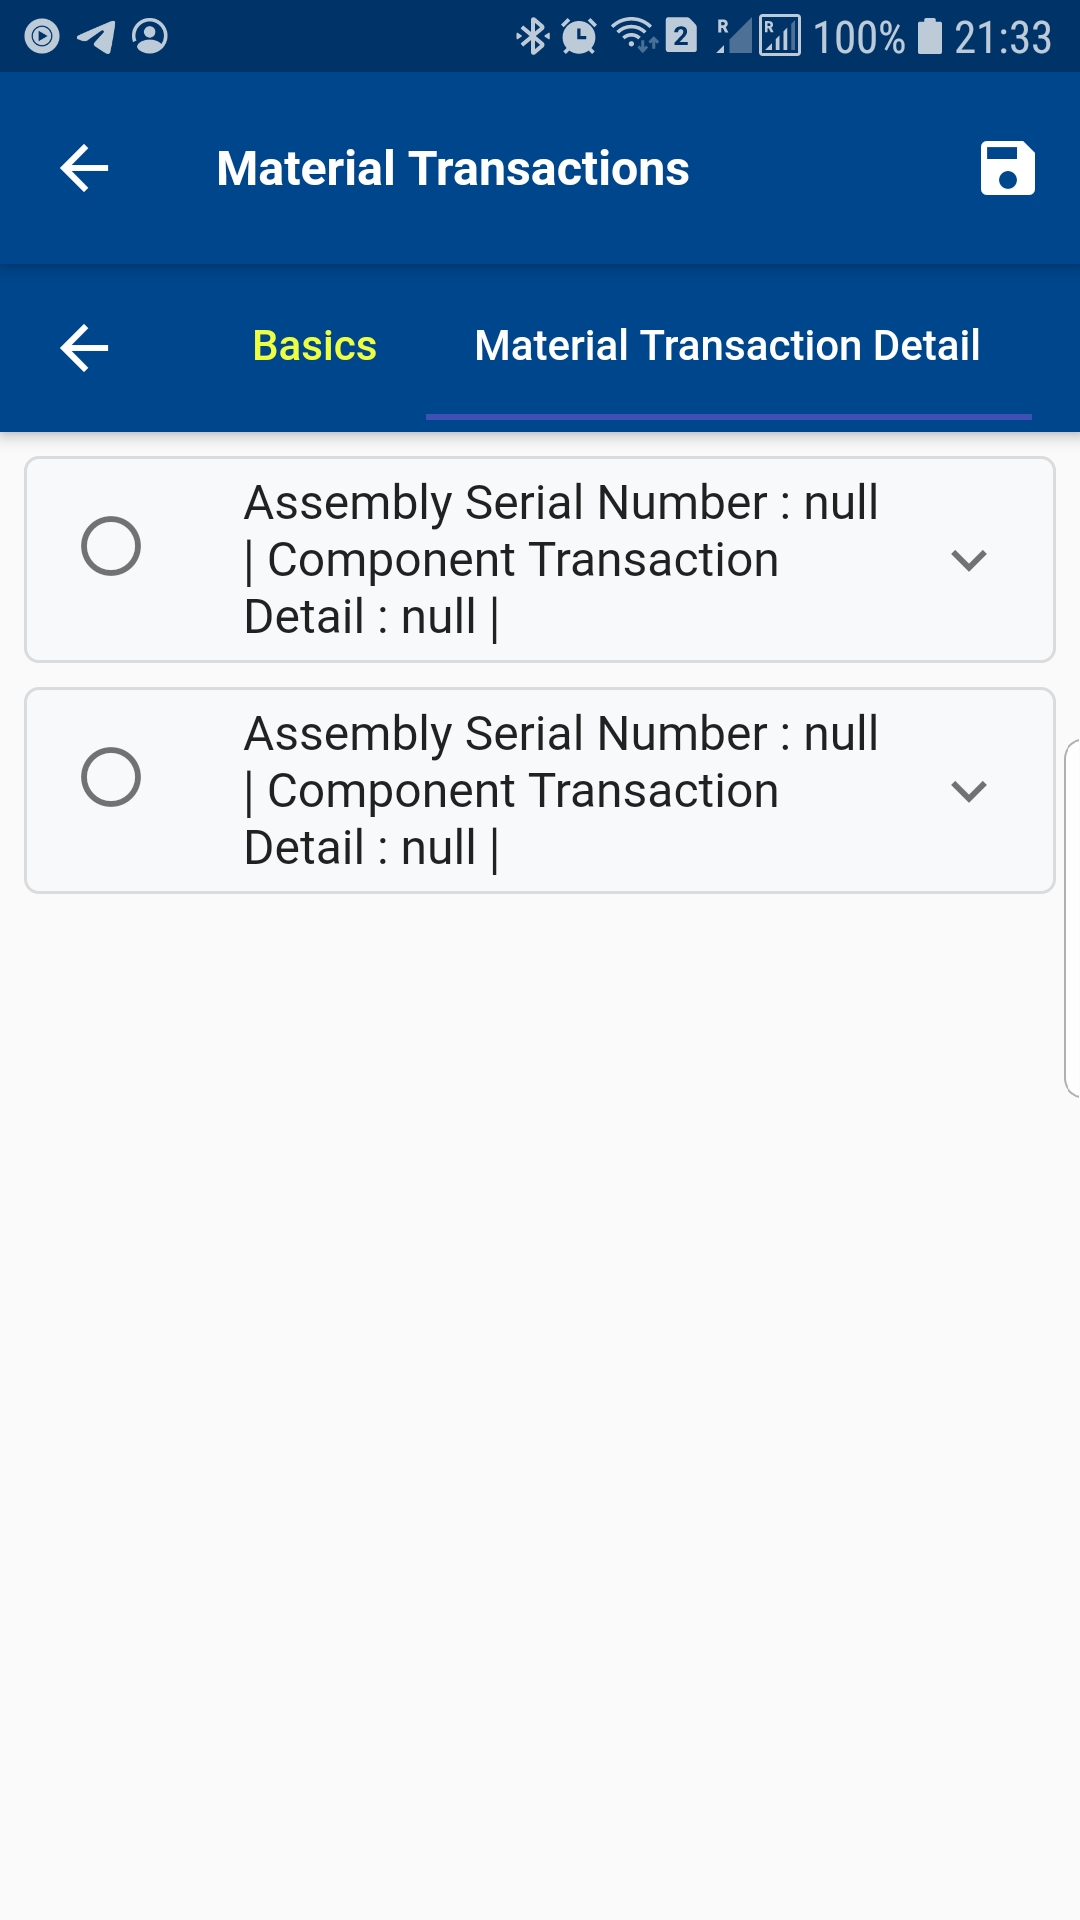
Click on the expand button to view the item details.
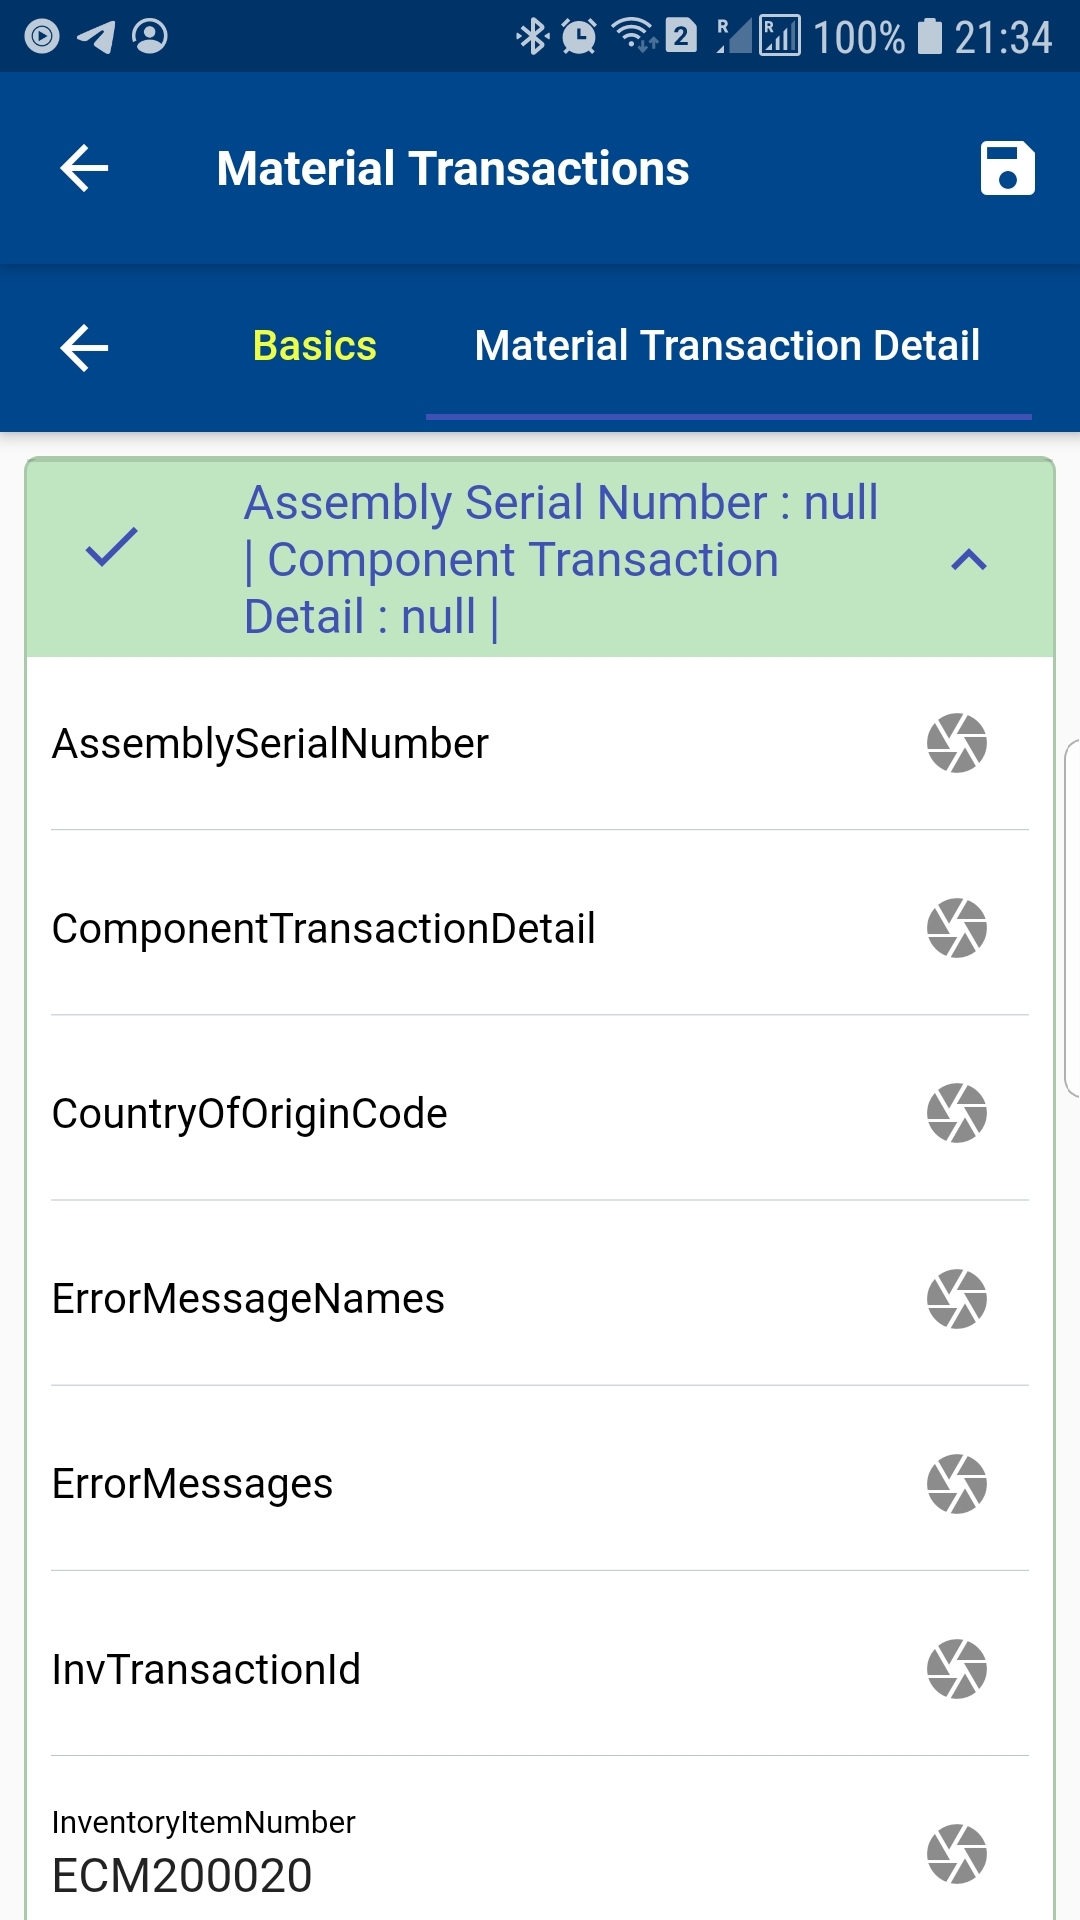
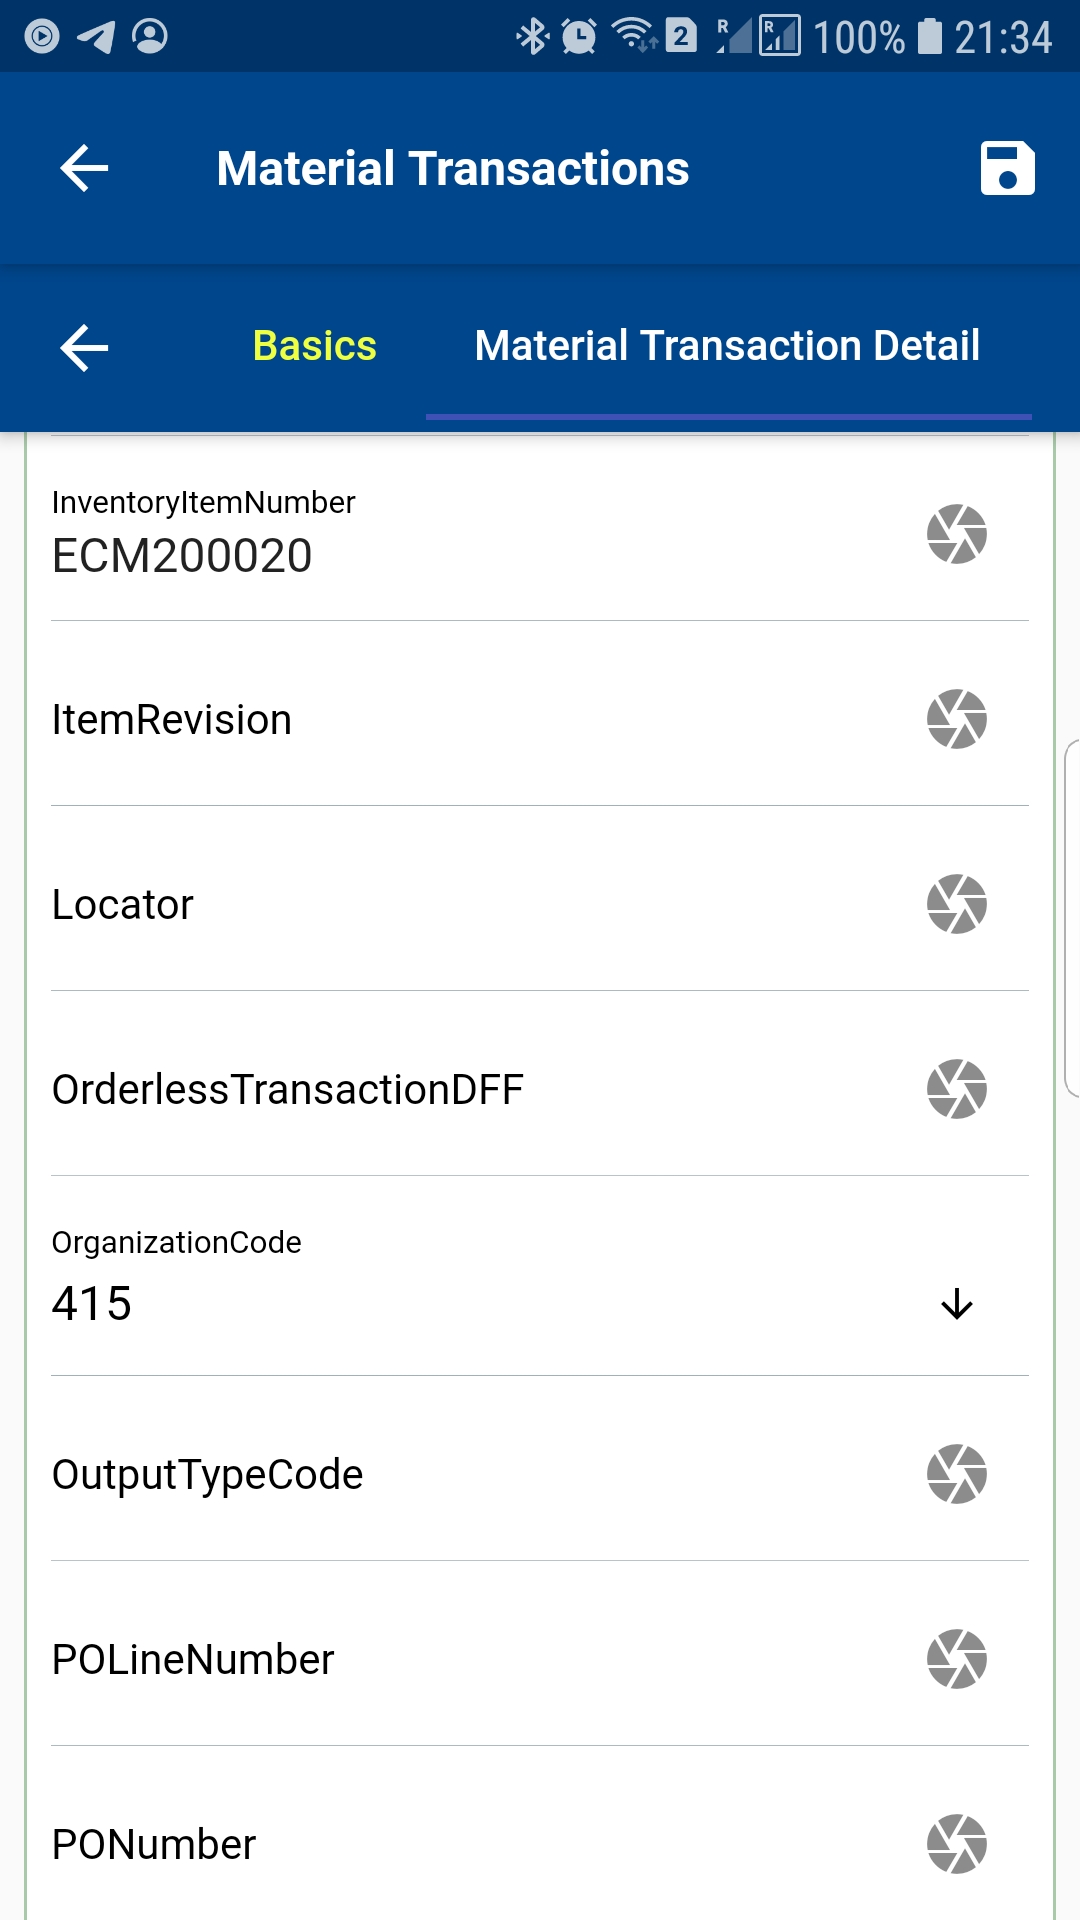
Verify all the information, and enter all the other required details such as
- Sub Inventory
- Locator - if sub inventory is locator control
- Quantity
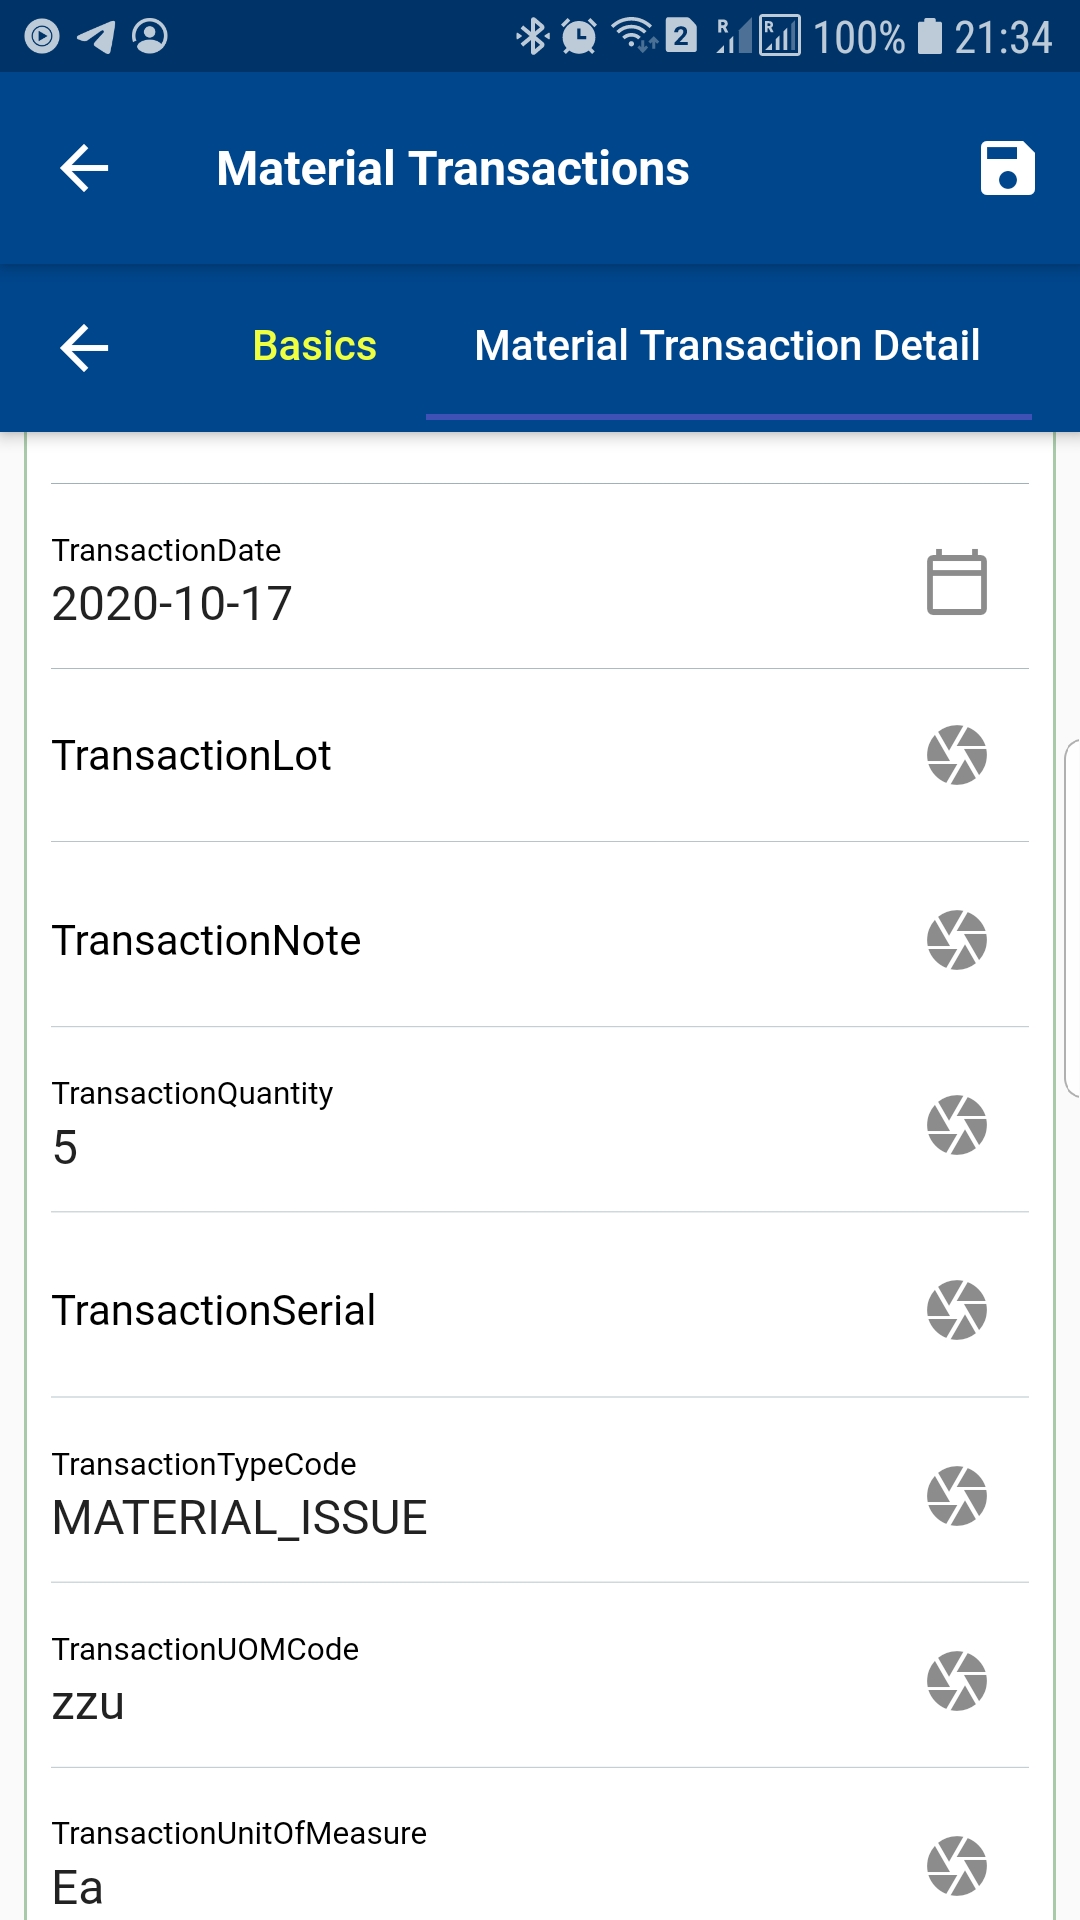
Next, click on the Save button.
Serial/Lot Number
If an item is serial or lot controlled, you need to enter the serial and lot details in the serial/lot tab. If you don't enter, the app will show below warning message, and won't submit the transaction to the server.
To enter serial/lot number details, scroll to the serial number tab and enter/scan From Serial and To Serial numbers.
Resource Transaction
To do a resource transaction against a Work Order, first, navigate to the dispatch list form.
You can navigate the dispatch list form from your dashboard, favorite, or just by using a quick search.
Enter the item or organization code or work order number in the search form and then click on the search button.
The app will show all the available work orders with operation details. To view the work order details (such item, description, dates, etc.), you click on the expand button, and the app will show you all the details. You can also visit the work order details form by clicking on the Fetch/View button, but that's not required to complete a transaction. If you navigate the work order details screen, use the back button to navigate back to the current search result screen.
Click on the Menu against an operation to do resource transactions and click on the select button.
Next, select "Resource Transaction" in the transaction type list of values.
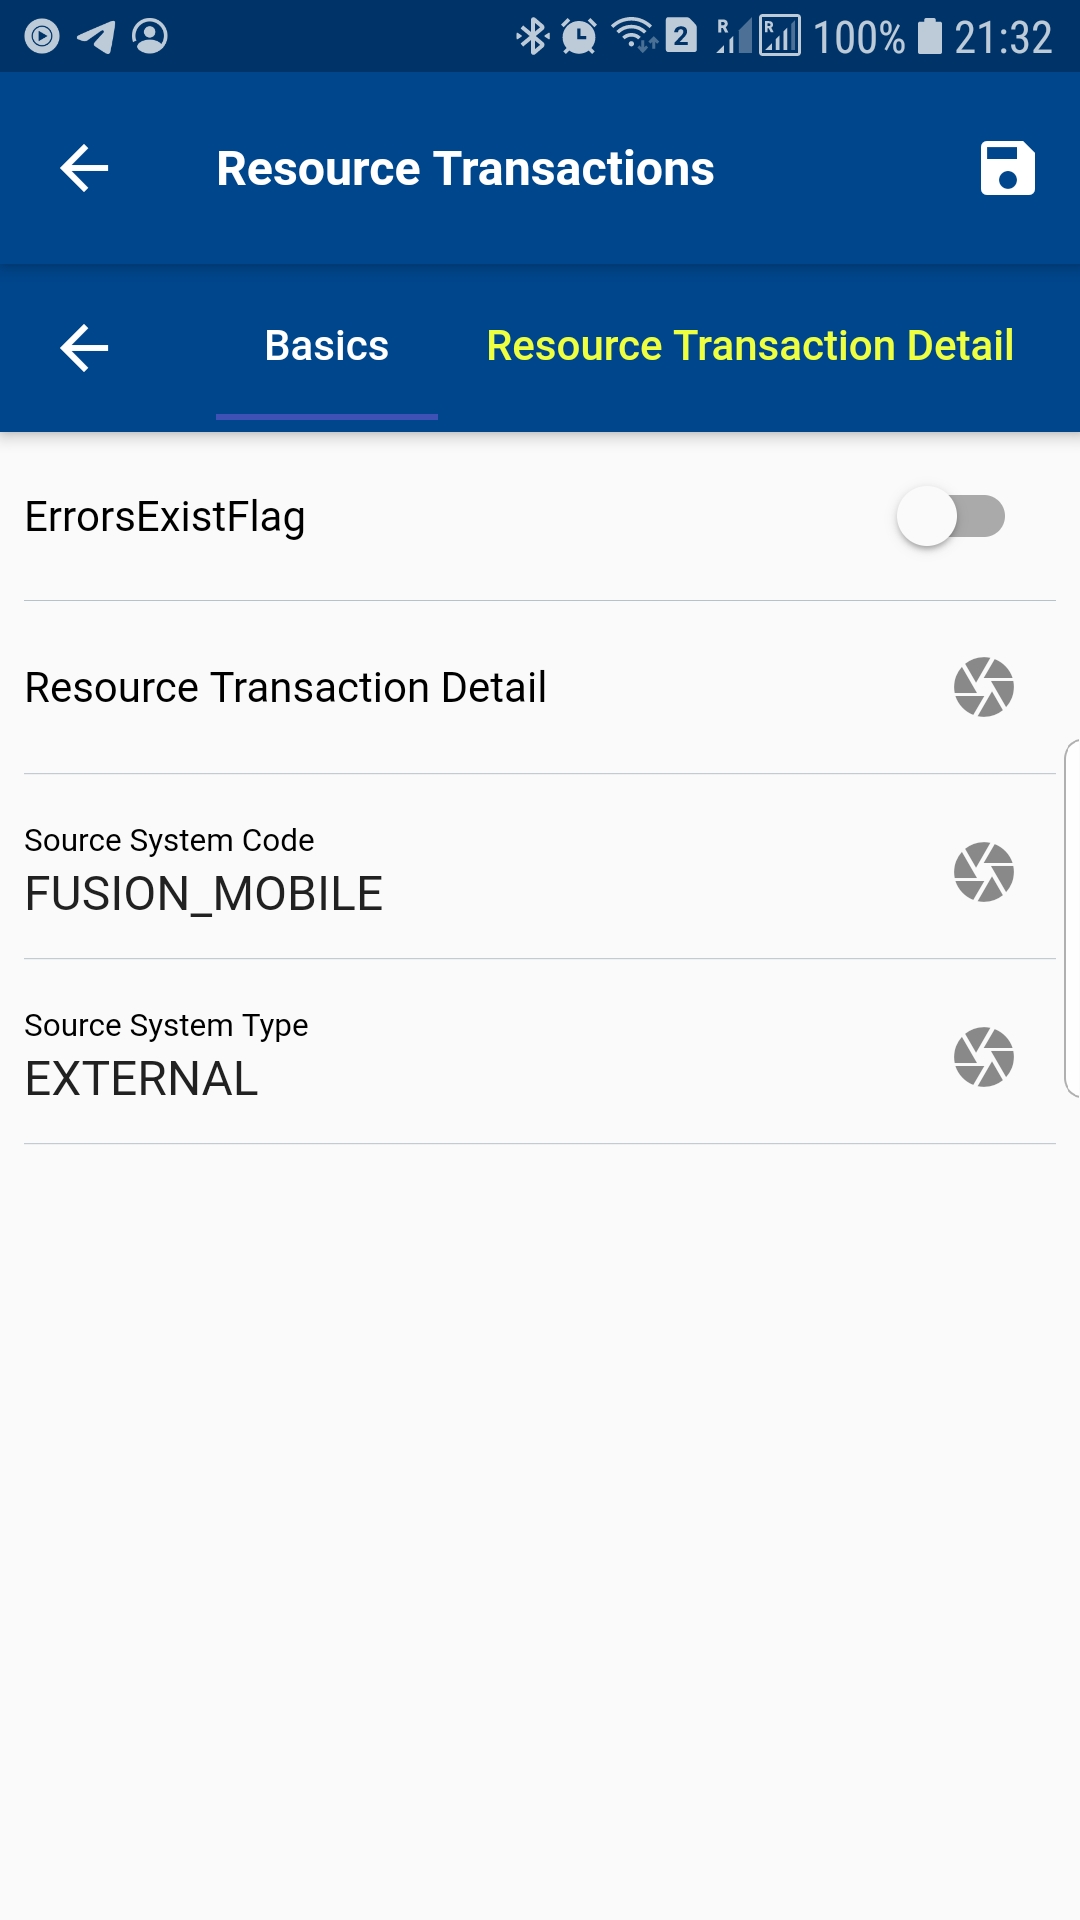
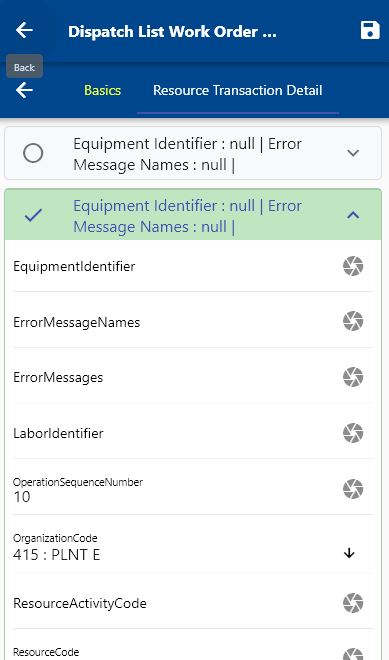
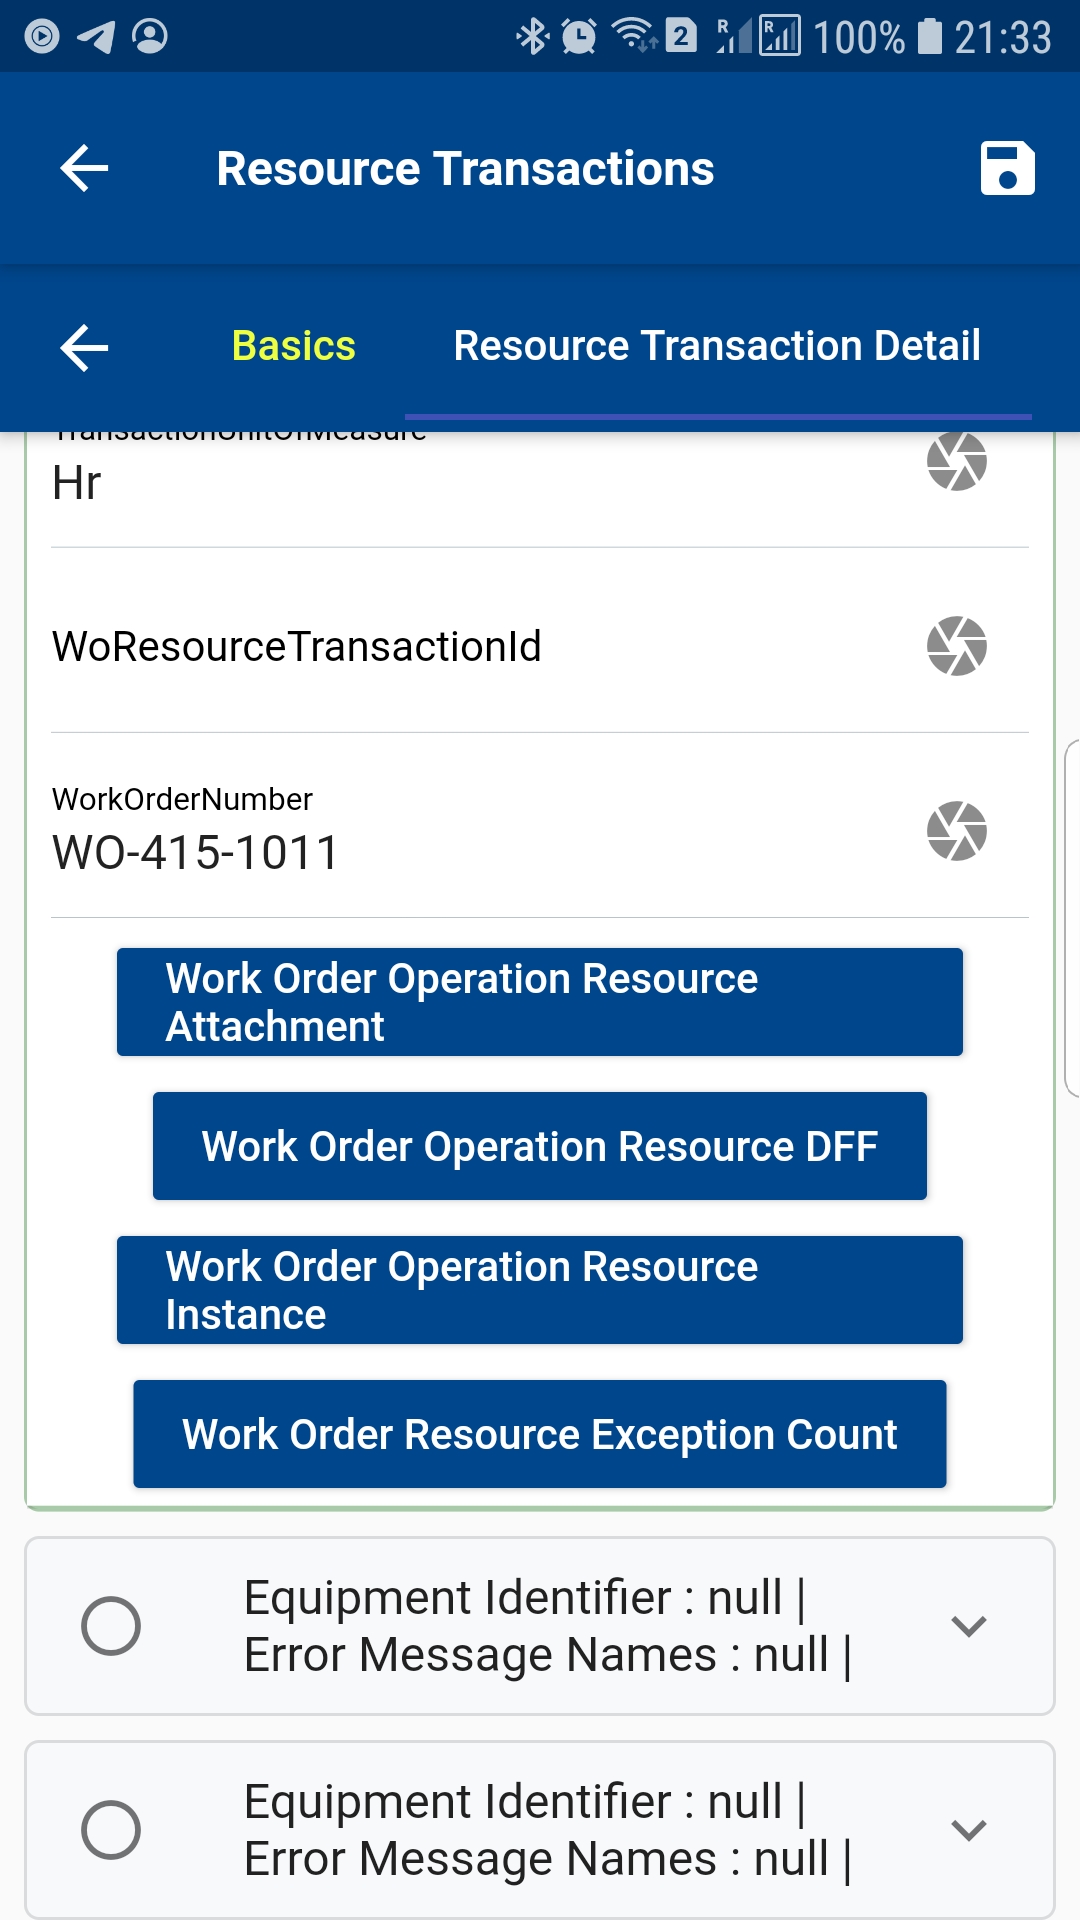
The app will take you to a confirmation screen where you need to validate all information and enter some other information such as Quantity, Unit of Measure, Resource, etc.
The transaction screen will show several tabs. The first Tab (Basic tab) contains information that is required to complete the material transaction. Source System Code and Source System Type are needed to complete a resource transaction using REST API, and thus the app will default the value from the navigation menu configuration. If required, you can manually change the value.
You can change the default value of Source System Code and Source System Type in the menu path for material transactions
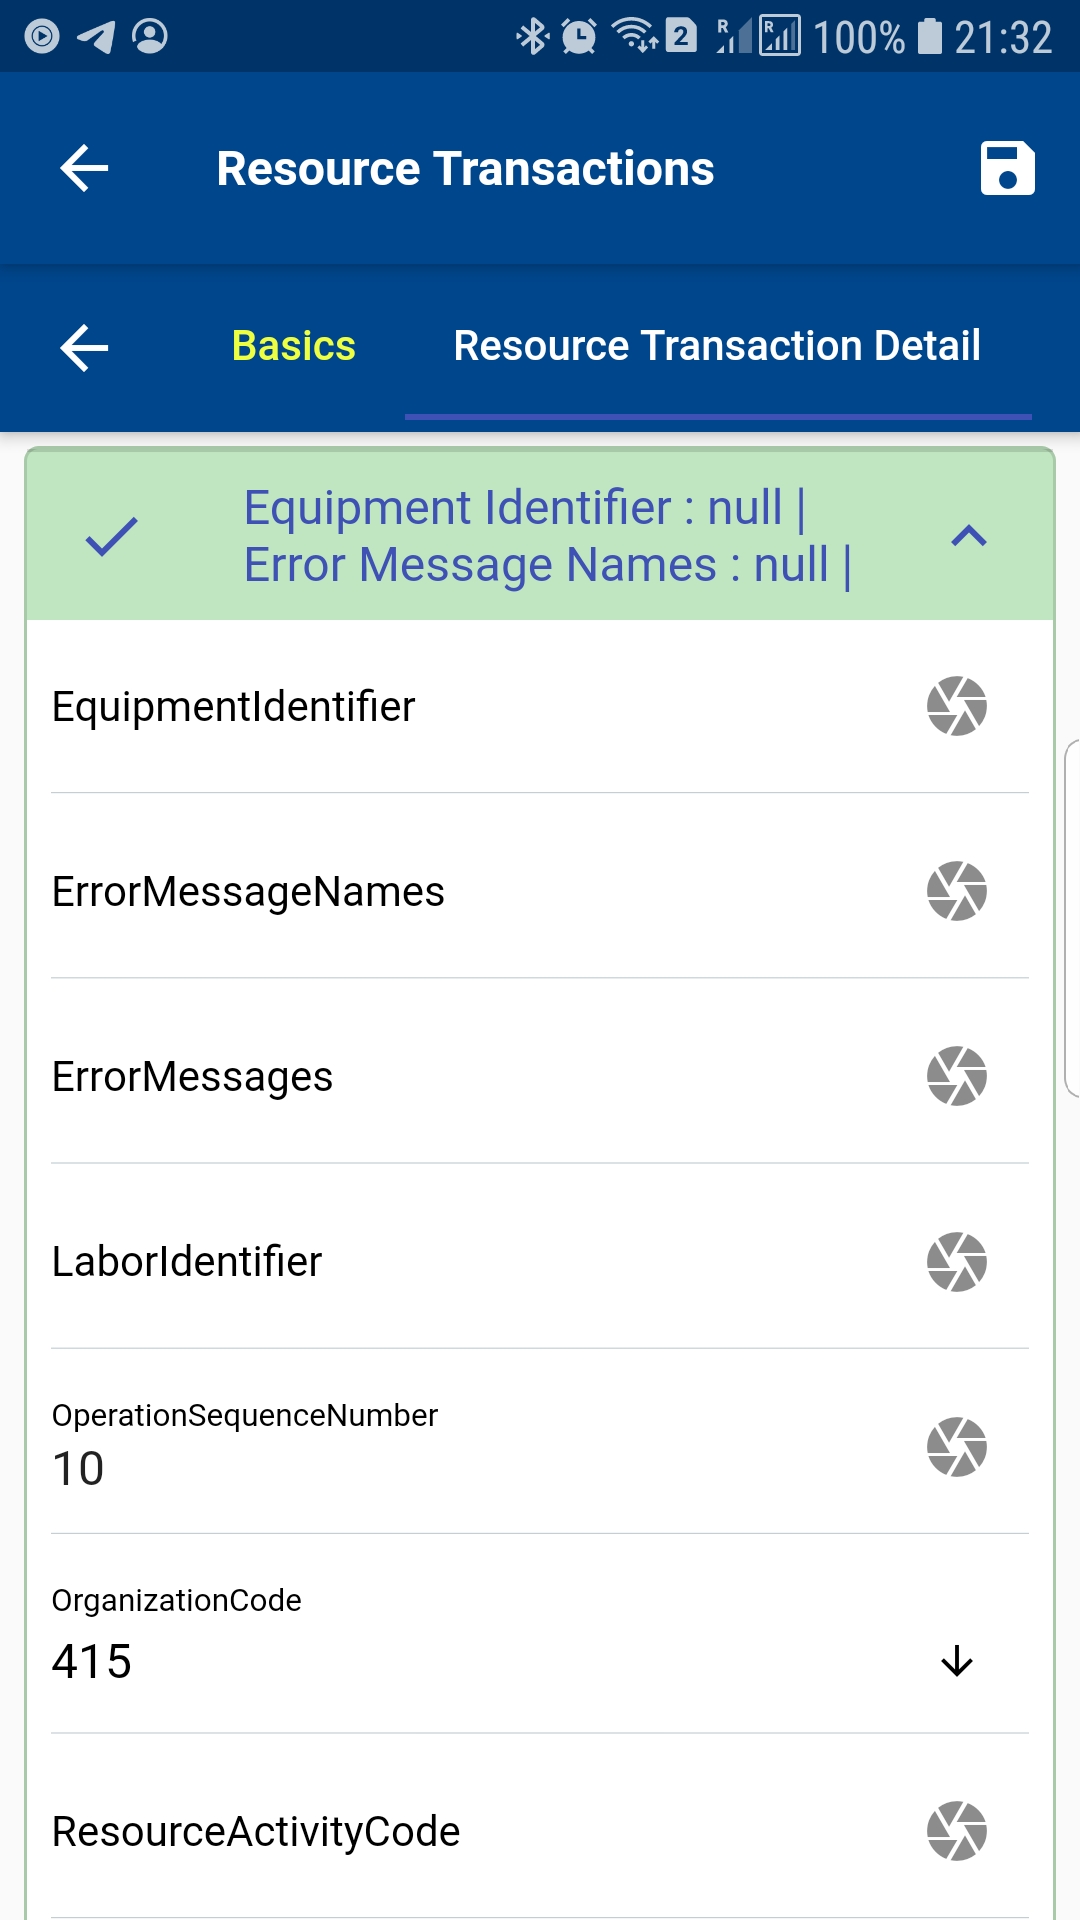
Click on the expand button to view the resource details.
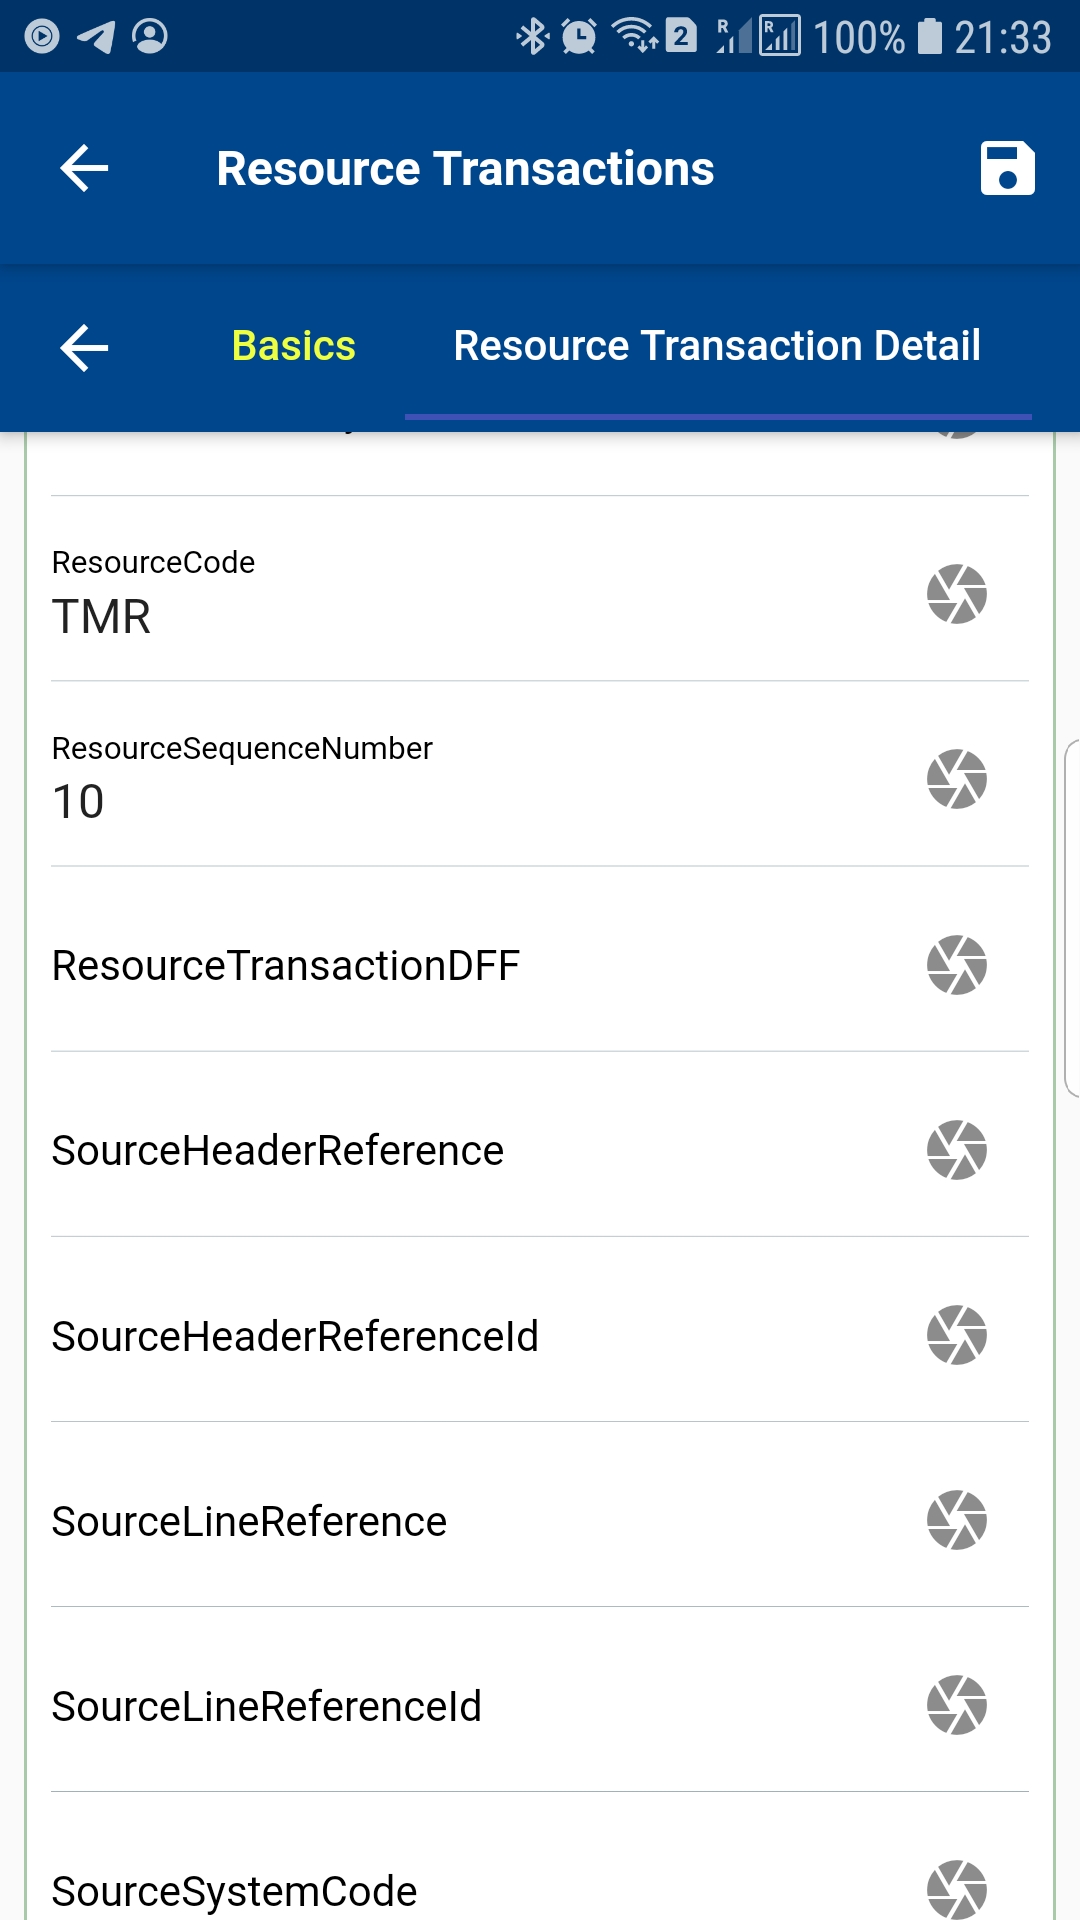
Verify all the information, and enter all the other required details
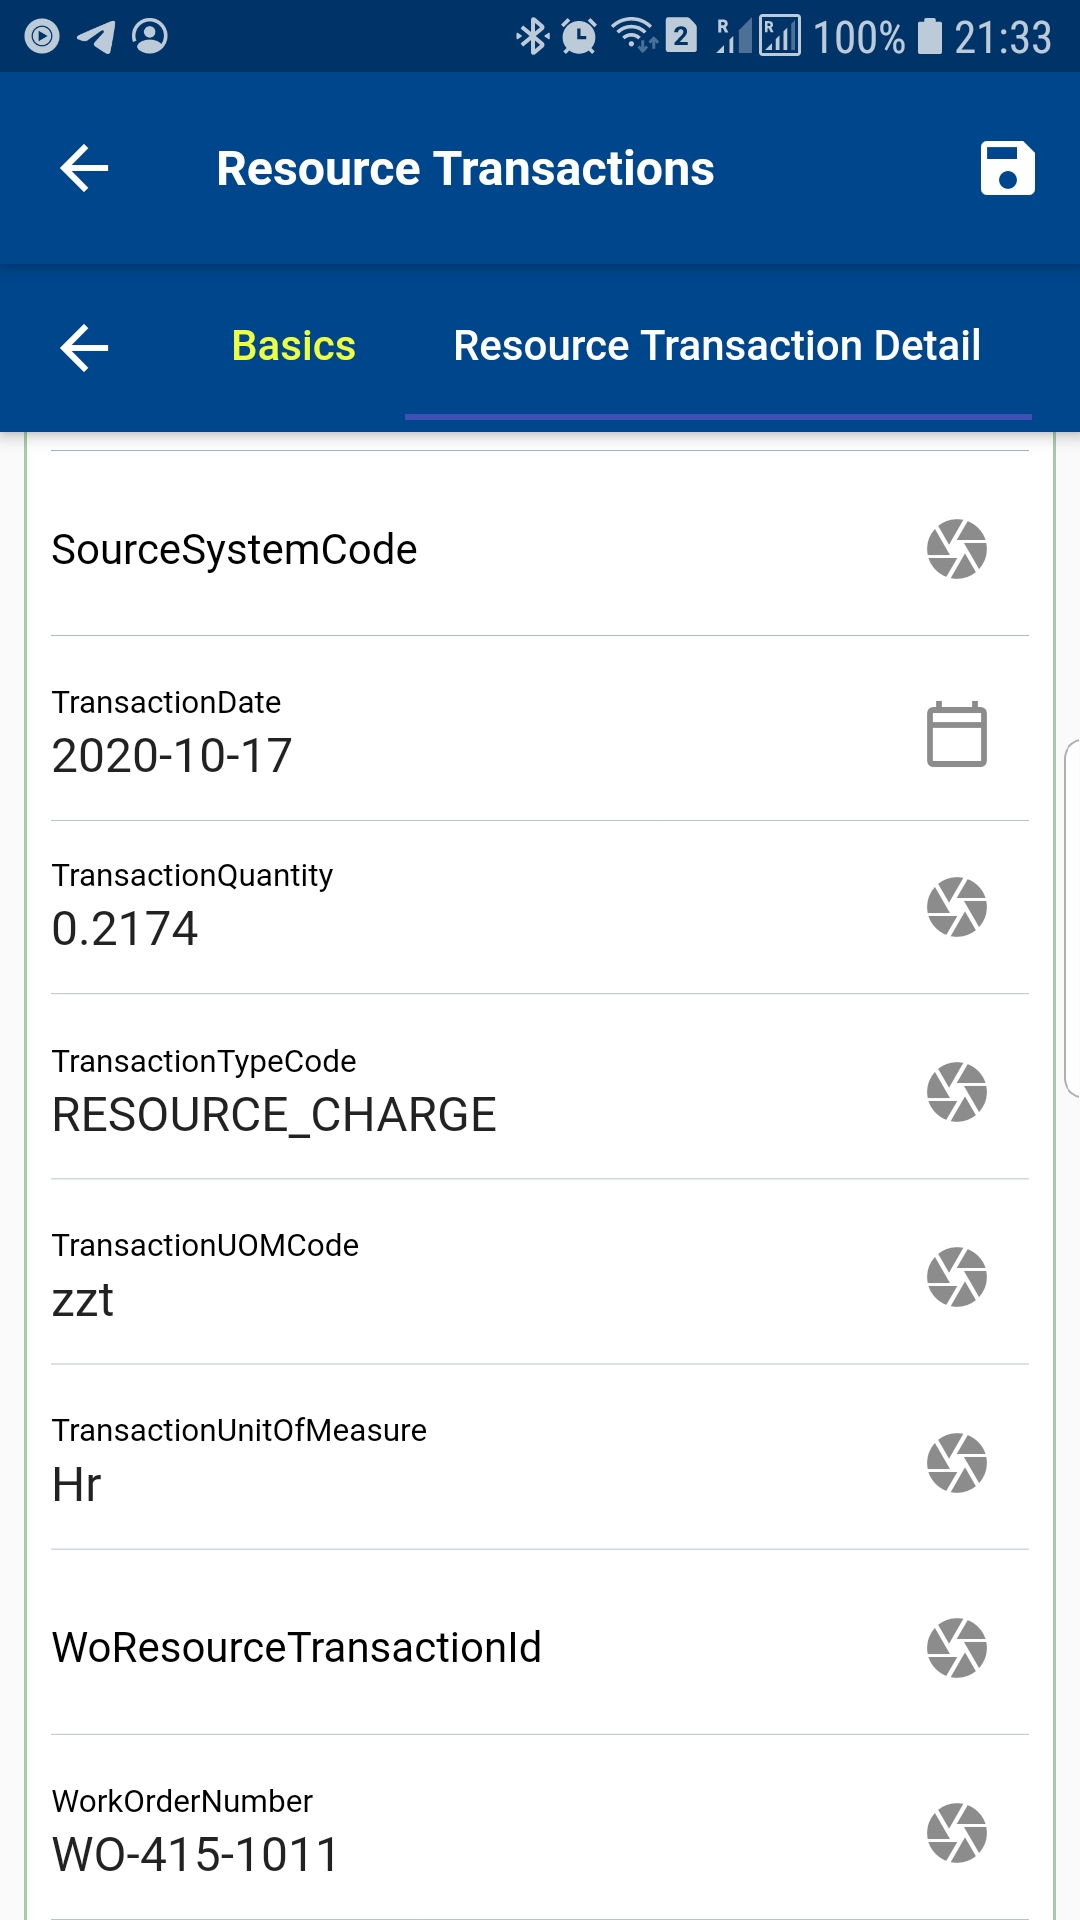
Next, click on the Save button.
Operation Move
To do an operation move transaction against a Work Order, navigate to the dispatch list form.
You can navigate the dispatch list form from your dashboard, favorite, or just by using a quick search.
Enter the item or organization code or work order number in the search form and then click on the search button.
The app will show all the available work orders with operation details. To view the work order details (such item, description, dates, etc.), you click on the expand button, and the app will show you all the details. You can also visit the work order details form by clicking on the Fetch/View button, but that's not required to complete a transaction. If you navigate the work order details screen, use the back button to navigate back to the current search result screen.
Click on the Menu against an operation that you want to do move transaction and click on the select button.
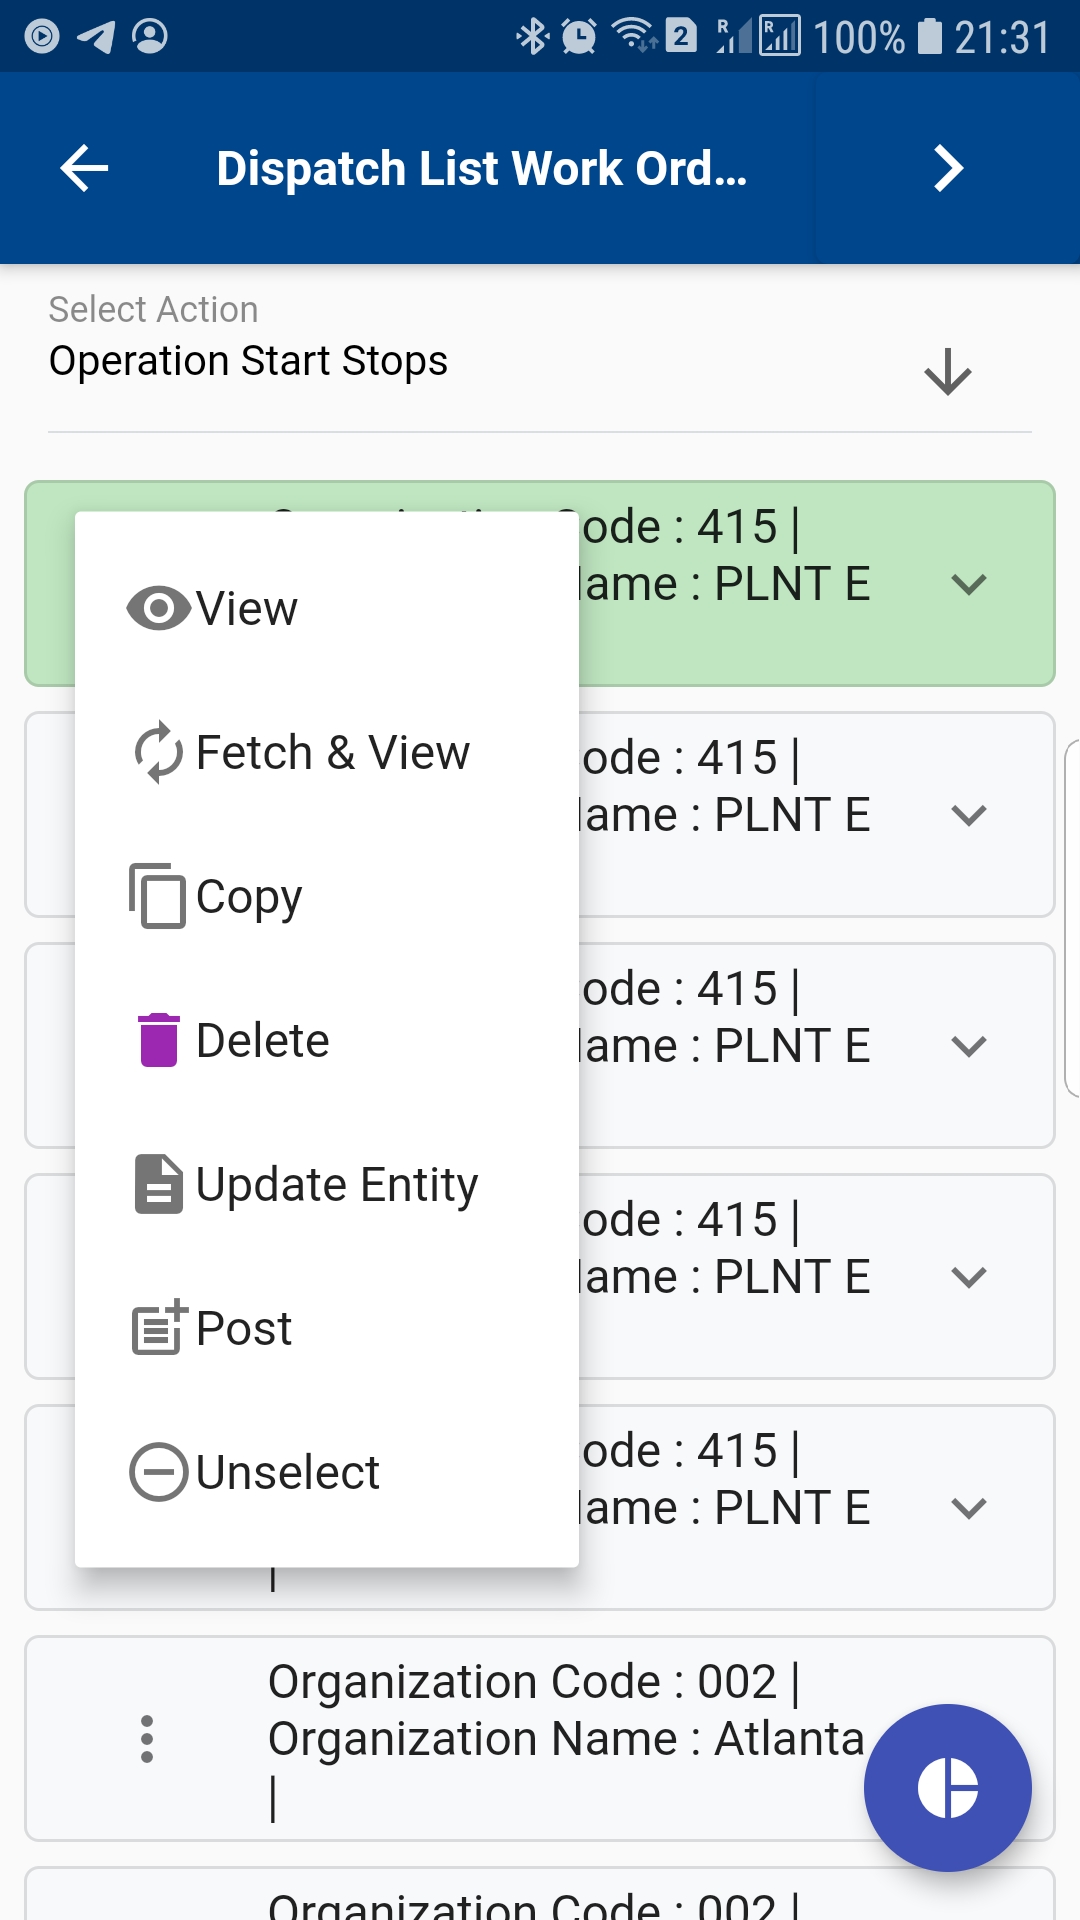
Next, select "Operation Transaction" in the transaction type list of values.

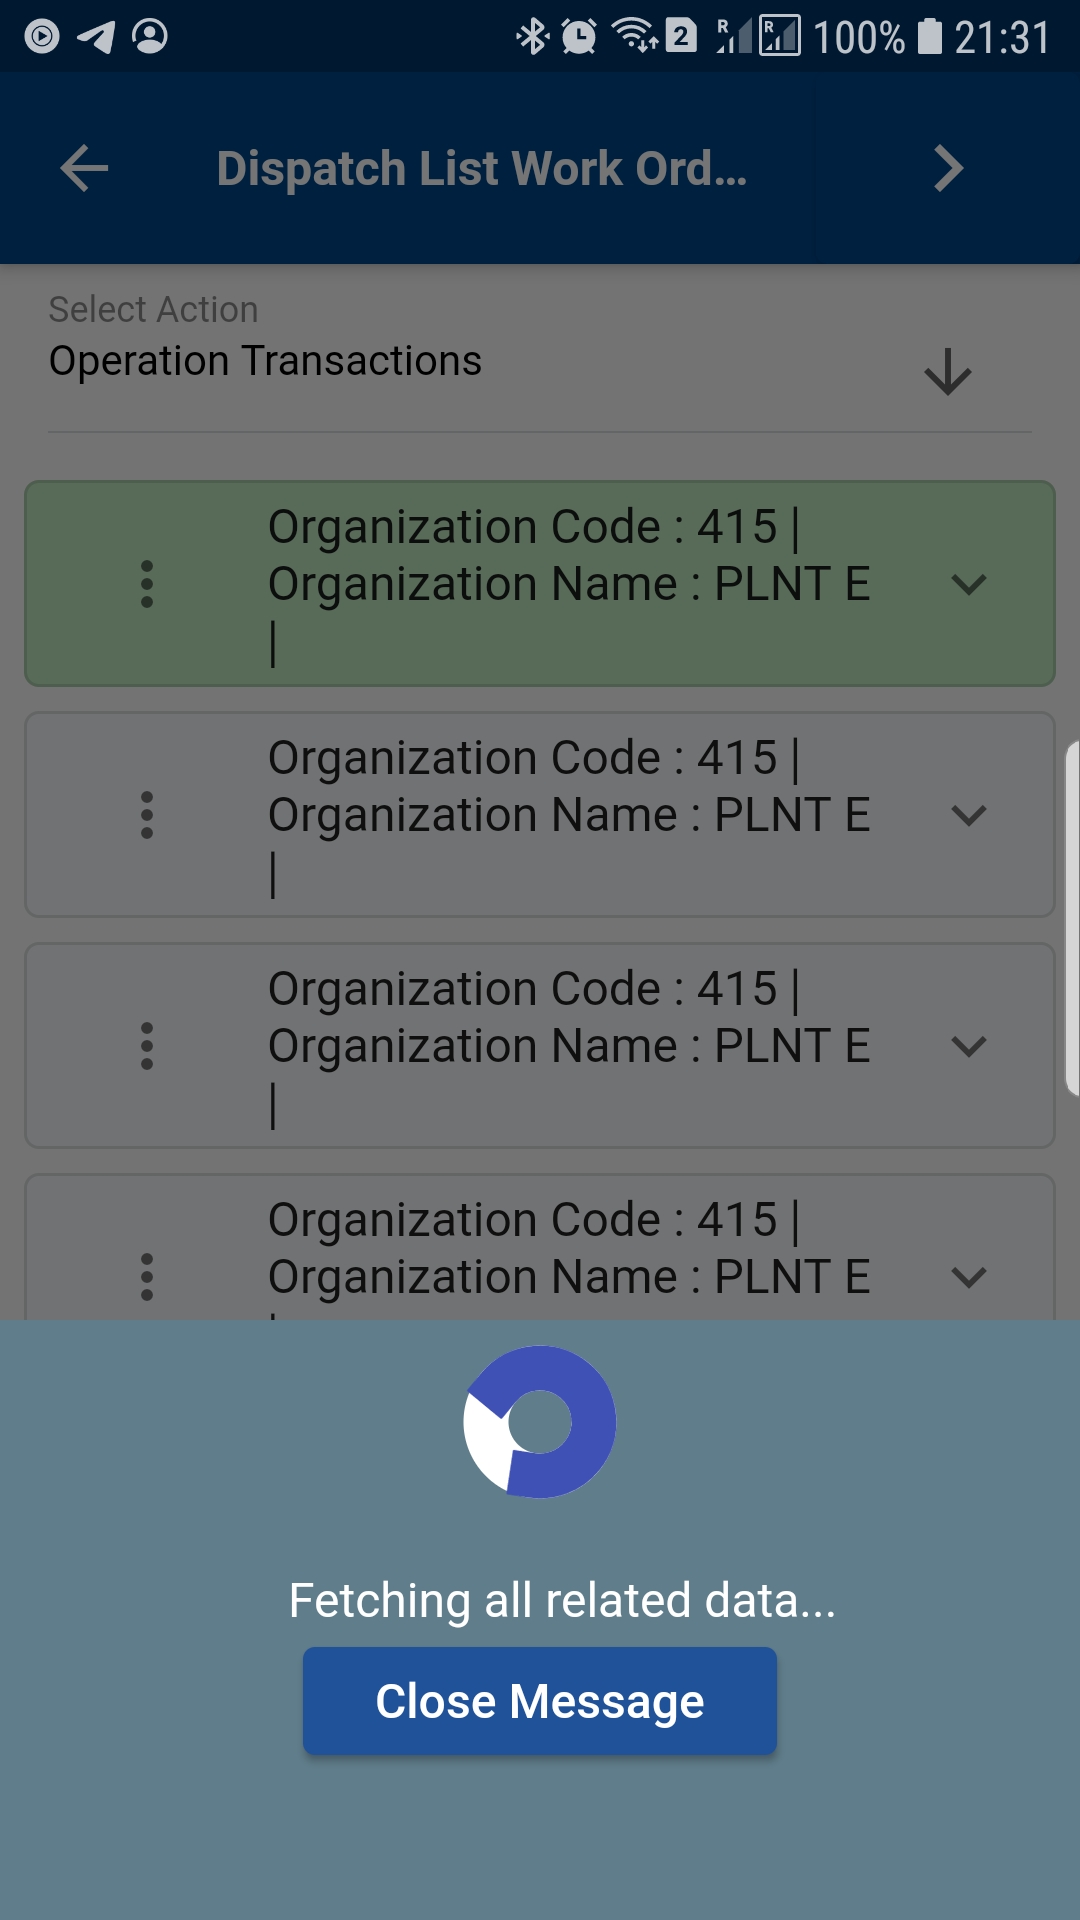
The app will take you to a confirmation screen where you need to validate all information and enter some other information such as To Dispatch code, reason code, etc.
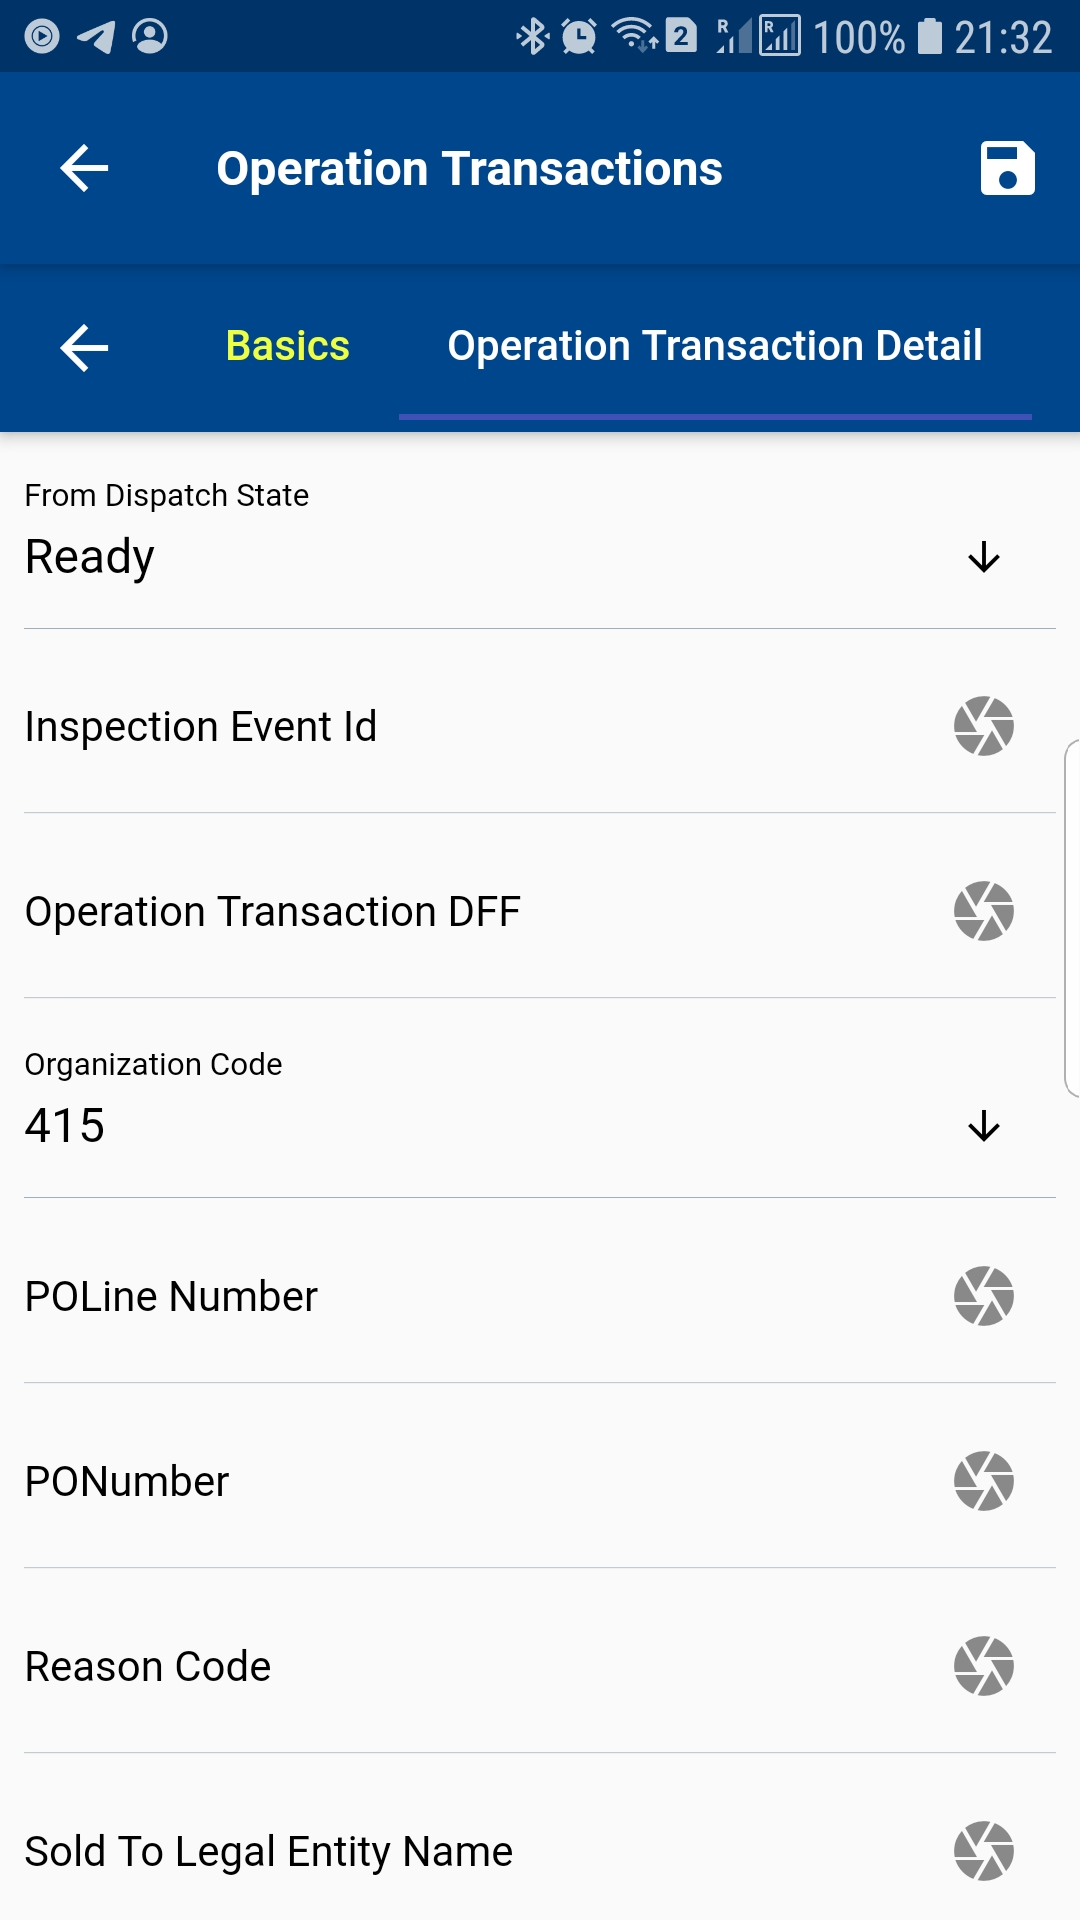
The transaction screen will show several tabs. The first Tab (Basic tab) contains information that is required to complete the operation transaction. Source System Code and Source System Type are needed to complete a resource transaction using REST API, and thus the app will default the value from the navigation menu configuration. If required, you can manually change the value.
You can change the default value of Source System Code and Source System Type in the menu path for operation transactions

Verify all the information, and enter all the other required details
Next, click on the Save button.
Operation Start-Stop
To do an operation start/stop transaction against a Work Order, navigate to the dispatch list form.
You can navigate the dispatch list form from your dashboard, favorite, or just by using a quick search.
Enter the item or organization code or work order number in the search form and then click on the search button.
The app will show all the available work orders with operation details. To view the work order details (such item, description, dates, etc.), you click on the expand button, and the app will show you all the details. You can also visit the work order details form by clicking on the Fetch/View button, but that's not required to complete a transaction. If you navigate the work order details screen, use the back button to navigate back to the current search result screen.
Click on the Menu against an operation to start/stop and click on the select button.
Next, select "Operation Start Stop" in the transaction type list of values.
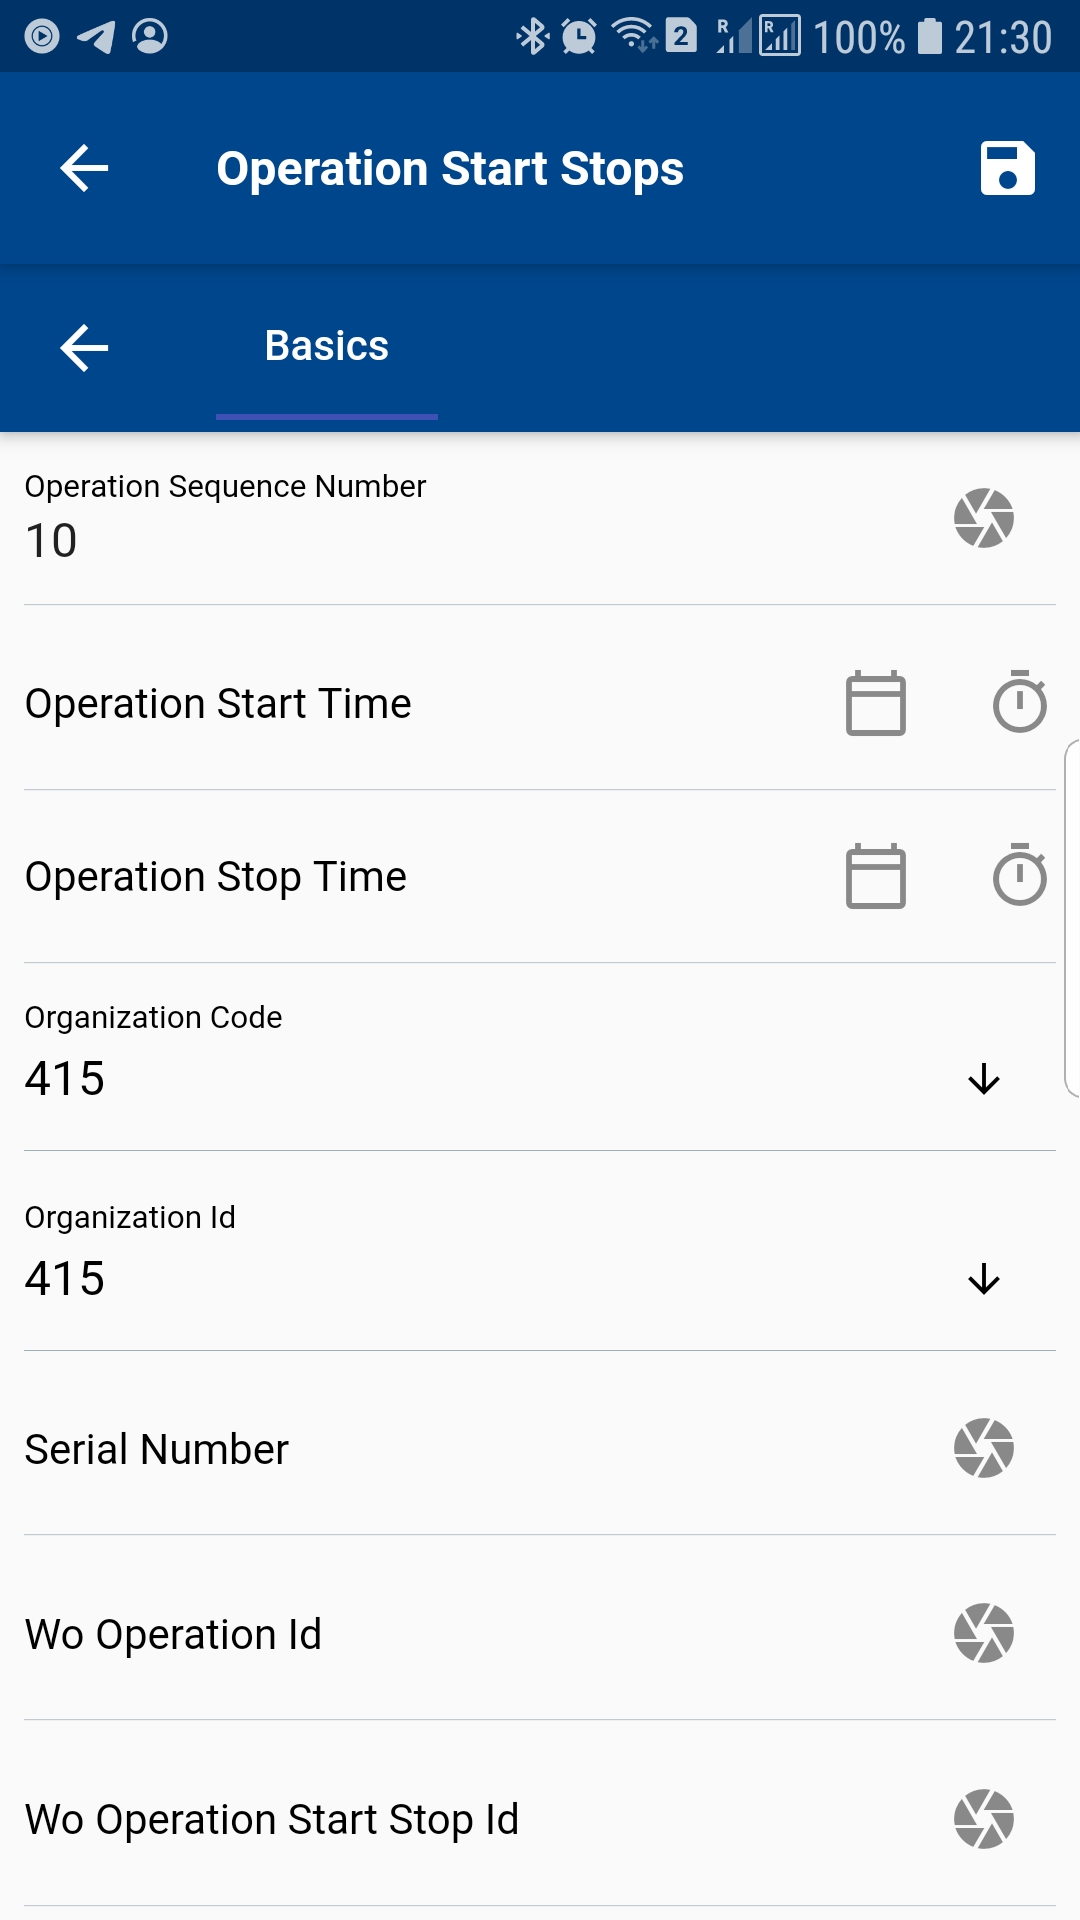
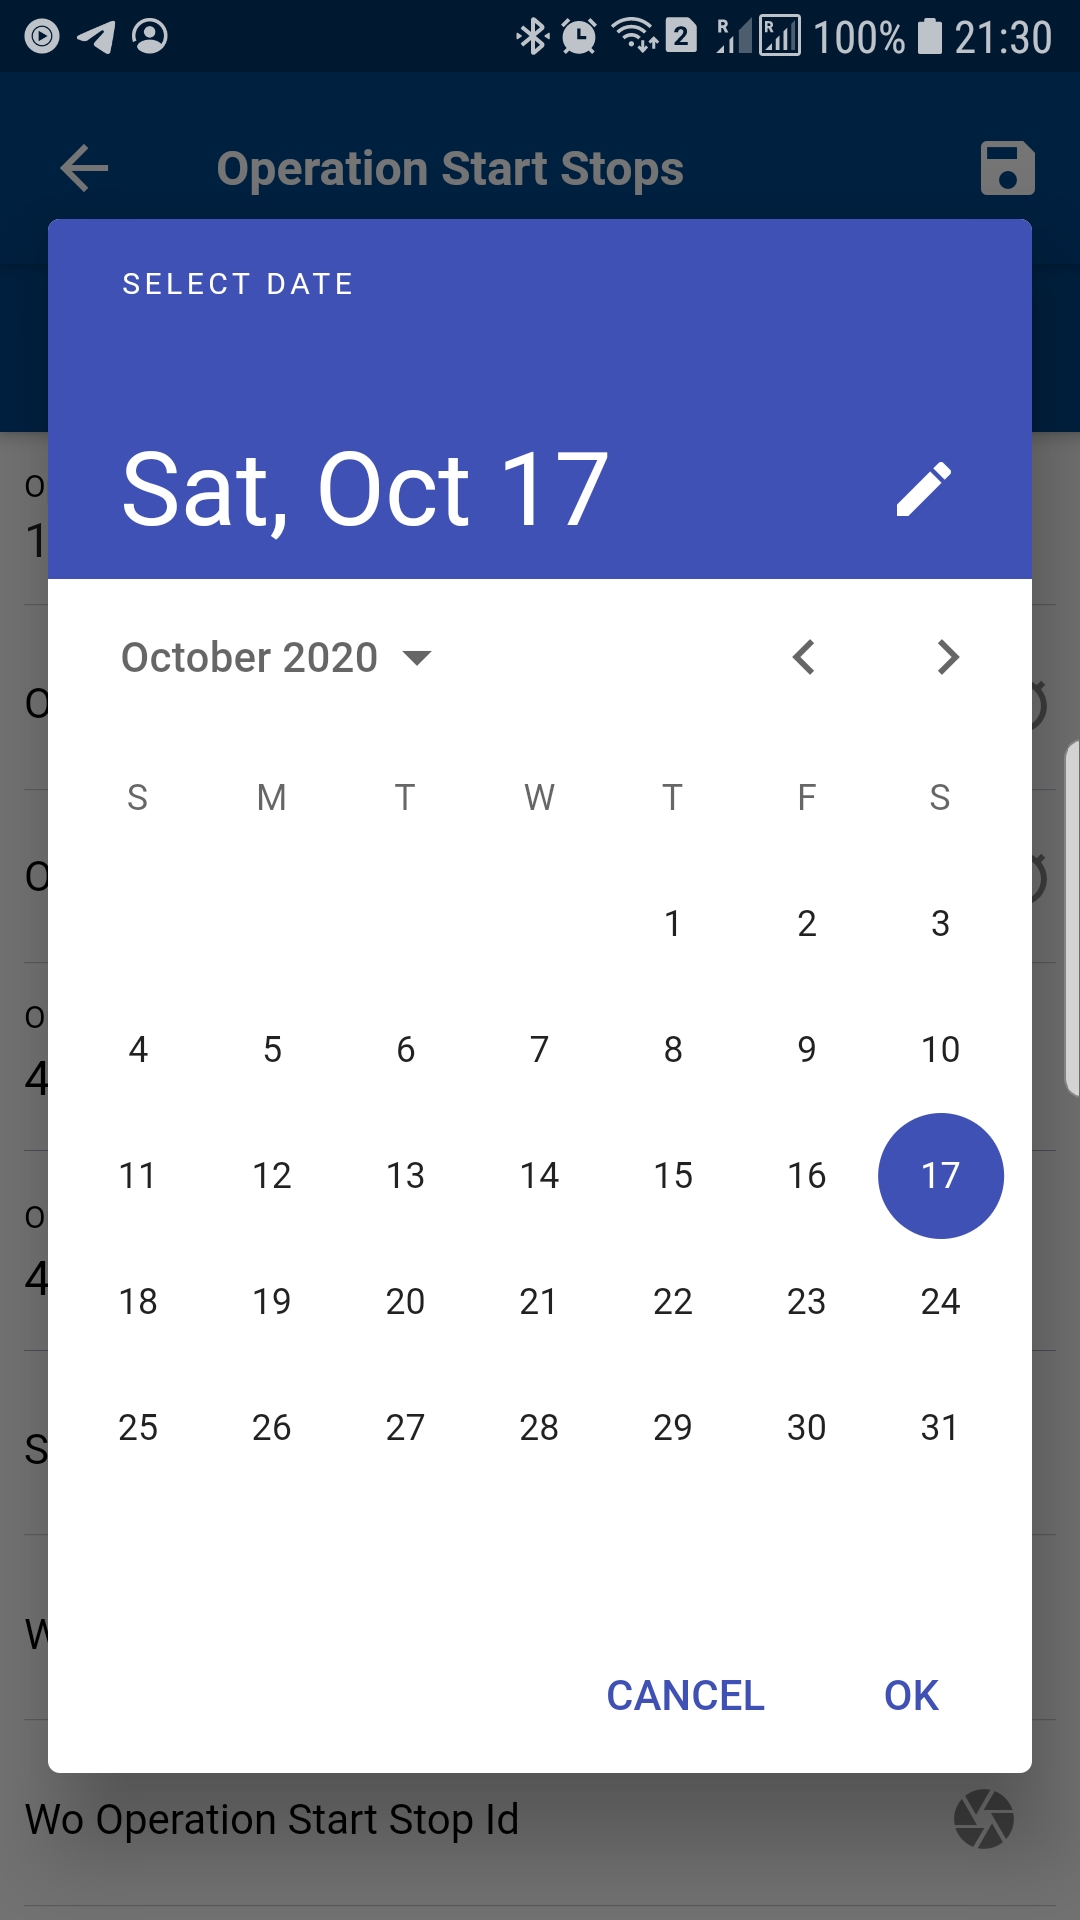
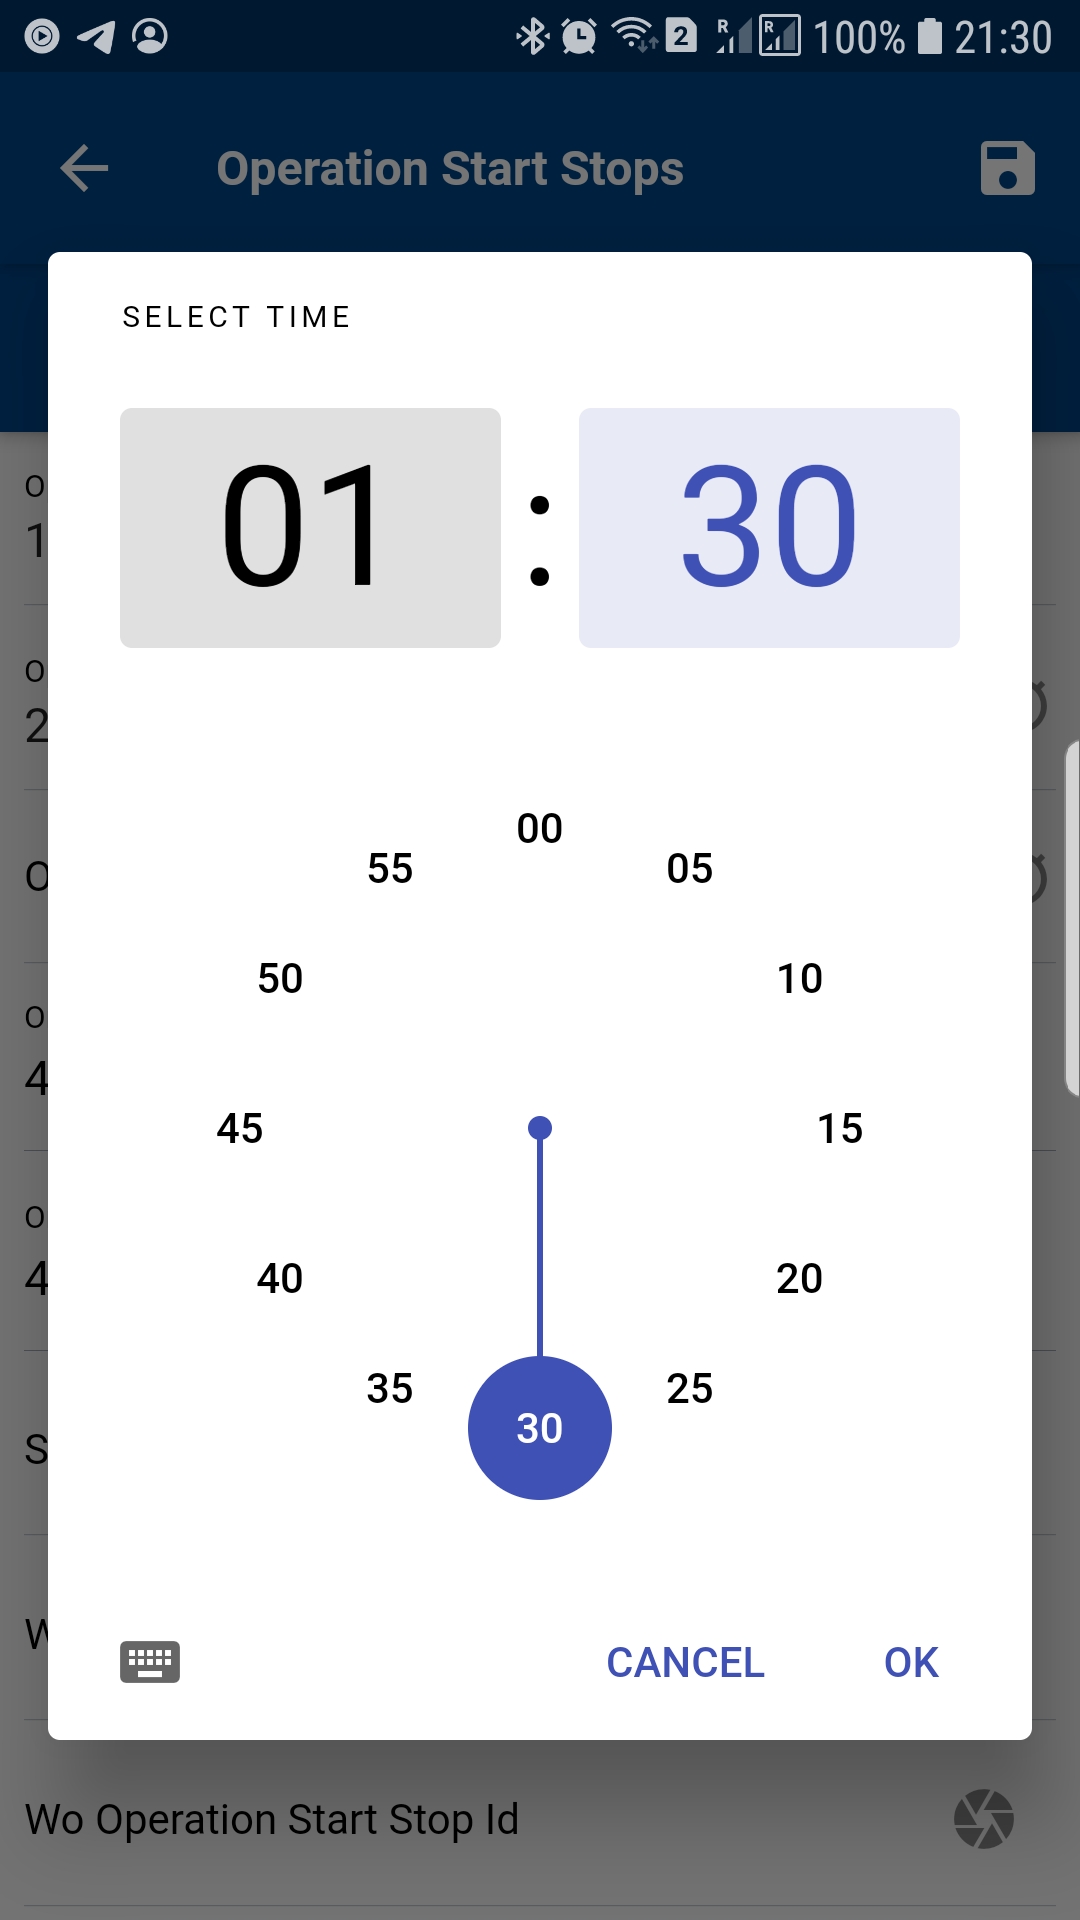
The app will take you to a confirmation screen where you need to validate all information and enter some other information such as Date, Time, etc.
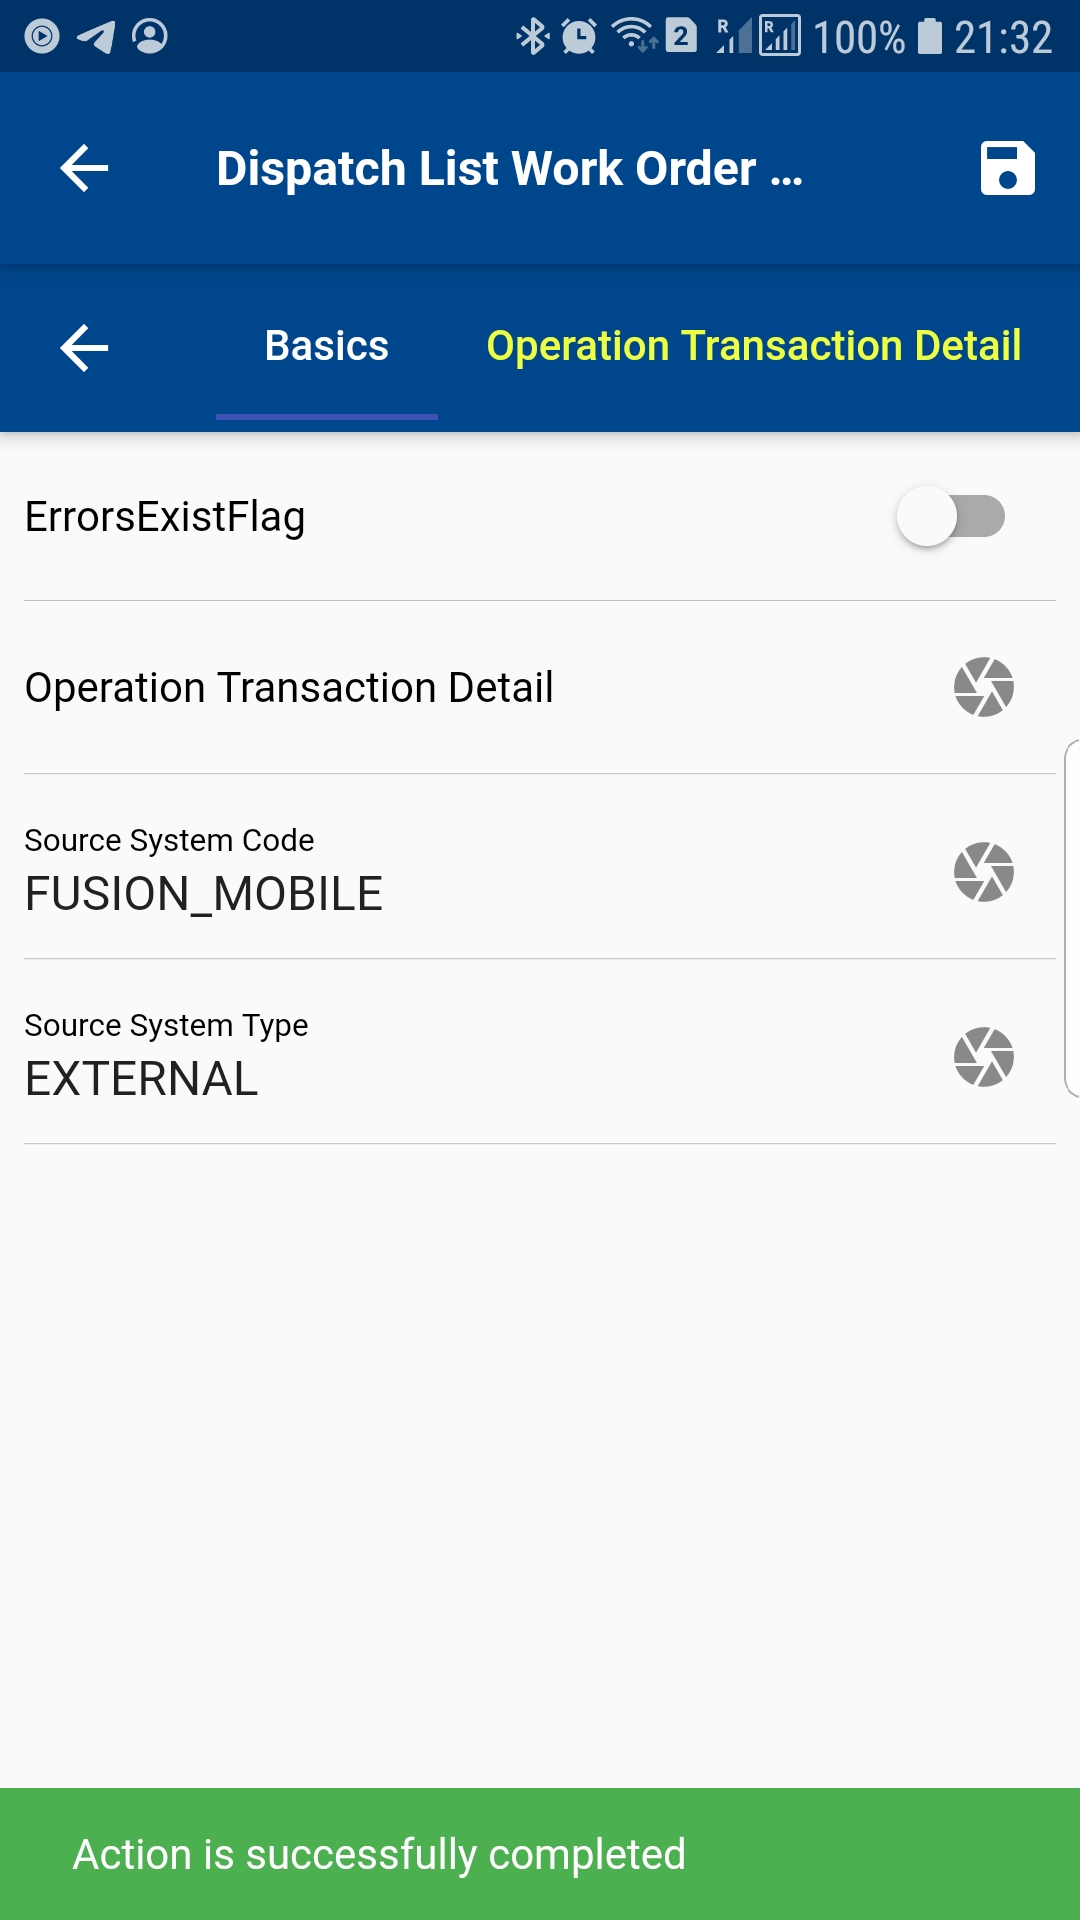
The transaction screen will show several tabs. The first Tab (Basic tab) contains information required to complete the start/stop transaction. Source System Code and Source System Type must be entered to complete an operation start/stop transaction using REST API. Thus the app will default the value from the navigation menu configuration. If required, you can manually change the value.
You can change the default value of Source System Code and Source System Type in the menu path for operation transactions
Verify all the information, and enter all the other required details
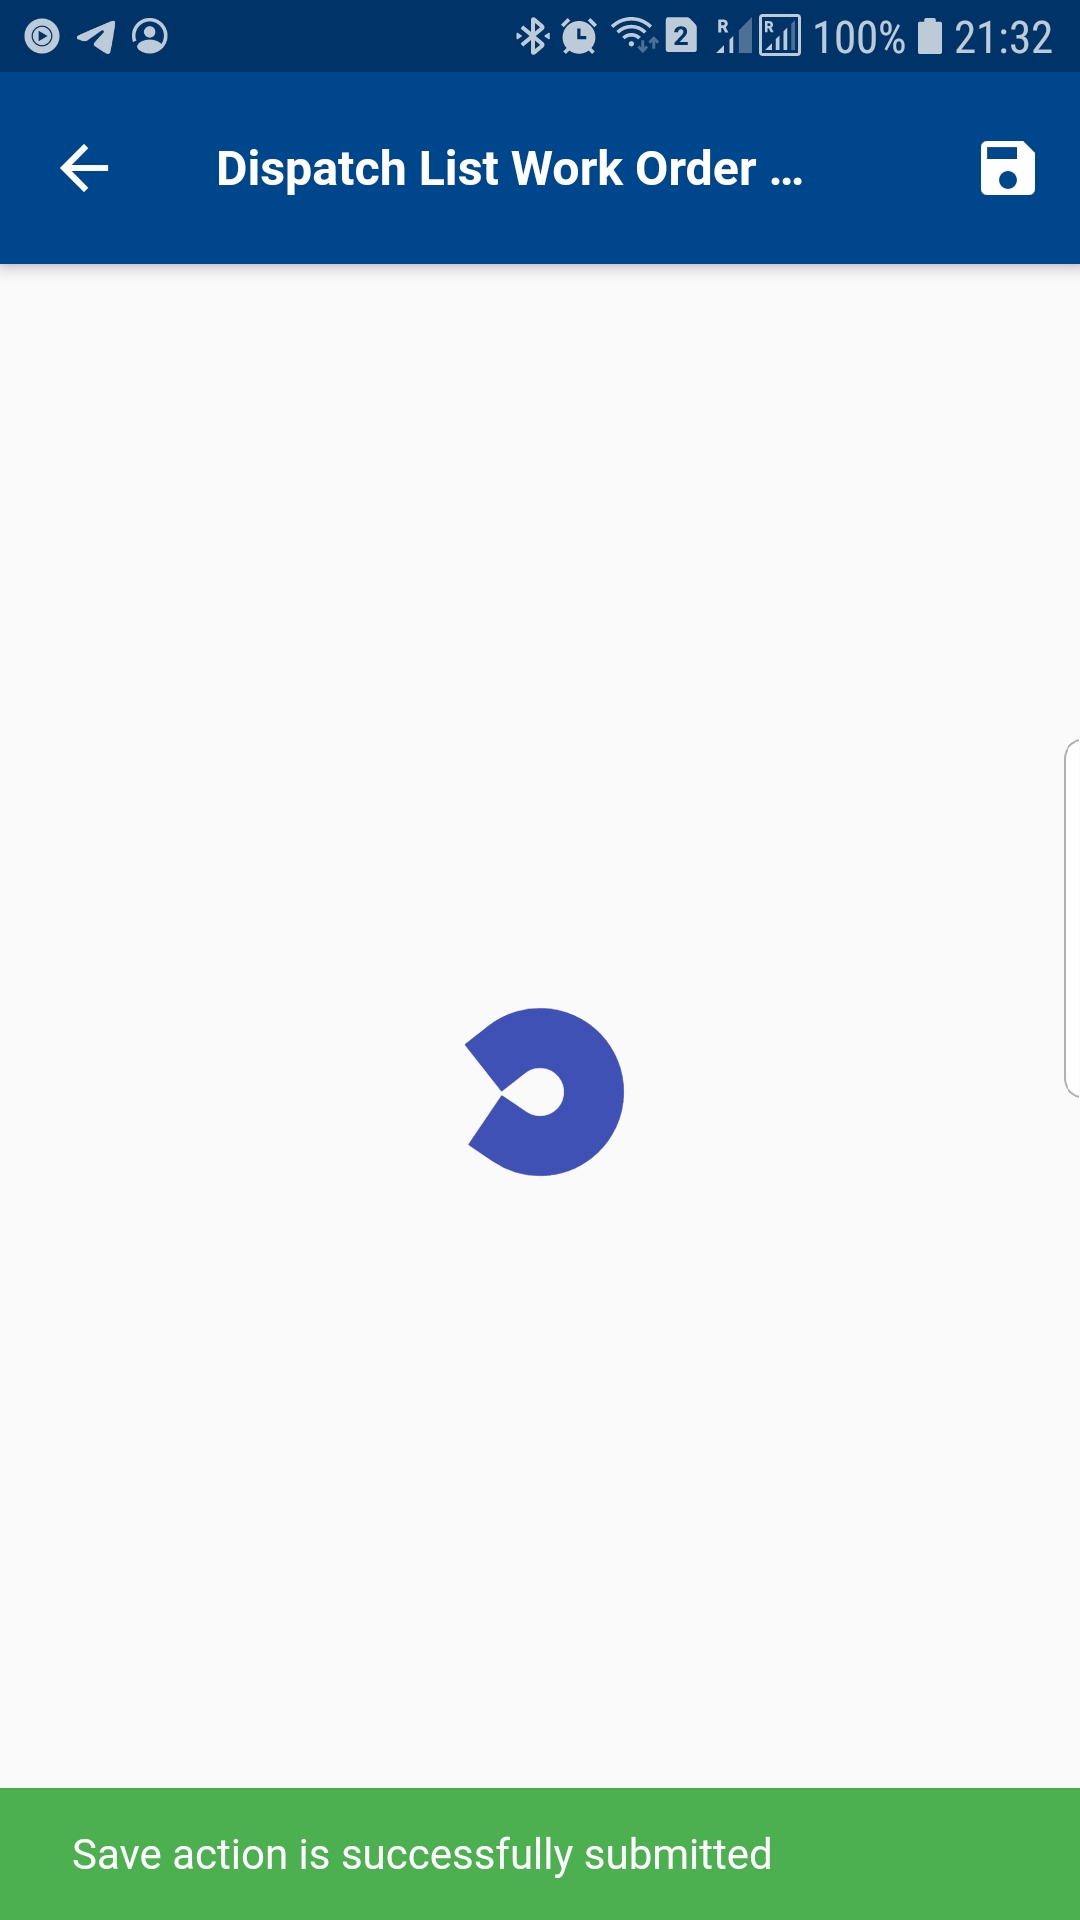
Next, click on the Save button.
Review Onhand Balance
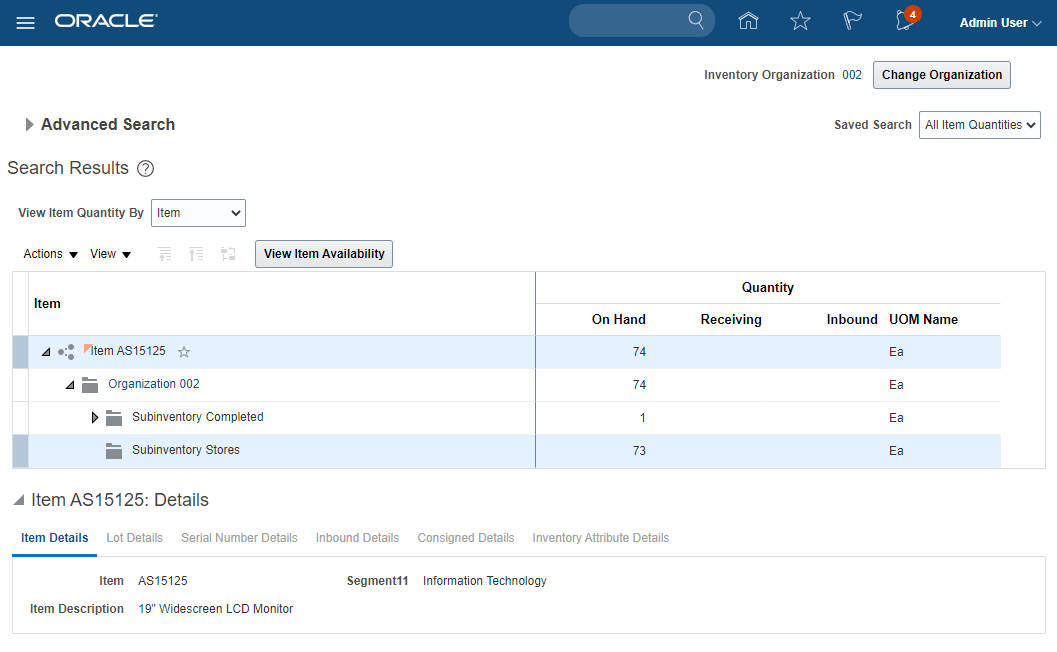
After completing any transaction, you can review the onhand balance by navigating to the onhand screen.
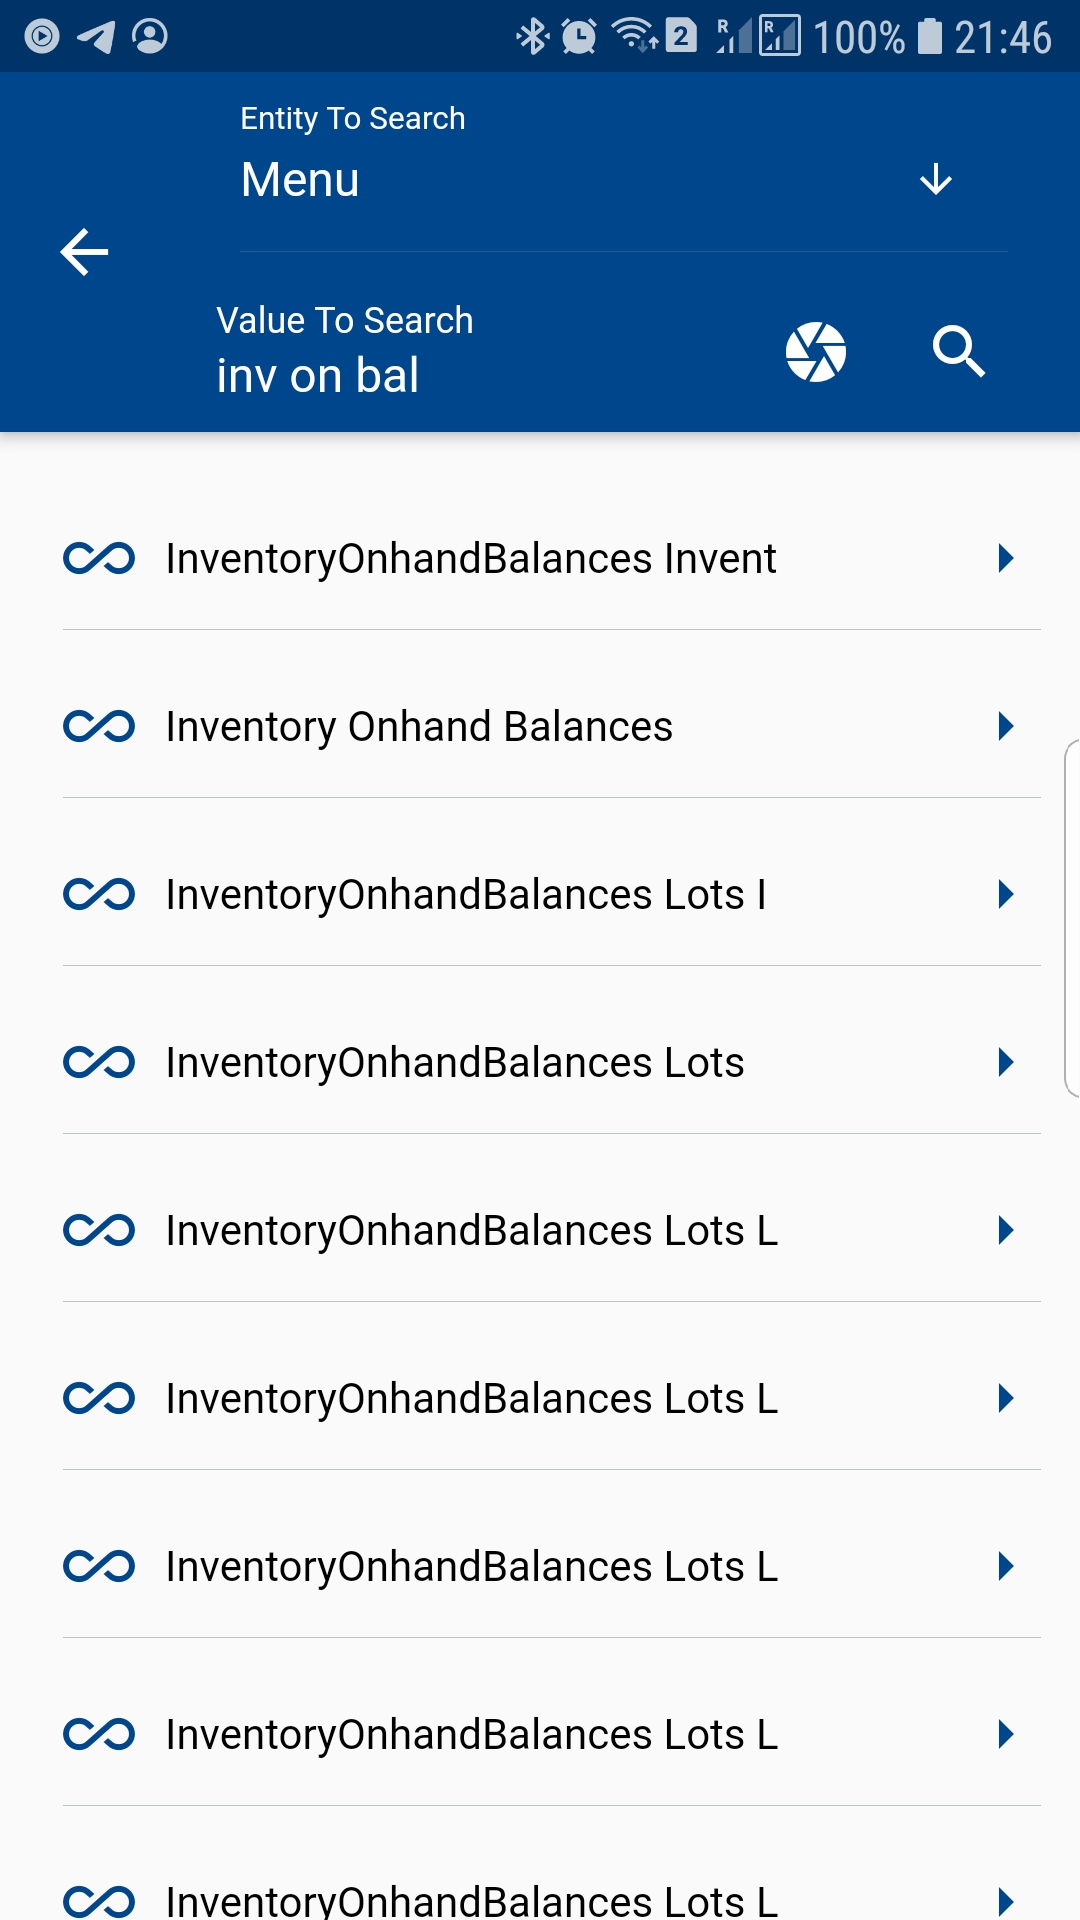
You can navigate to the onhand screen from your dashboard, favorite, or just by using a quick search. Enter the item and organization code in the search form and then click on the search button.
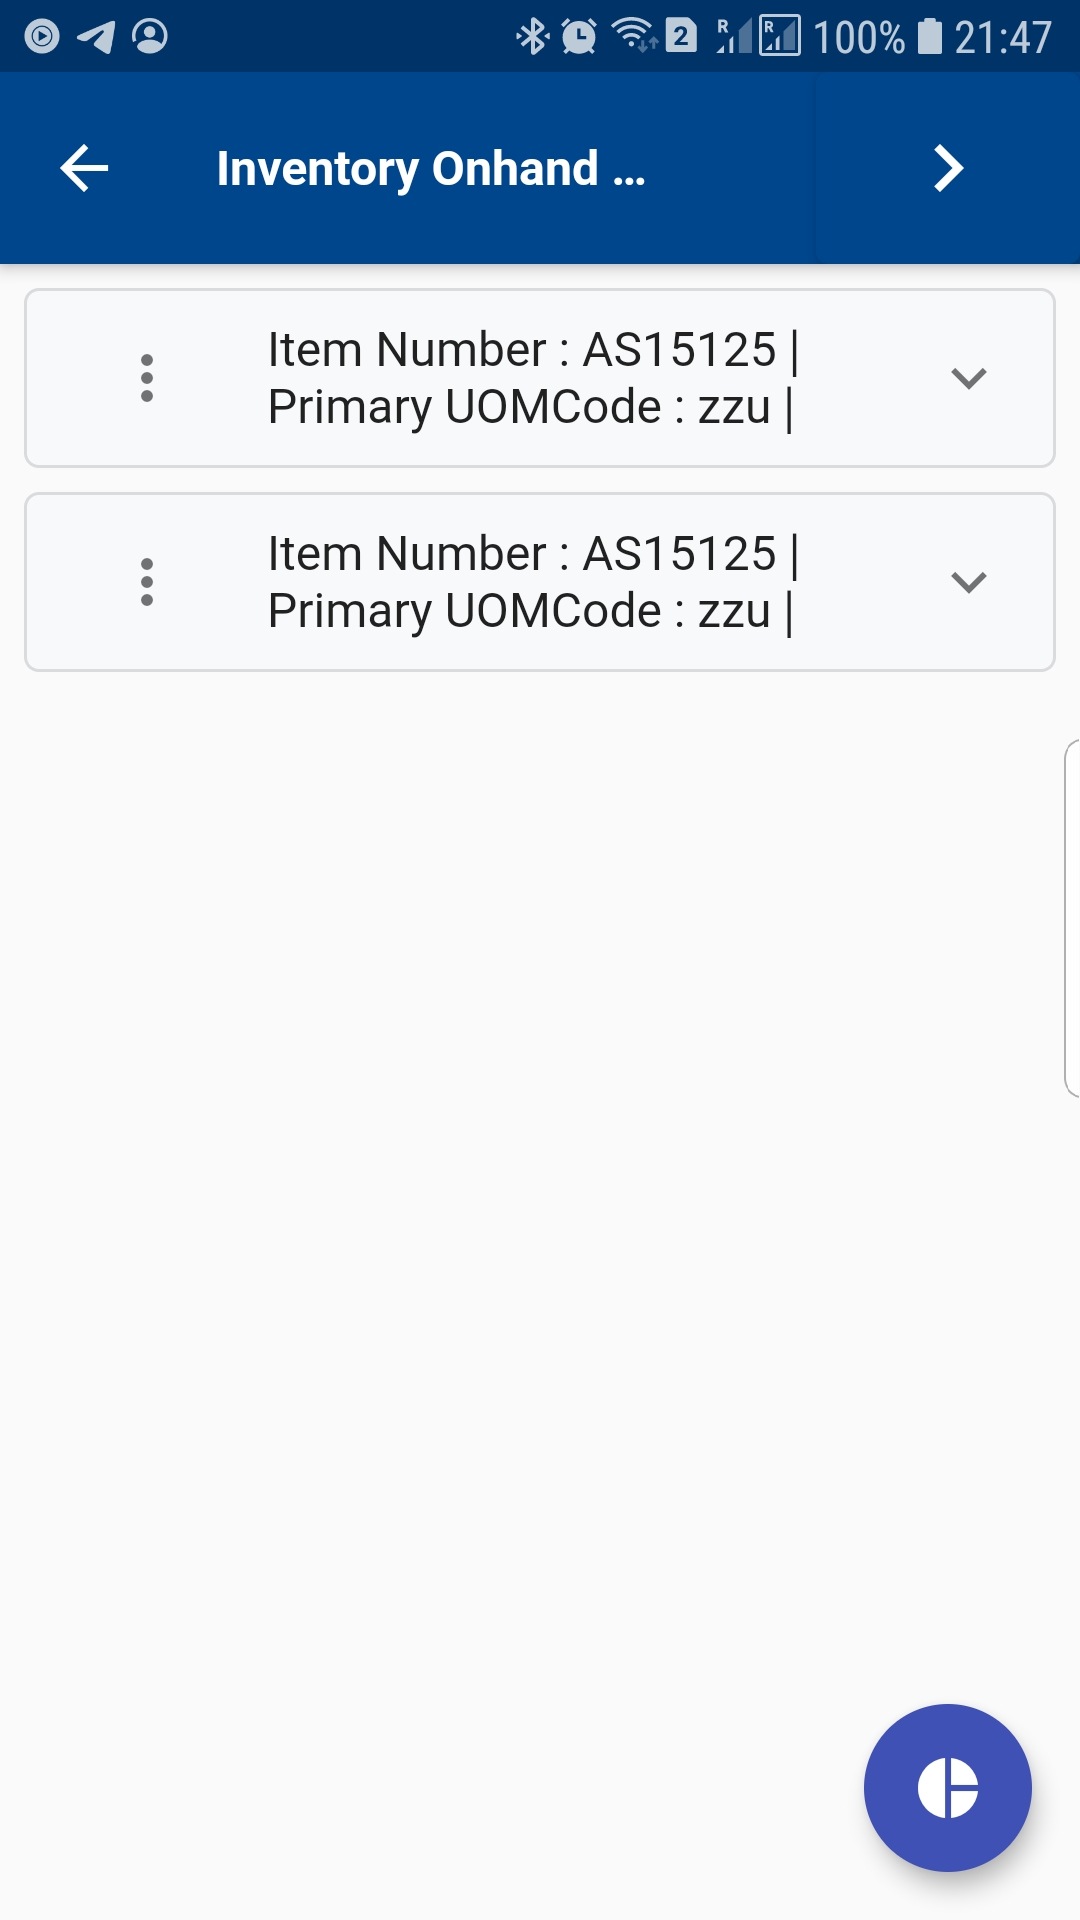
If you want to view only the onhand quantity details (such as item, description, unit of measure, quantity, subinventory, etc.), you click on the expand button, and the app will show you all the details.
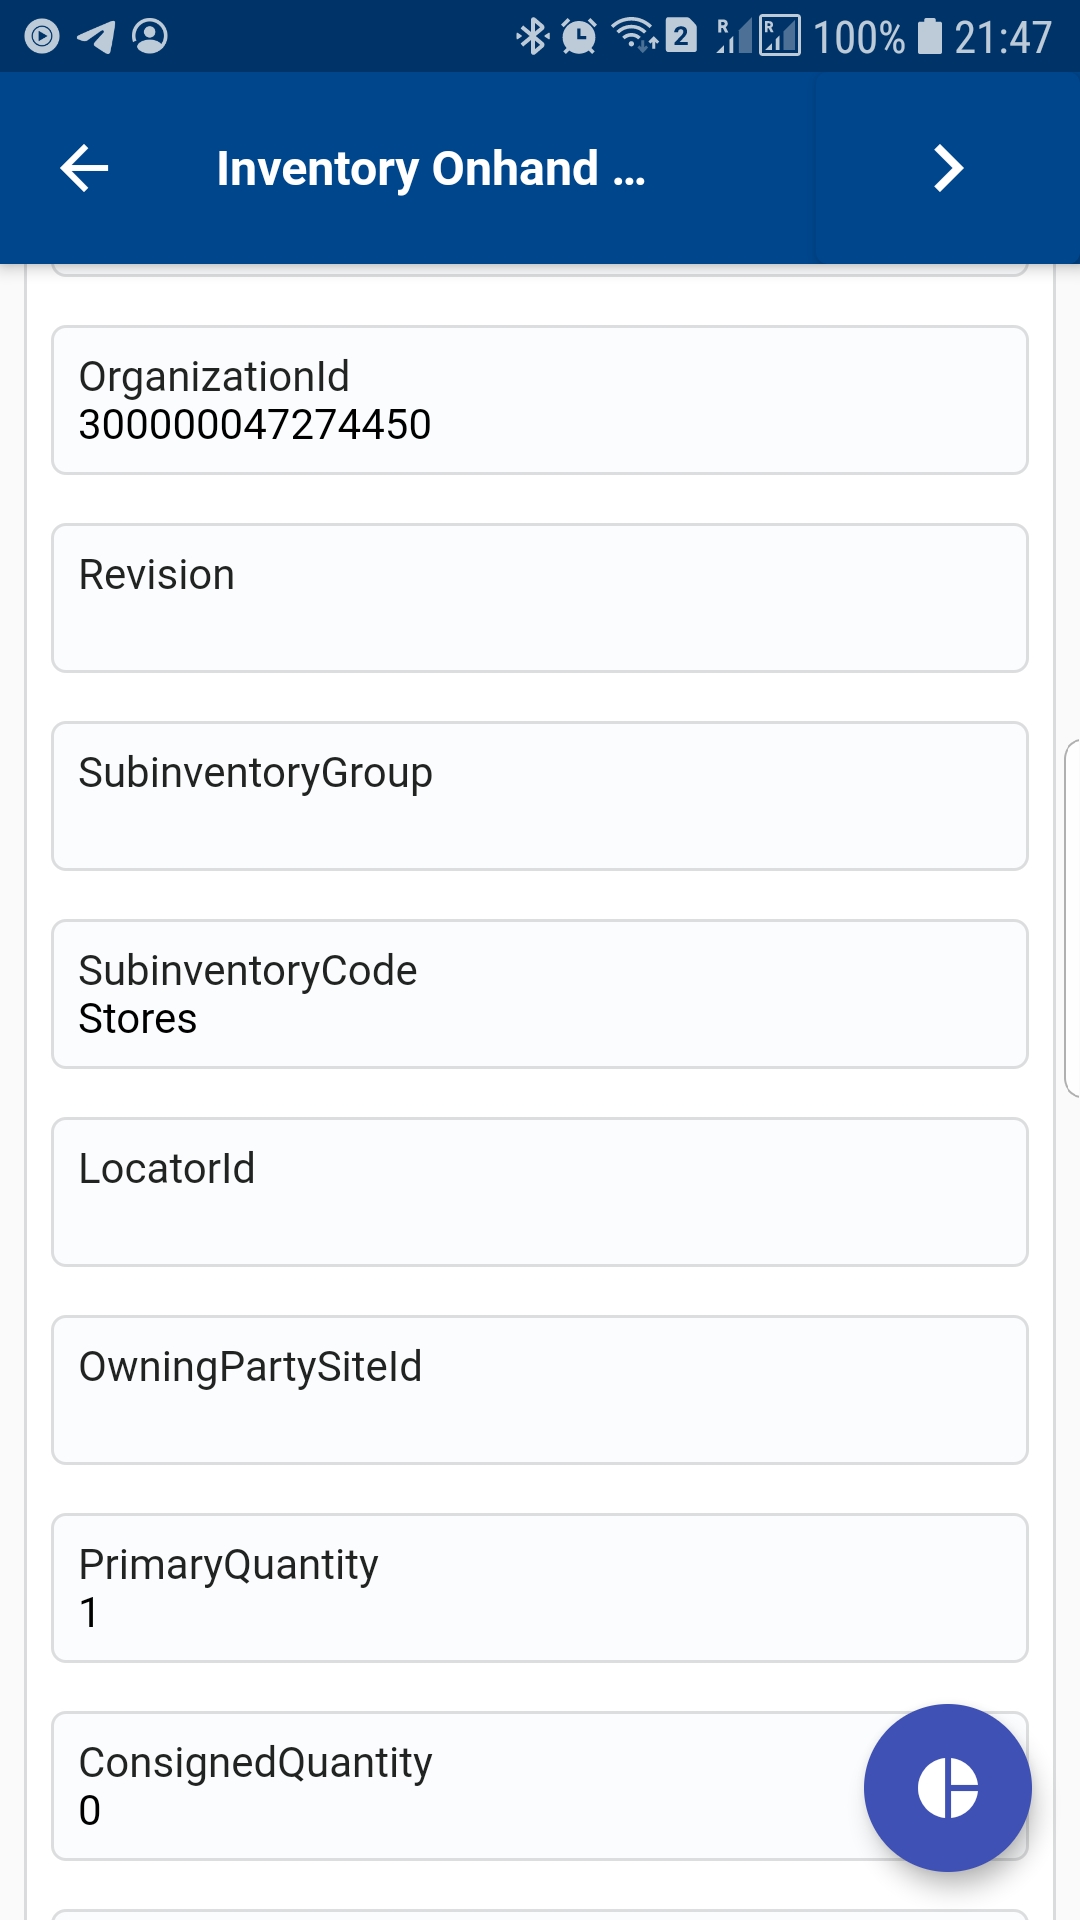
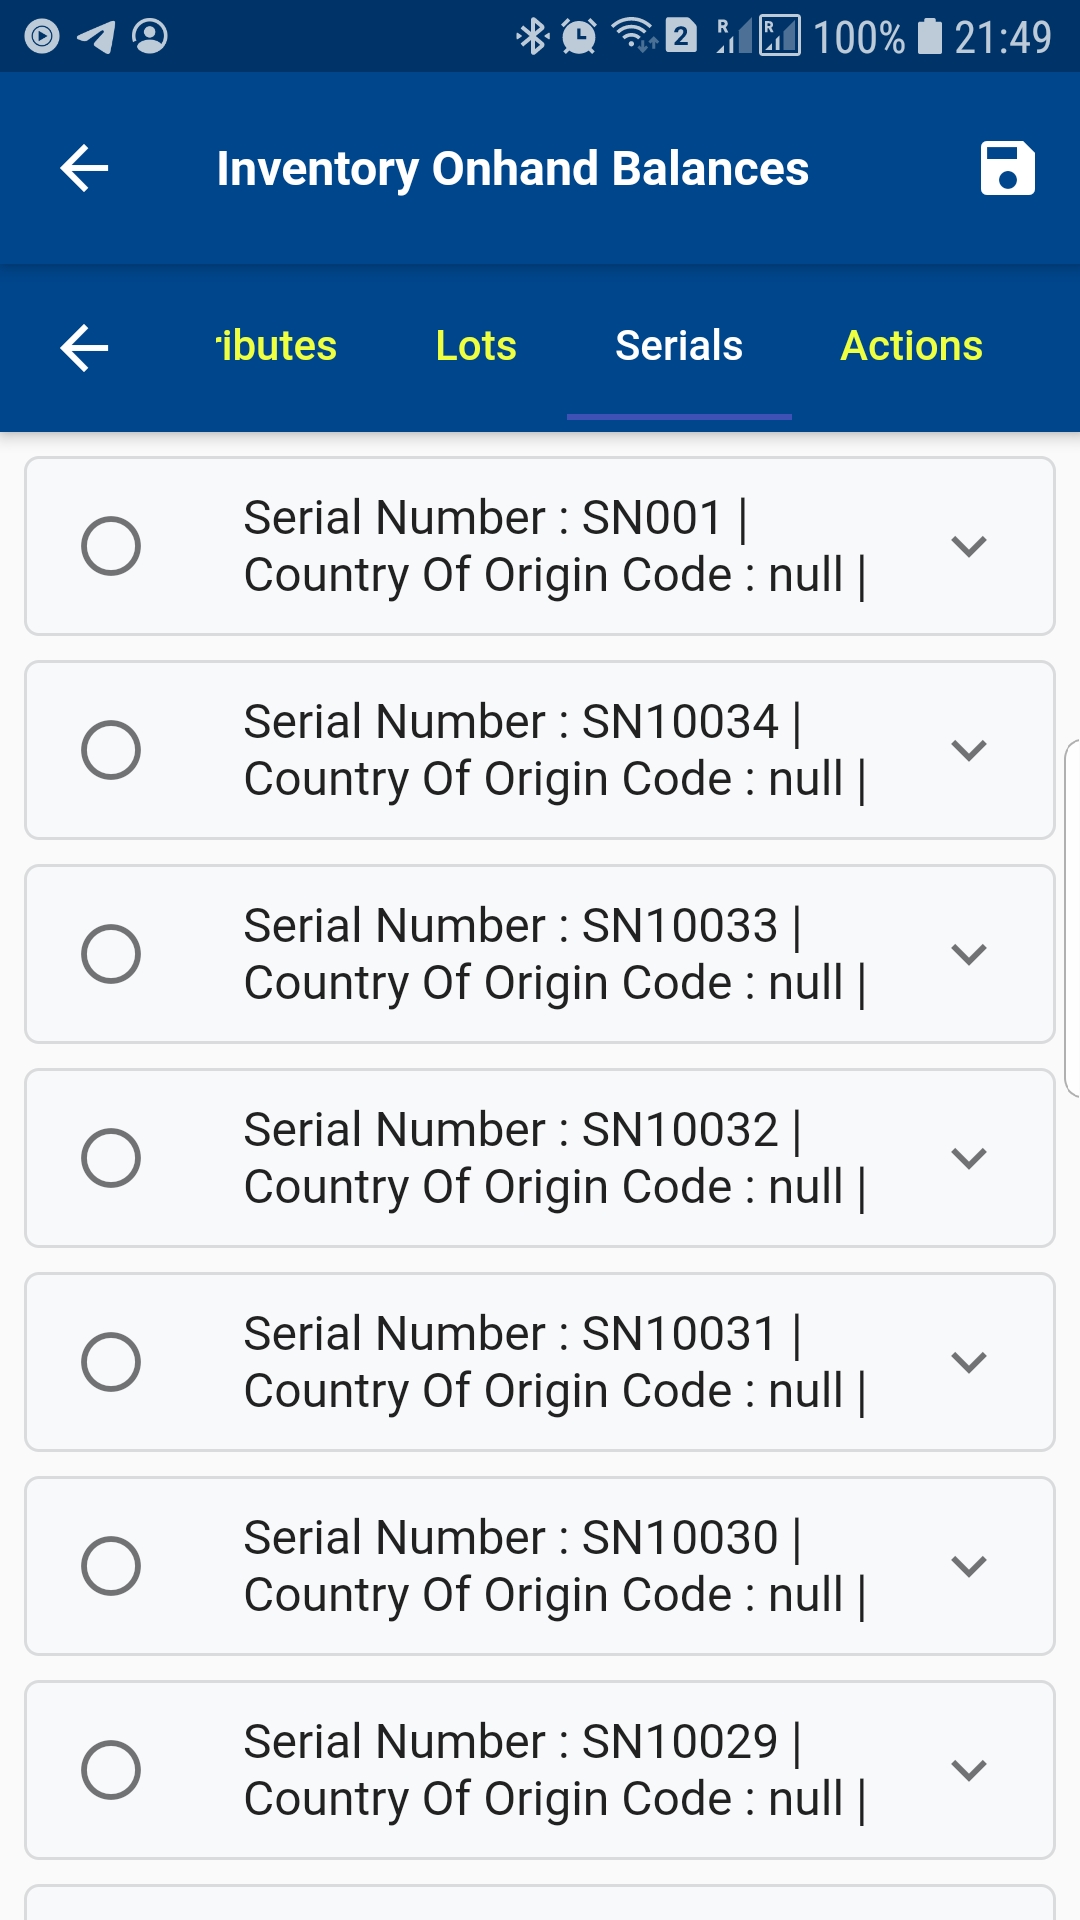
If you want to view the details such as Serial Number, Lot Number, etc., click on Menu (... three dots) and select View.
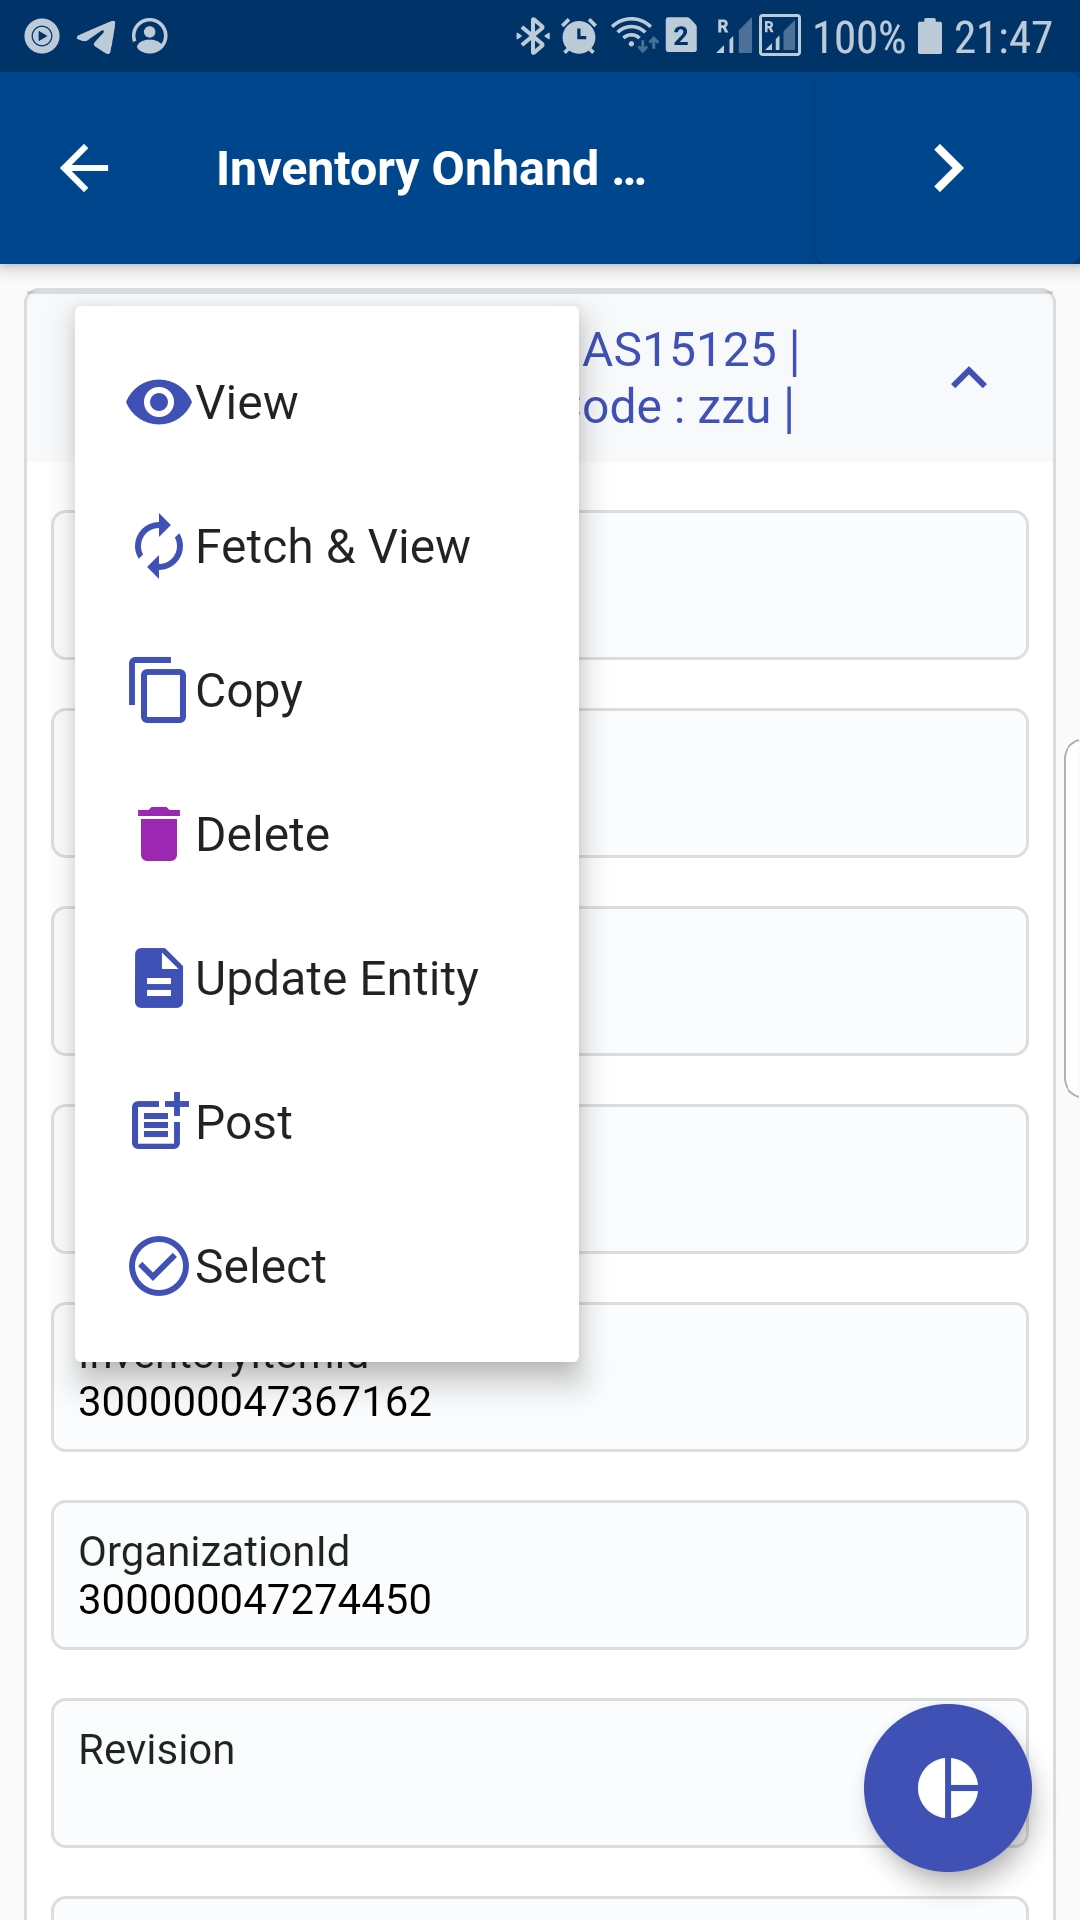
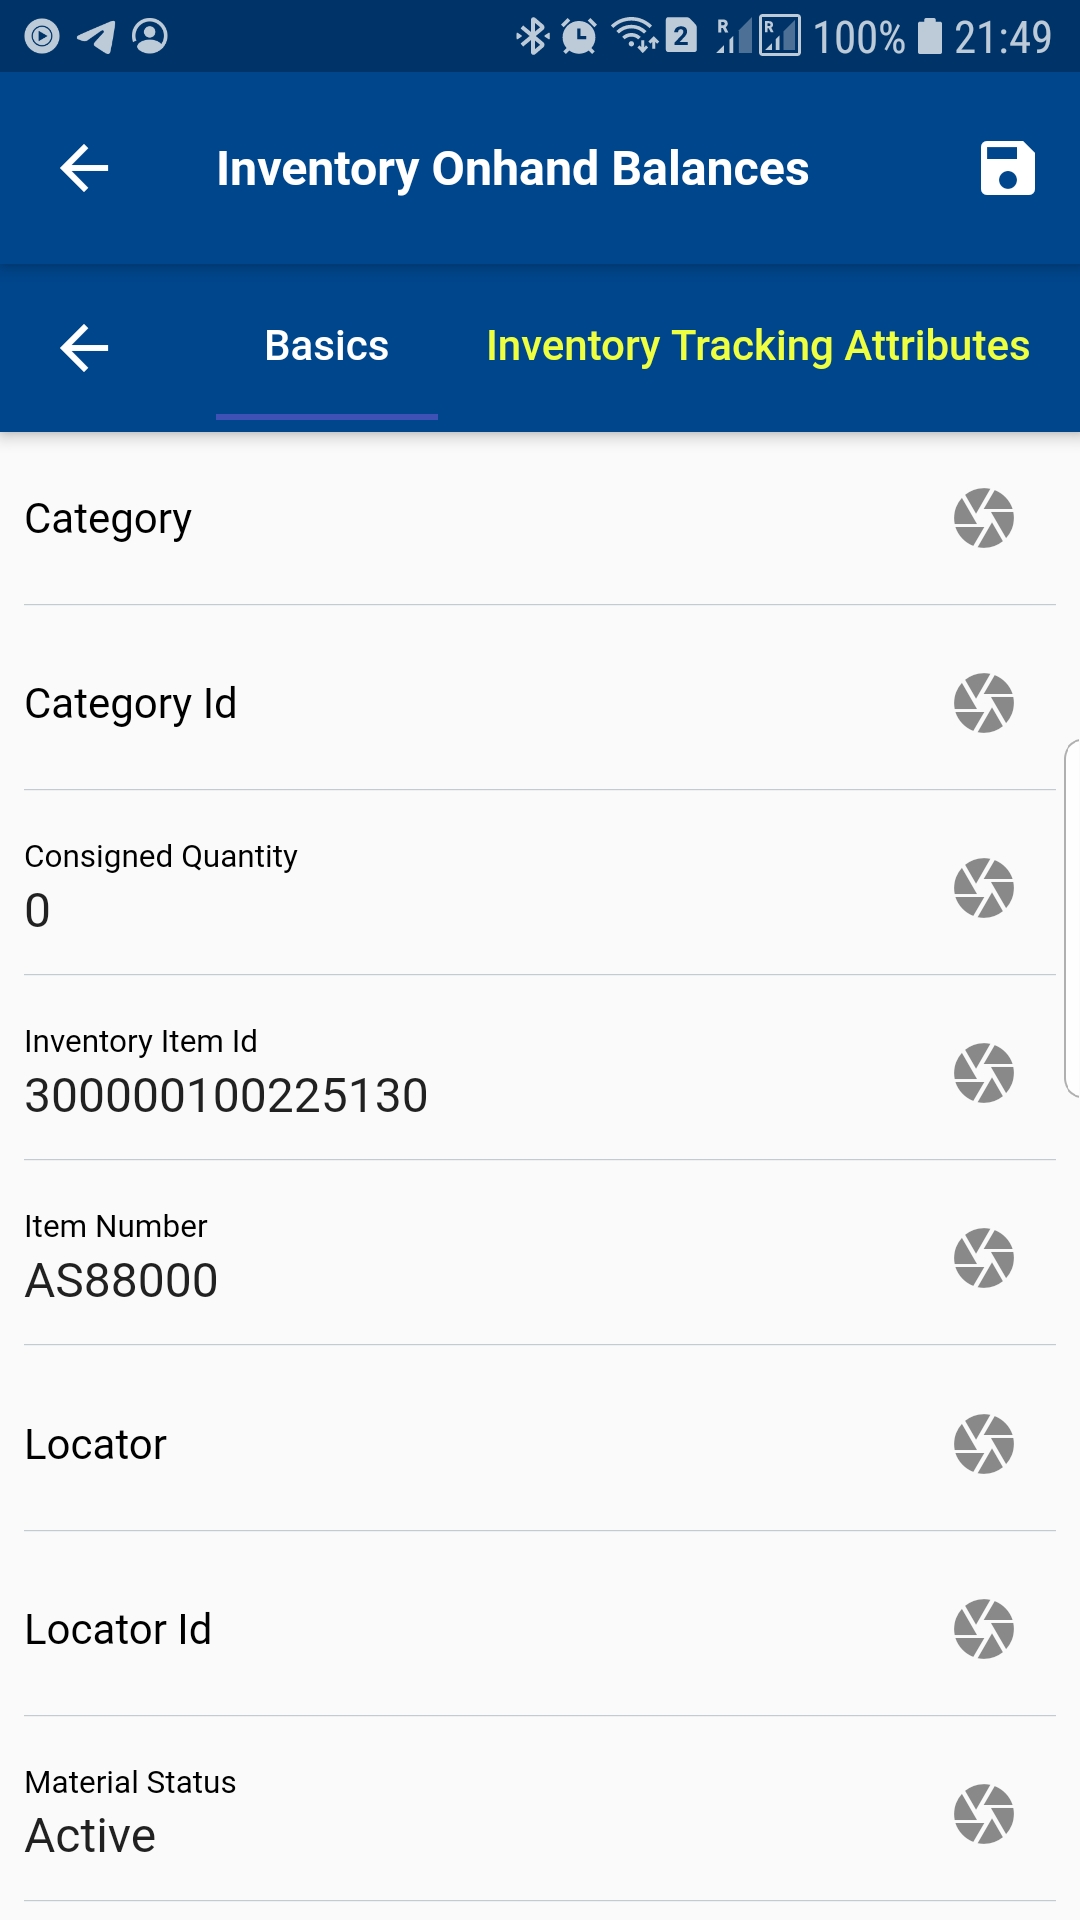
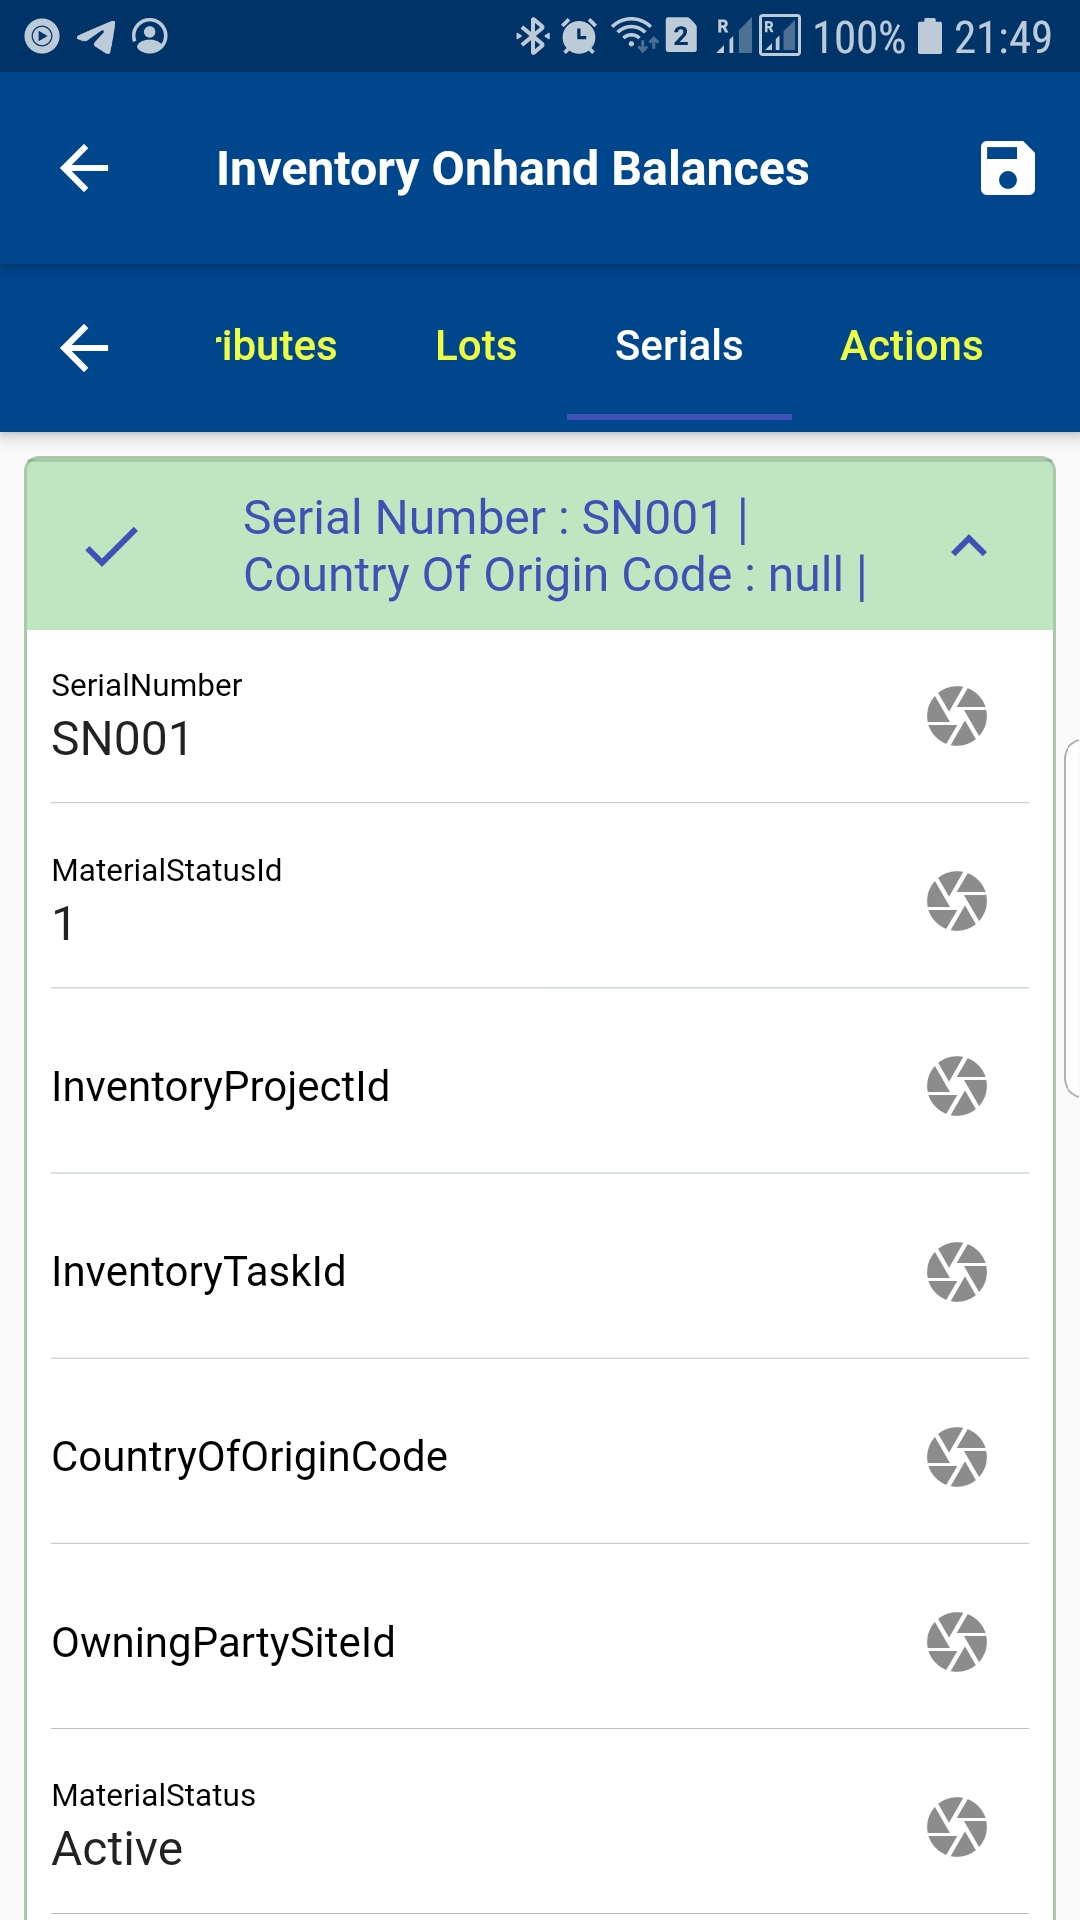
The app will take you to the detailed form, where you can view all the onhand details.
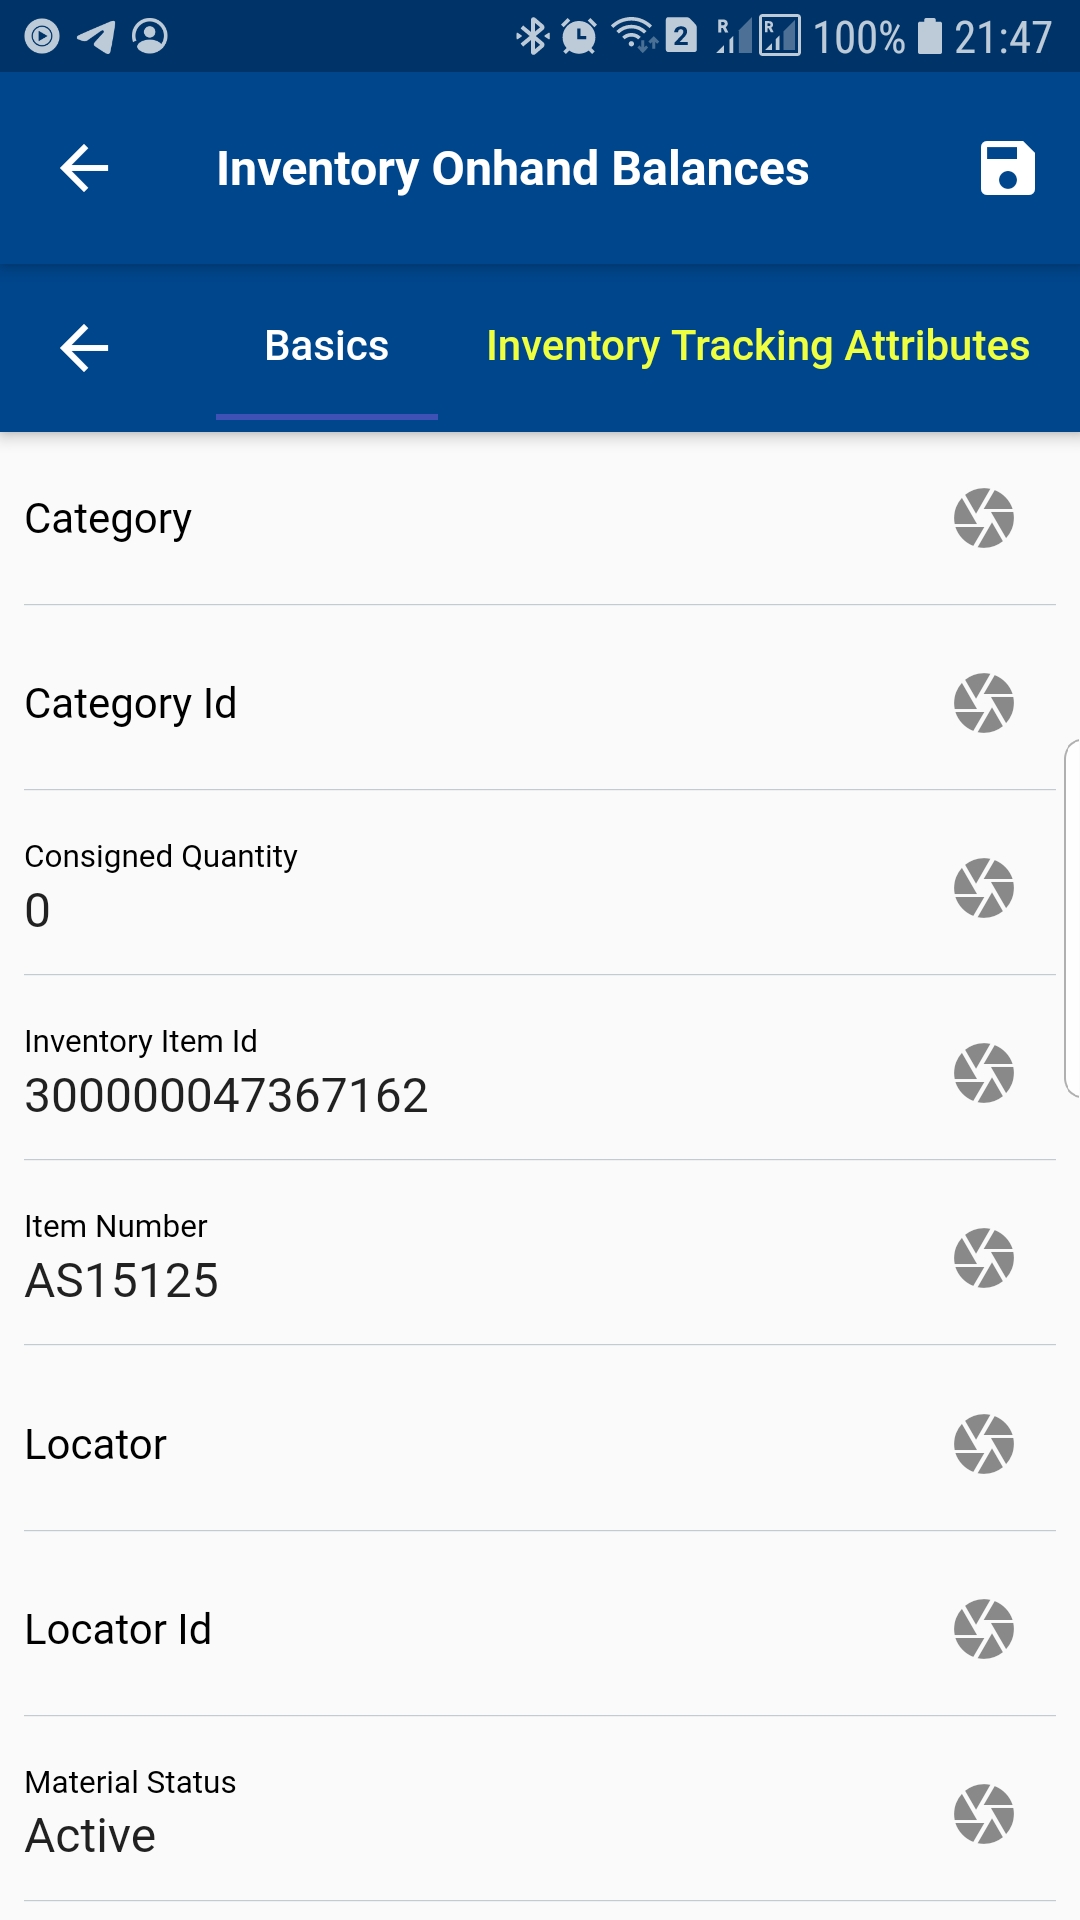
Scroll to the Serail or Lot tab to view the Serial and Lot Information
Direct Organization Transfers
Navigate to the "Items Search" form from your dashboard/favorite to create an Inter-organization Transfers transfer.

Enter the item/organization details or any other criteria in the search form and click on the search button.

Click on the Menu against an item that you want to transfer and click on the select button.

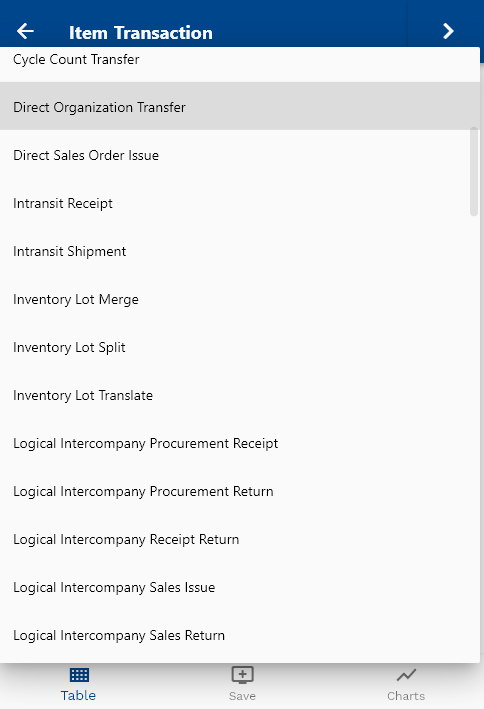
Next, select the transaction type as "Direct Organization Transfer."

The app will fetch all the related information required to complete the Direct Organization Transfer.
It will take you to a confirmation screen where you need to validate all information and enter other required details such as From Subinventory, To Subinventory, Quantity, Serial, and Lot Information.

Scroll up and down to view all the fields. You can configure the navigation menu for Inventory Transaction to control what fields are visible to a user and in what sequence. You can also make fields mandatory and read-only depending on your business requirements.
Next, click on the Save button.
You can review the details on the Oracle cloud.
Example: Serial Number
Below is an example of using serial numbers on misc receipt transactions. You can follow the same steps to enter a serial number in any other transaction.
Navigate to the "Items Search" form from your dashboard/favorite to create any inventory transaction.
Enter the item/organization details or any other criteria in the search form and click on the search button.

Click on the Menu against an item that you want to transaction and click on the select button.

Next, select the inventory transaction type.
The app will fetch all the related information required to complete the inventory transaction.
It will take you to a confirmation screen where you need to validate all information and enter other required details such as Subinventory, Quantity, Serial, and Lot Information.
Scroll up and down to view all the fields. You can configure the navigation menu for Inventory Transaction to control what fields are visible to a user and in what sequence. You can also make fields mandatory and read-only depending on your business requirements.
Click on the Serial Number button to enter serial numbers.

Enter the from and to serial numbers, and click on the Save button.
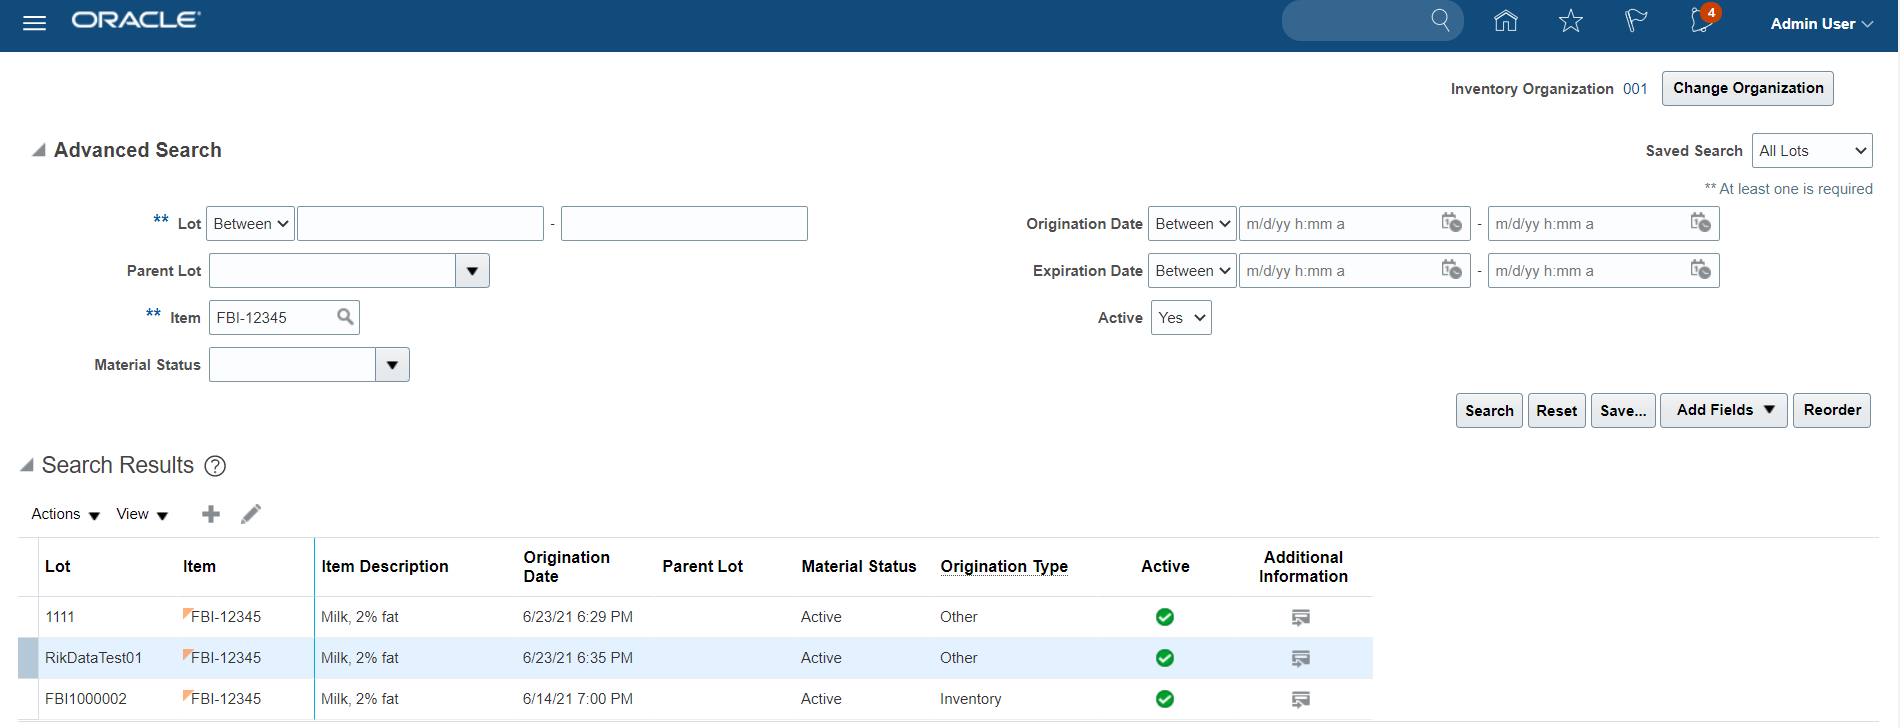
You can review the details of the transaction in the Oracle cloud.
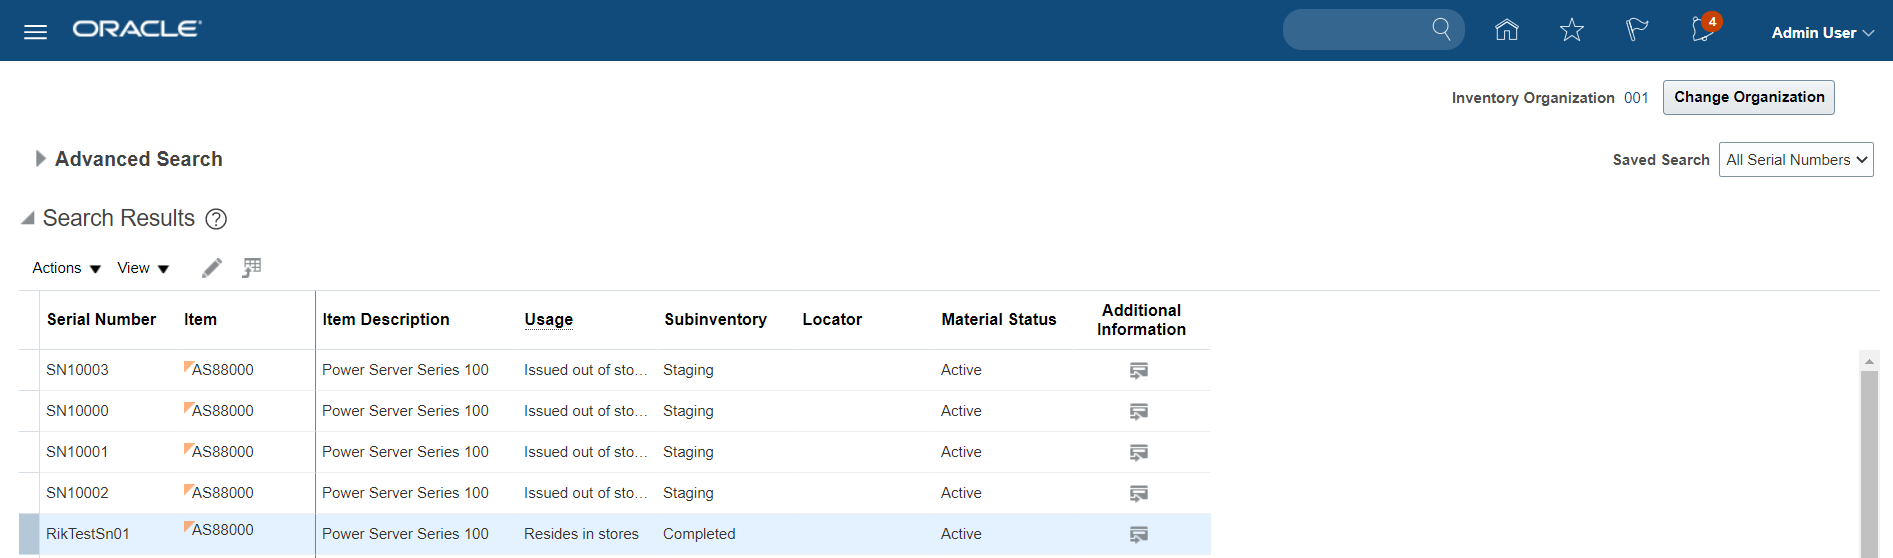
You can review the details of the serial number in the Oracle cloud.

Example: Lot Number
Below is an example of using lot numbers on misc receipt transactions. You can follow the same steps to enter a lot number in any other transaction.
Navigate to the "Items Search" form from your dashboard/favorite to create any inventory transaction.
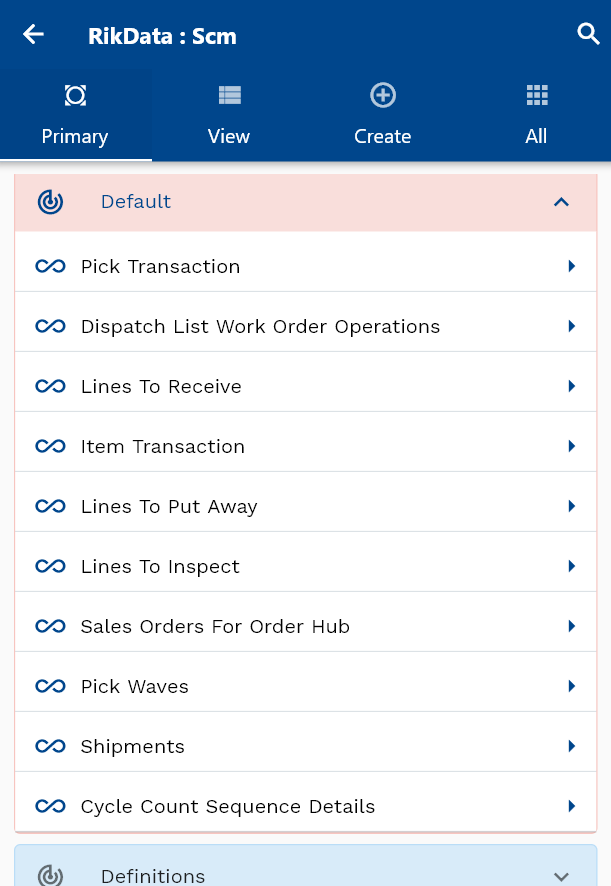
Enter the item/organization details or any other criteria in the search form and click on the search button.

Click on the Menu against an item that you want to transaction and click on the select button.
Next, select the inventory transaction type.

The app will fetch all the related information required to complete the inventory transaction.

It will take you to a confirmation screen where you need to validate all information and enter other required details such as Subinventory, Quantity, lot, and Lot Information.

Scroll up and down to view all the fields. You can configure the navigation menu for Inventory Transaction to control what fields are visible to a user and in what sequence. You can also make fields mandatory and read-only depending on your business requirements.

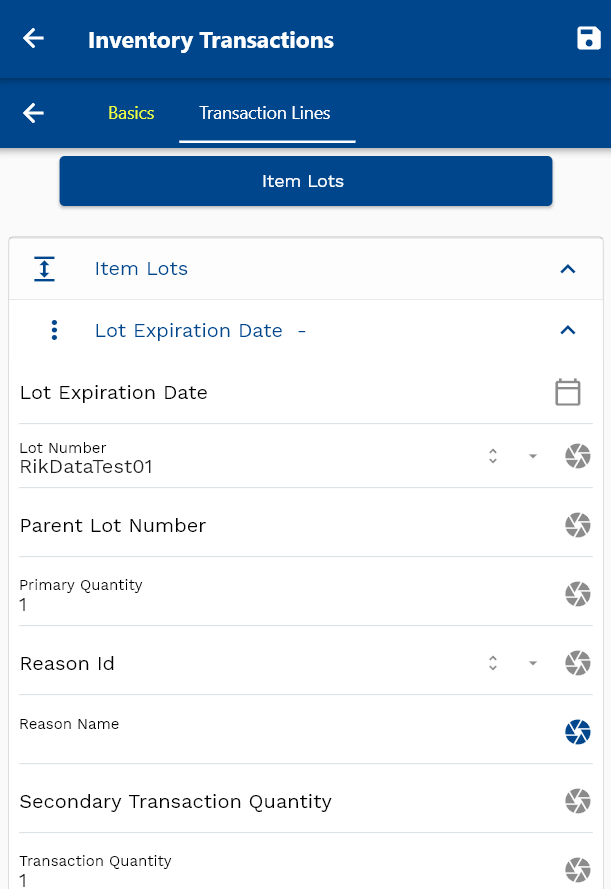
Click on the lot Number button to enter lot numbers.

Enter the lot number, lot quantity, and other lot related details.
Click on the Save button to complete the transaction.
You can review the details of the transaction in the Oracle cloud.

You can review the details of the lot number in the Oracle cloud.