EBS R12 Transactions
The transaction processes in OneApp for Oracle EBS R12 is similar to the transaction processes in Oracle Cloud and SAP HANA S/4. If you have reviewed the transaction process for Oracle Cloud/SAP, you can follow the same steps for EBS.
The primary difference between OneApp EBS and Oracle Cloud Application is the REST APIs used on the server-side. As Oracle Cloud provides well defined REST APIs for Cloud application, OneApp uses all the REST APIs created by Oracle. However, REST APIs available in Oracle EBS is very limited and not that well structured. Though some APIs are available as part of Integrated SOA Gateway (ISG), the APIs are available only for few entities and not well defined as in Oracle Cloud. Thus, OneApp uses a separate application (RikData OneApp REST APIs for EBS).
RikData REST builder is a GO-based application that makes building REST APIs simple and fast for legacy applications such as Oracle EBS. The builder is very flexible and provides well-defined REST APIs based on existing tables/data structures without writing any code. Currently, RikData REST builder is available for applications that use Oracle, MySQL, SQLite databases.
@deprecated RikData OneApp REST APIs for EBS is a Spring-based application that uses Java in the backend and Dart/Flutter/JavaScript in the frontend. OneApp EBS exposes all EBS entities (Tables) through REST API. Using RikData OneApp REST APIs for EBS, you can view data available in all EBS R12 tables (15000 + tables). Using OneApp EBS, you can also create/update/delete records in all interface tables.
You can download RikData OneApp for Oracle EBS from GitHub.
The Application exposes most of the essential tables in EBS R12 and contains thousands of Entity definitions, Repository, and Control files. Jar/War files are available for different modules (ex: OM, PO, INV, etc.), module combinations (ex: SCM containing OM, PO, INV, BOM, WIP, etc.), and all modules.
So, you need to use sufficient RAM and processor depending on the module/module combinations you select.
Below are a few examples of reviewing some documents and creating transactions. You can follow the same steps to do view or create any other document/transaction.
Transactions in 4 Steps
- Search the document
- Select the transaction type
- Review and Update the details
- Save the transaction
Search the document:
First, we search the document we want to transact. Ex: Purchase Order, Work Order, Cycle Count, or Sales Order, etc. For transactions that don't involve any documents (such as Miscellaneous issue/receipt in Oracle or 501/502/561 type of transactions in SAP), we first search the item we want to transact.
-
Select the transaction type:
Depending on the criteria we enter in step1, the app will show different results. We need to select the document/item we want to transact and the transaction type (Ex: Material Issue to WO in Oracle)
-
Review and Update the details:
The app will default various information as per our selection in step1, local settings, and the ERP data. We need to review all the details and enter new details wherever applicable (Ex: Quantity, Serial Information, Sub Inventory in Oracle/Storage in SAP)
-
Save the transaction:
Finally, we click on the Save button. The app will validate all the information and will post it to the ERP system. If any error occurs in the ERP, the app will show the message returned from the ERP system to the user.
Using OneApp, you can do almost all transactions available in EBS R12, such as
- Inventory - Misc. Issue, Misc. Receipt, Sub Inventory Transfer, Cycle Count Entry, etc
- Manufacturing - Components Issue/Return, Move Transaction, Resource Transaction, WIP Job Completion, etc
- Inventory related to Sales - Shipping
- Inventory related to Purchasing - Receive, Inspect, PuAway
Inventory Transactions
You can do transactions in several ways
- Following the traditional method of navigating to a form and manually entering all the details
- Search an item you want to transact and then enter other information required to complete a transaction
This guide covers the second approach as it's more convenient to do a transaction using a mobile device.
Miscellaneous Receipt
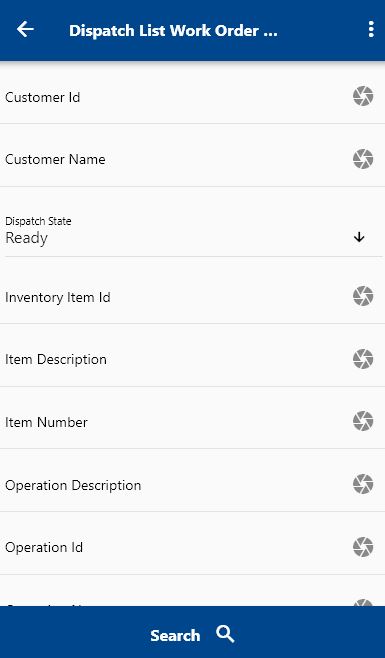
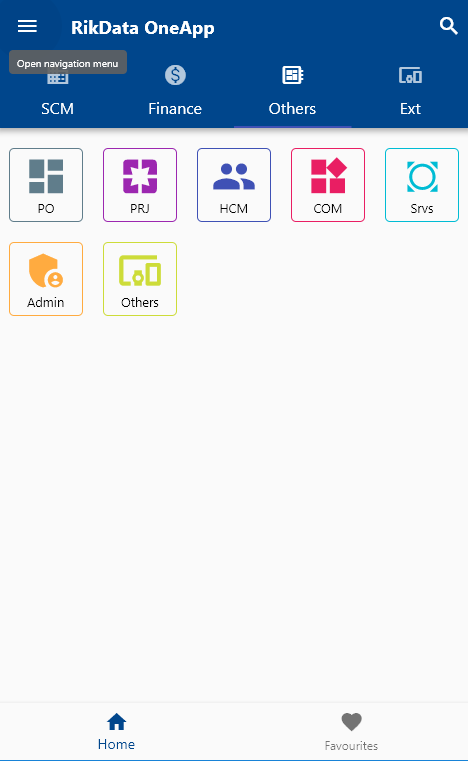
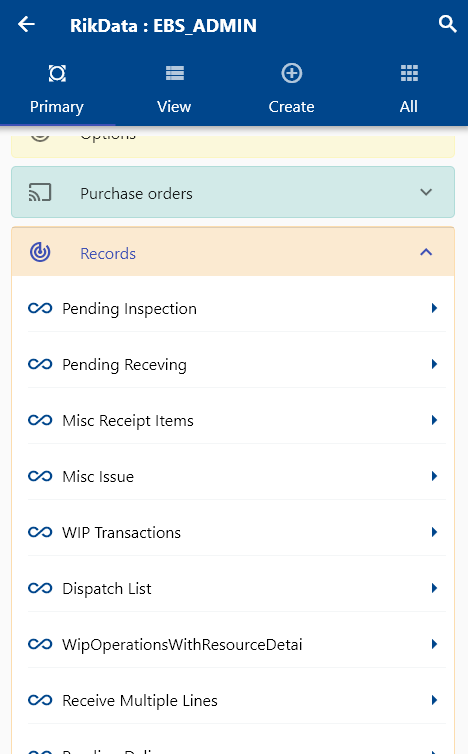
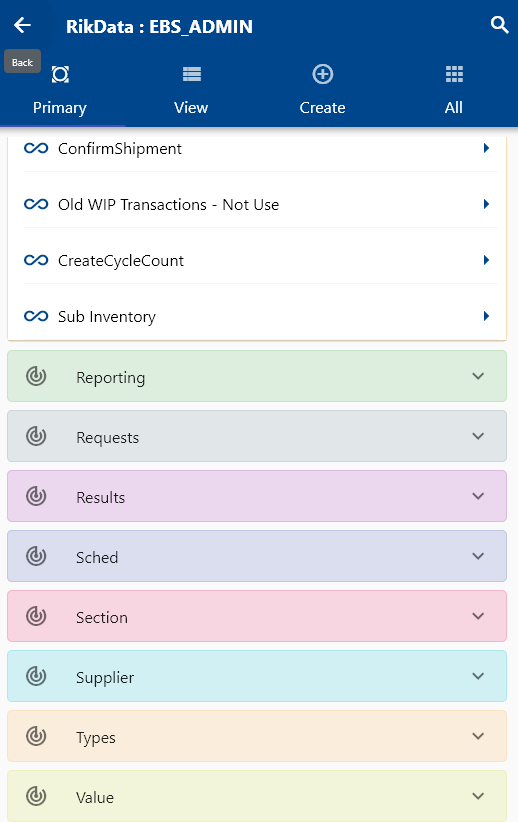
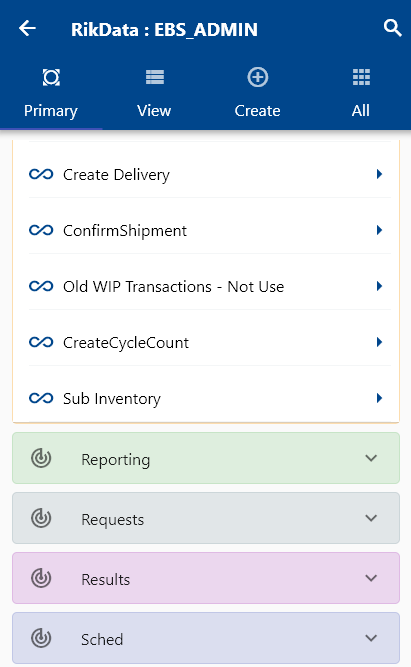
First, to do a miscellaneous receipt transaction, navigate to the item search form from your dashboard/favorite.
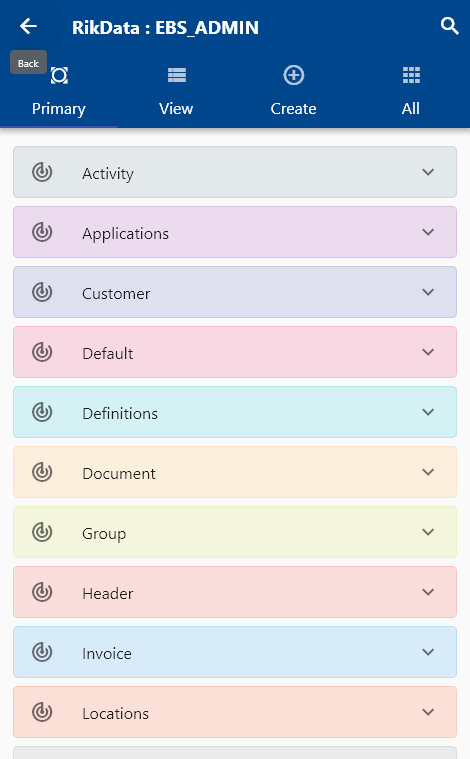
Enter the item details or any other criteria in the search form and click on the search button.
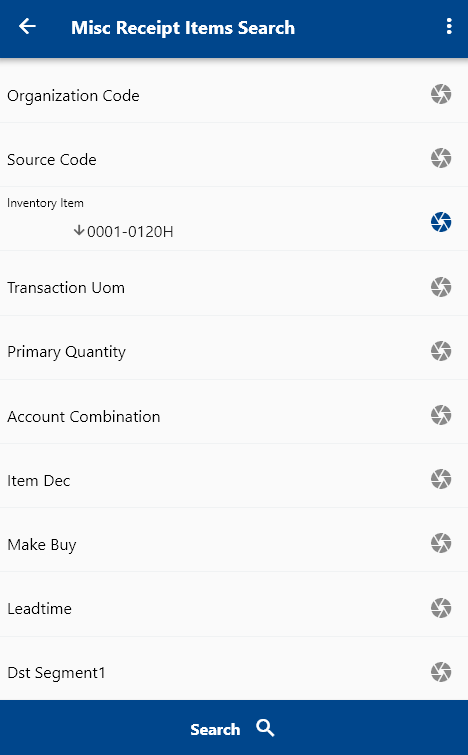
If you don't enter any organization code/name/id, then the app will show the same item in all assigned organization.
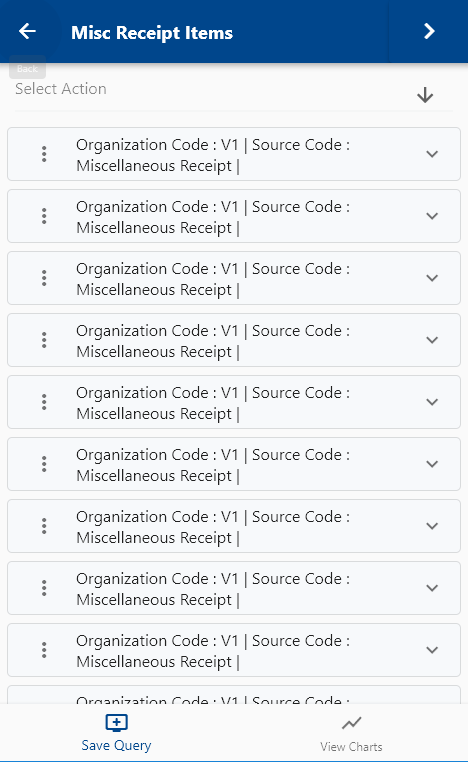
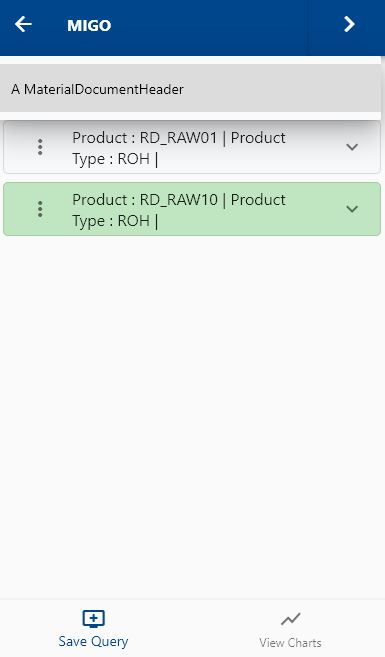
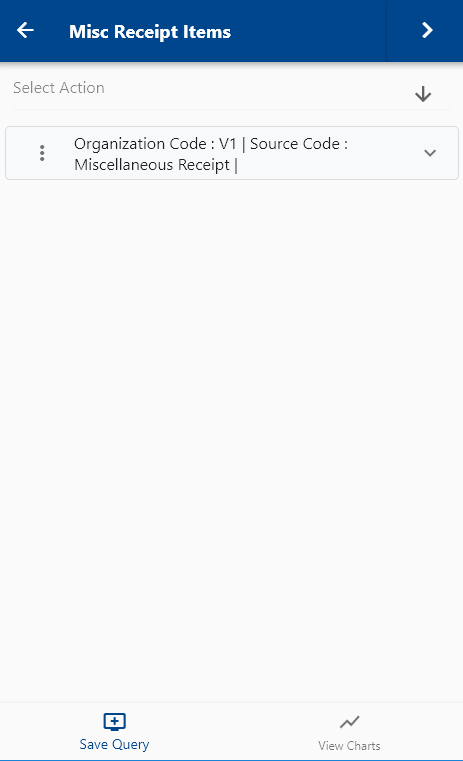
Click on the Menu against an item that you want to transact and click on the select button.
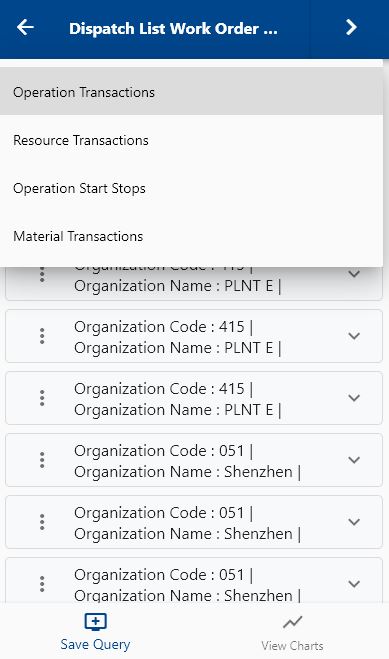
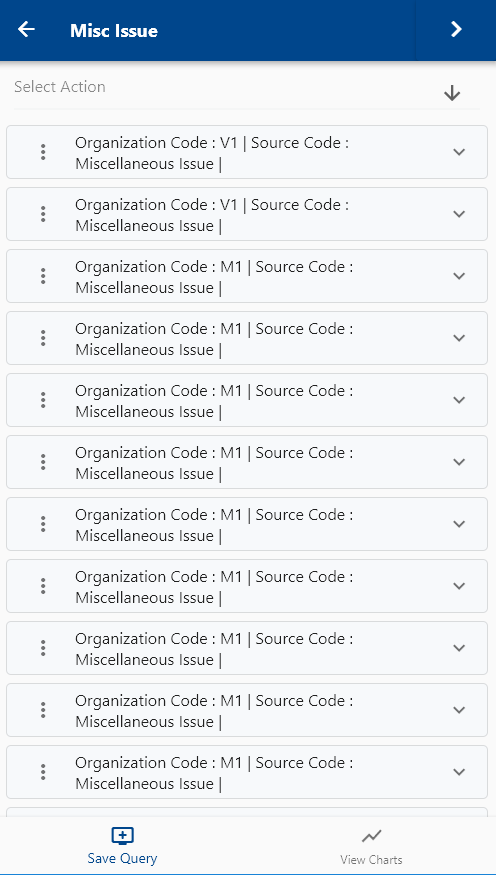
Next, select the transaction type (ex: Misc Issue / Receipt)
Even though the app shows all transaction types on this screen. Don't use it for WIP/PO/SO related transactions as you might have to enter all the information manually. There are better ways to do PO Receipt and WIP Material Transactions by first searching the document.
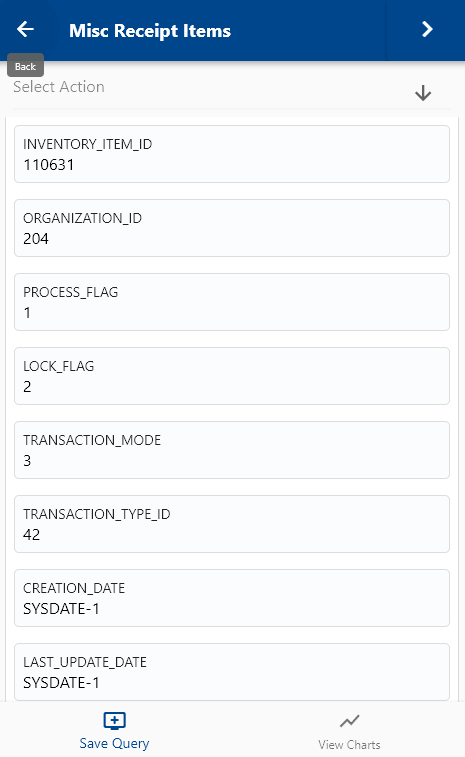

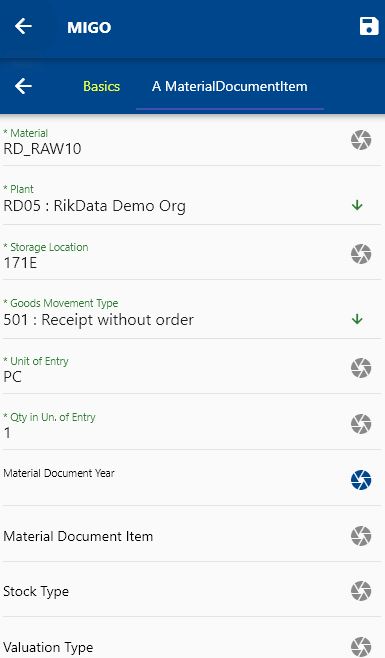
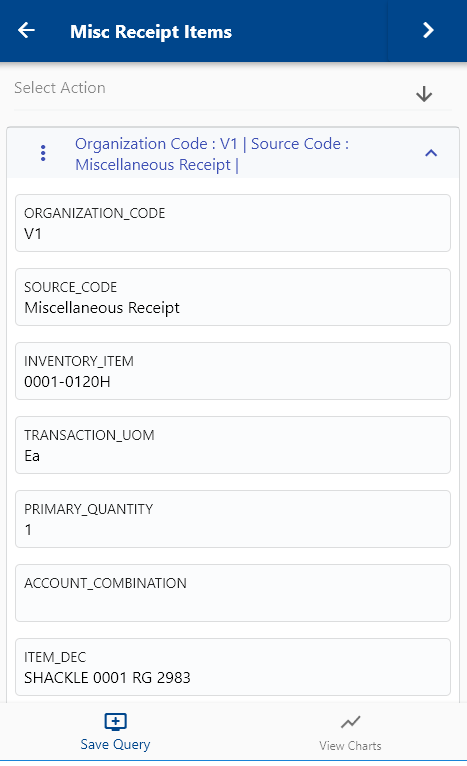
The app will take you to a confirmation screen where you need to validate all information and enter some other information such as Quantity, Serial Number, Lot Number, etc.
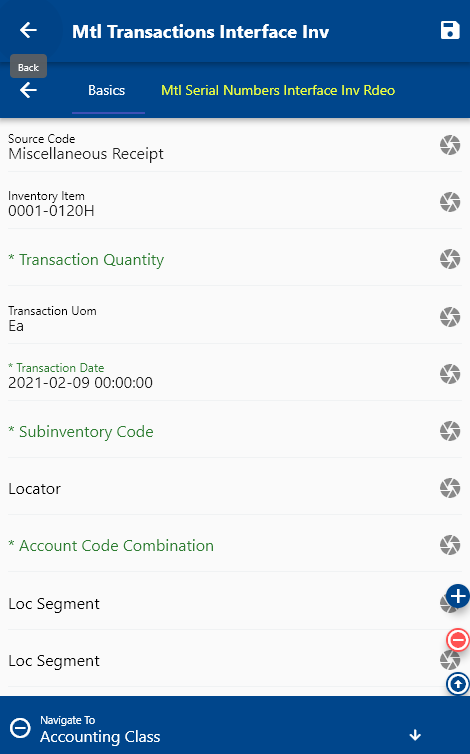
The inventory transaction screen will show several tabs. The first Tab (Basic tab) contains information about the transaction. Scroll right to enter Serial number details.
You can transact multiple lines together for Work Orders and Purchase Orders but for misc. transactions, you can transact only one item at a time
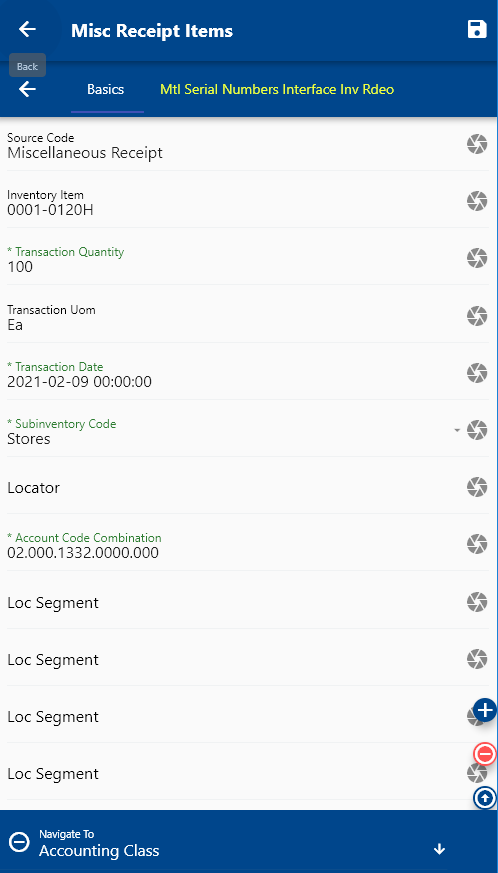
Verify all the information, and enter all the other required details such as
- Sub Inventory (Issue from Misc. Issue and Receipt for Misc. Receipt)
- Locator - if sub inventory is locator control
- Cost - if applicable
Next, click on the Save button.
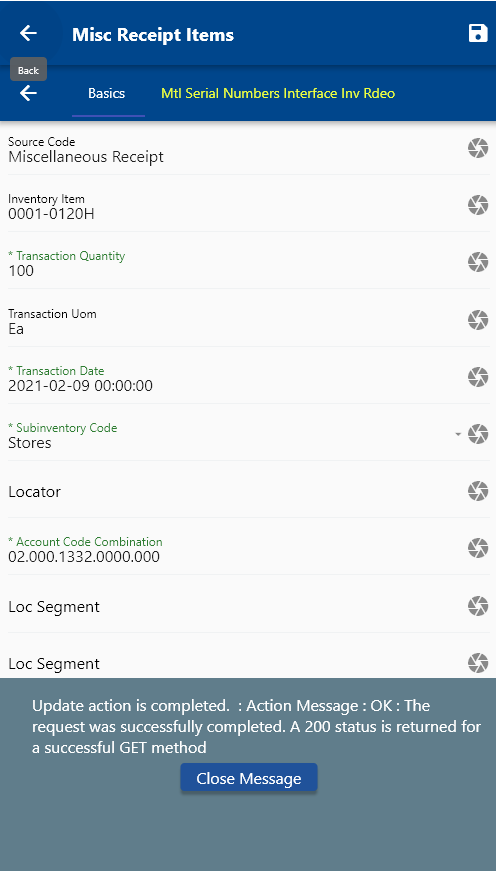
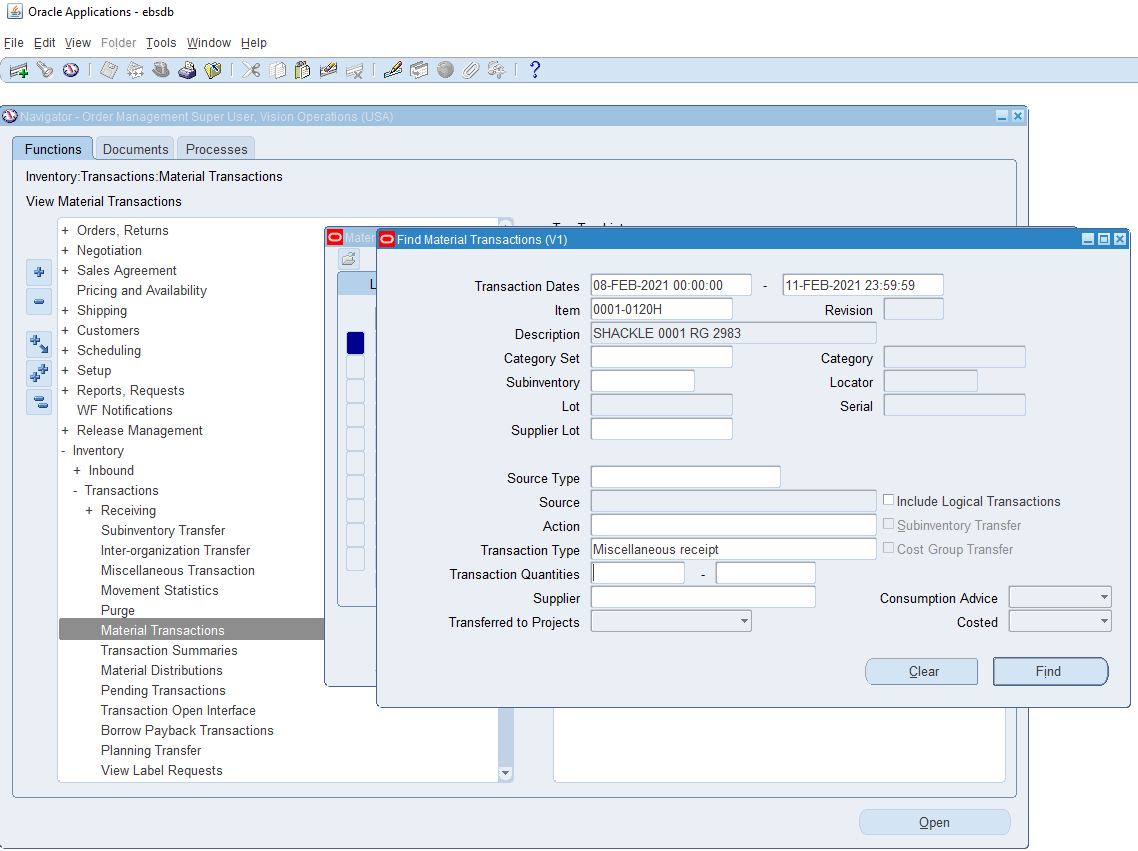
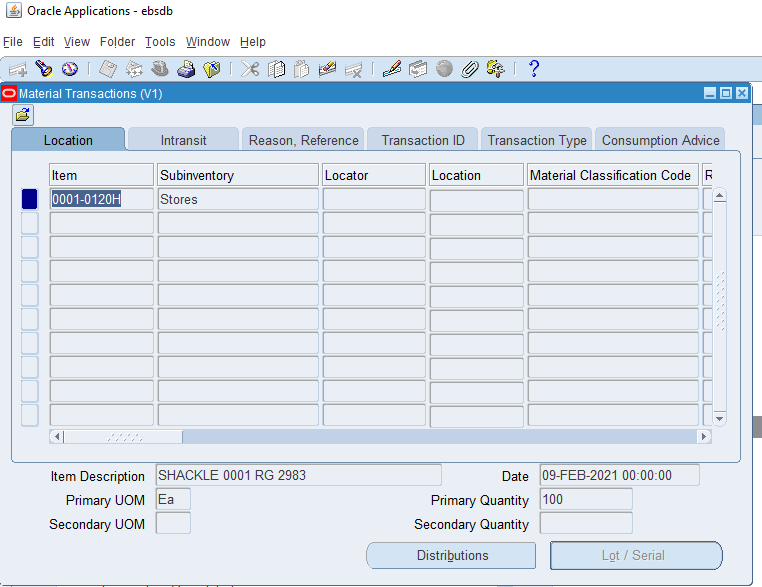
You can review the transaction details in the view material transaction screen.
Miscellaneous Issue
First, to do a miscellaneous issue transaction, navigate to the item search form from your dashboard/favorite.
Enter the item details or any other criteria in the search form and click on the search button.
If you don't enter any organization code/name/id, then the app will show the same item in all assigned organization.
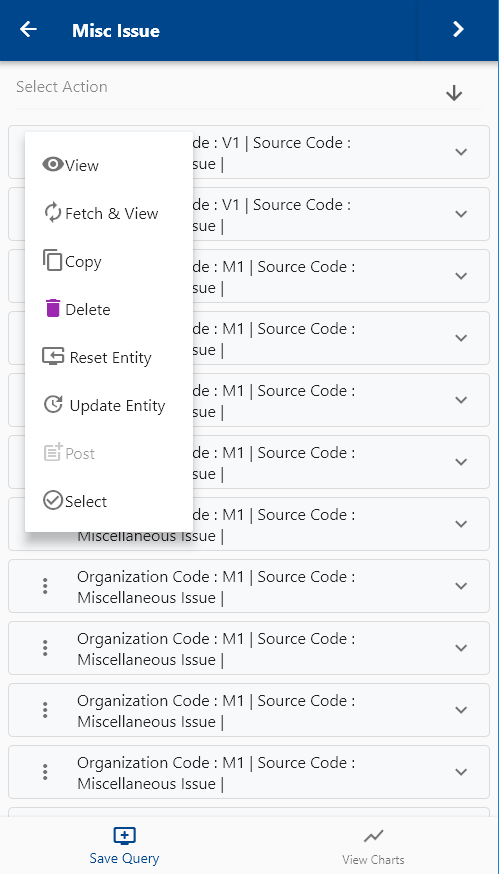
Click on the Menu against an item that you want to transact and click on the select button.
Next, select the transaction type (ex: Misc Issue)
The app will take you to a confirmation screen where you need to validate all information and enter some other information such as Quantity, Serial Number, Lot Number, etc.
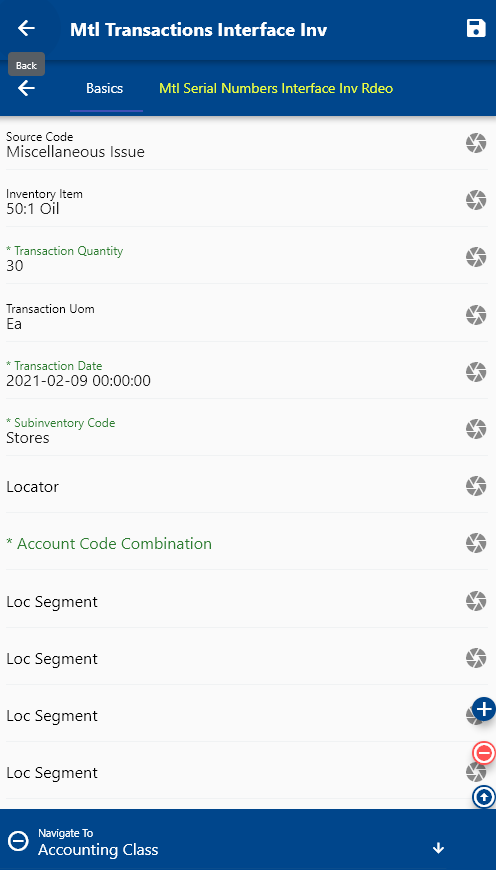
The inventory transaction screen will show several tabs. The first Tab (Basic tab) contains information about the transaction. Scroll right to enter Serial number details.
Verify all the information, and enter all the other required details such as
- Sub Inventory (Issue from Misc. Issue and Receipt for Misc. Receipt)
- Locator - if sub inventory is locator control
- Cost - if applicable
Next, click on the Save button.
Subinventory Transfers
From Oracle Docs
SourceUse a subinventory transfer to transfer material within your current organization between subinventories or between two locators within the same subinventory. Examples of subinventory transfers are transferring between asset and expense subinventories and transferring between tracked and non-tracked subinventories.
To create a subinventory transfer, navigate to the "Items Search" form from your dashboard/favorite.
Enter the item/organization details or any other search form criteria and click on the search button.

Click on the Menu against an item that you want to transfer and click on the select button.
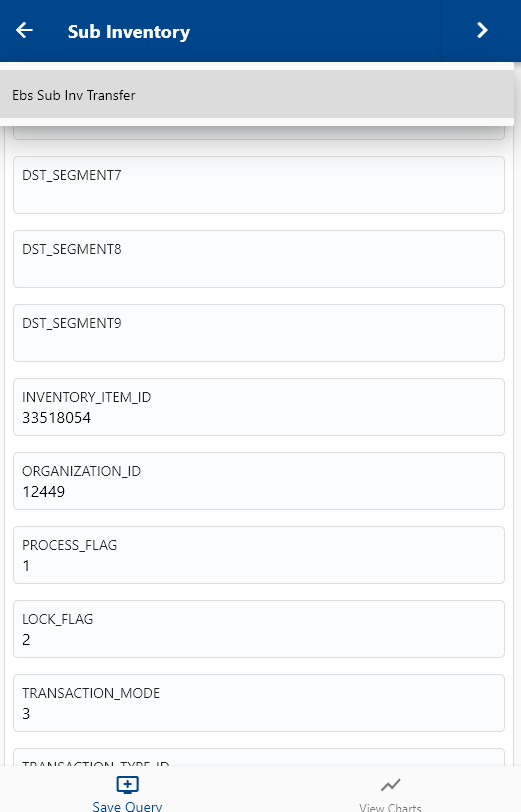
Next, select the transaction type as "Subinventory Transfer."
The app will fetch all the related information required to complete the Subinventory Transfer. It will take you to a confirmation screen where you need to validate all information and enter other required information such as From Subinventory, To Subinventory, Quantity, Serial, and Lot Infomation.
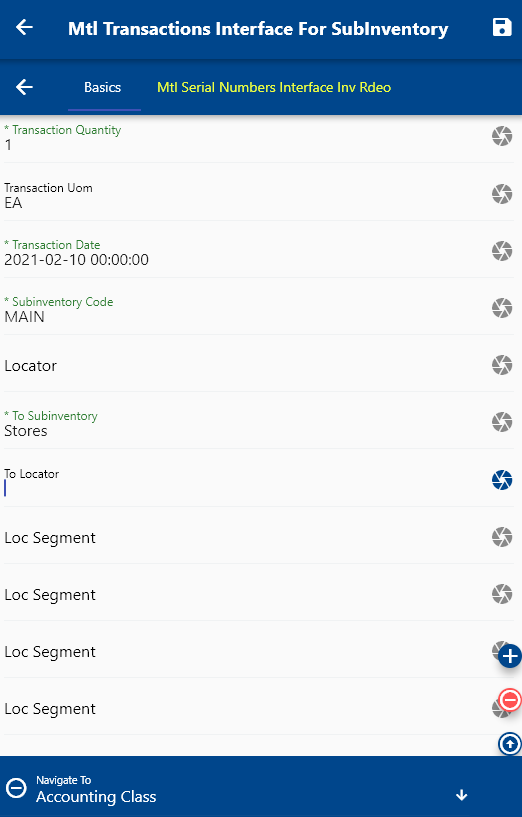
Scroll up and down to view all the fields. You can configure the navigation menu for Inventory Transaction to control what fields should be shown to the user and in what sequence. You can also make fields mandatory and read-only, depending on your business requirements.
Next, click on the Save button.
Manufacturing Transactions
You can view and complete all work order related transactions using OneApp. The process of all transactions are the same
- Search a work order using dispatch list
- Select the operations you want to transact
- Select the transaction type (Start/Stop, Move, Material or Resource)
- Review all the details
- Enter any required information (Ex: Date & Time for Start, To Operation For Move, Lot/Serial for Material, etc.)
- Save the transaction
WIP Material Transaction
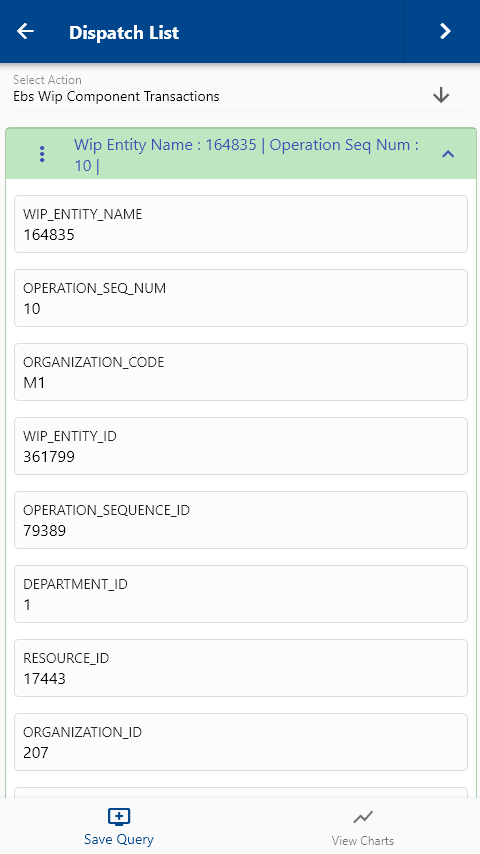
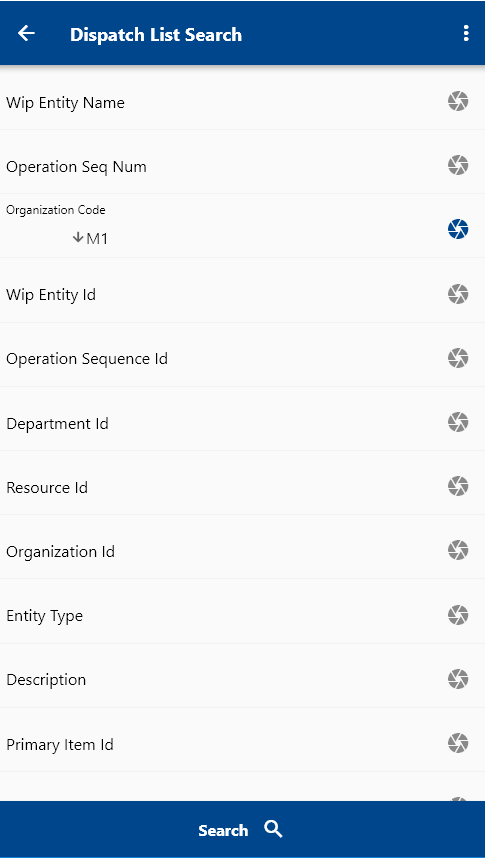
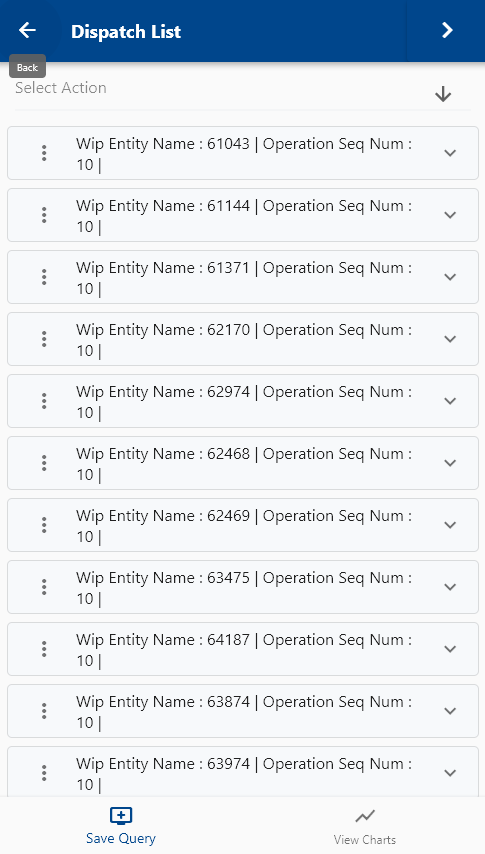
To do a material transaction against a Work Order, navigate to the dispatch list form.

You can navigate to the dispatch list form from your dashboard, favorite, or just by using a quick search.

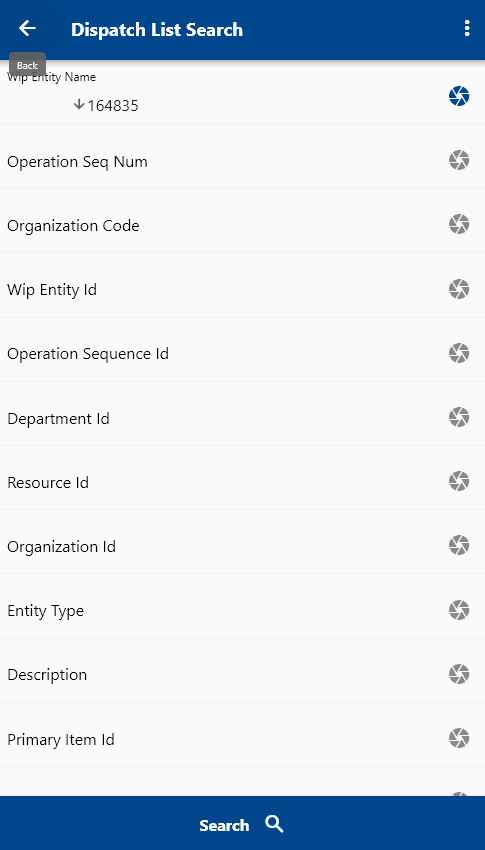
Enter the item or organization code or work order number in the search form, and then click on the search button.


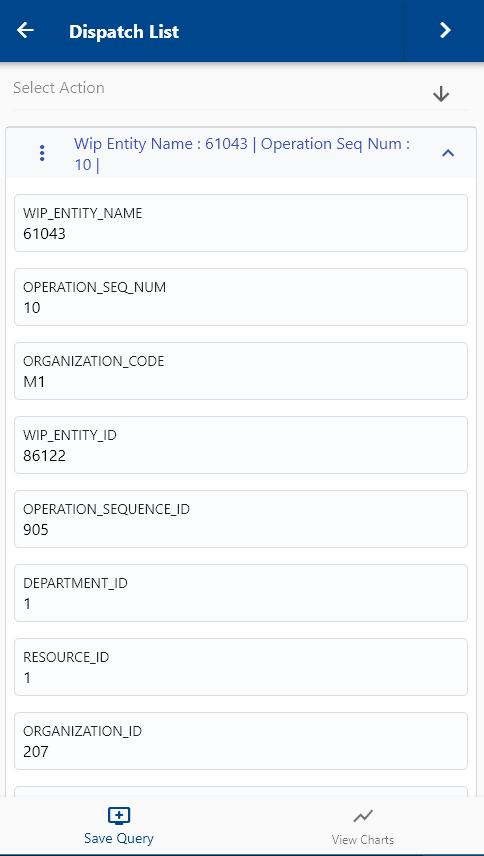
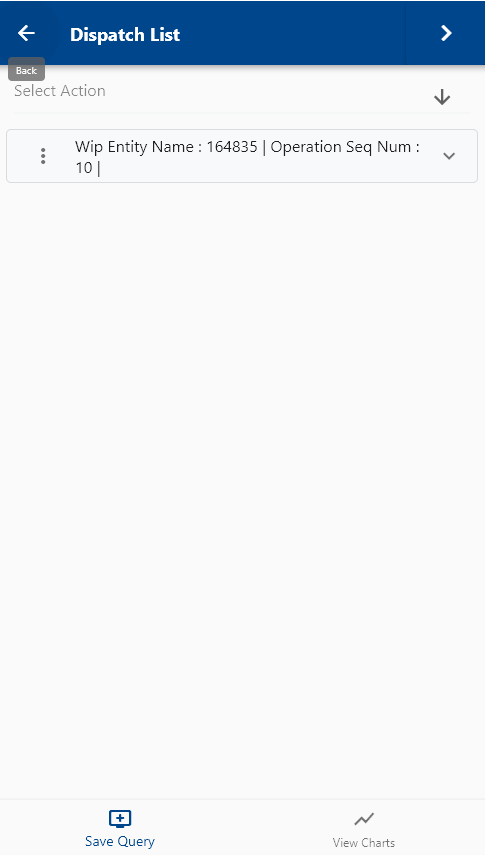
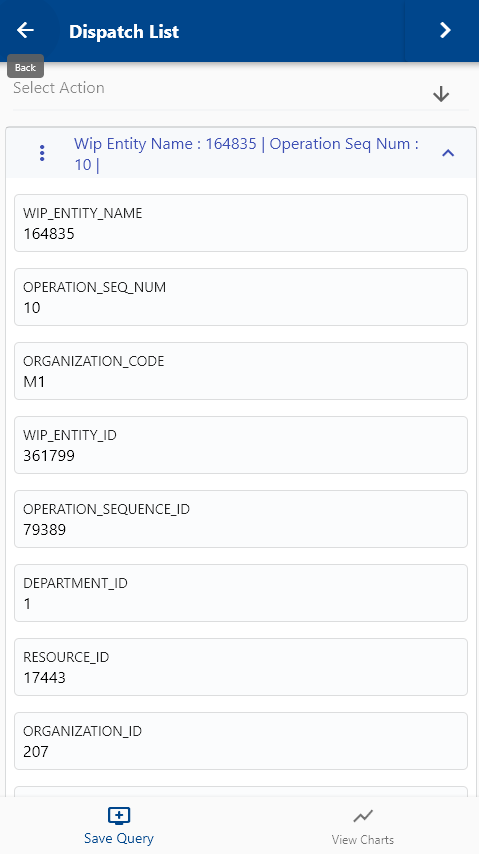
The app will show all the available work orders with operation details. To view the work order details (such as item, description, dates, etc.), you click on the expand button, and the app will show you all the details. You can also visit the work order details form by clicking on the Fetch/View button, but that's not required to complete a transaction. If you navigate the work order details screen, then use the back button to navigate the current search result screen.
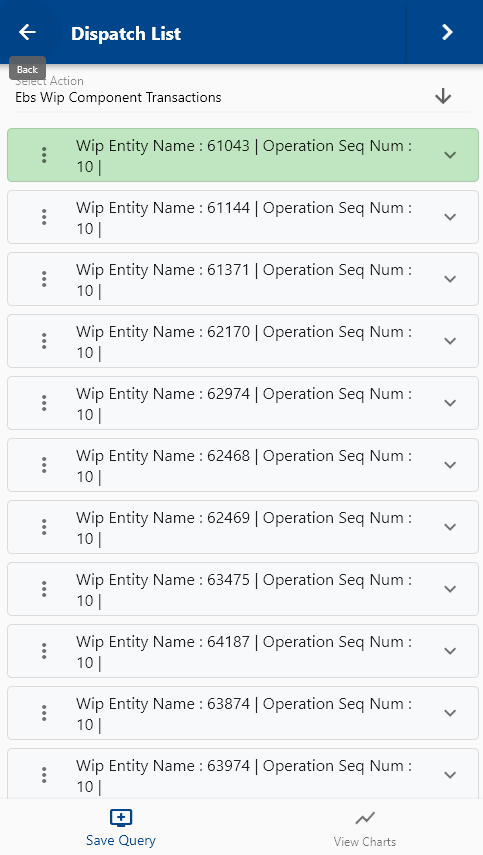
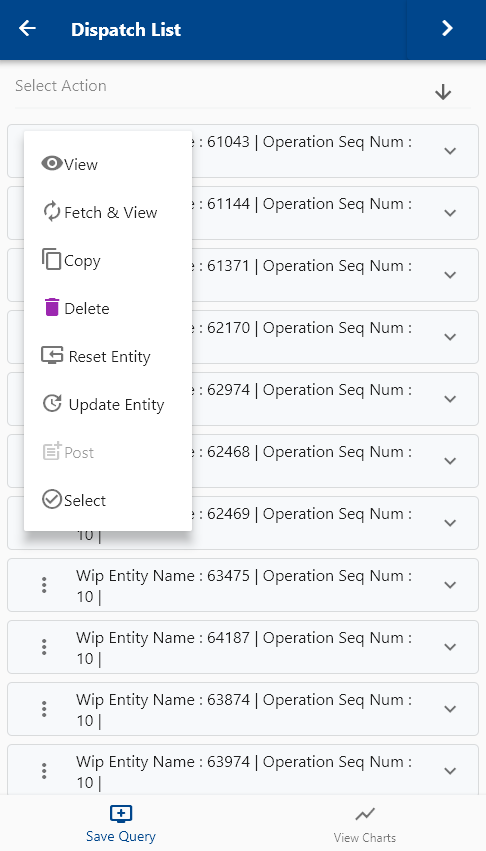
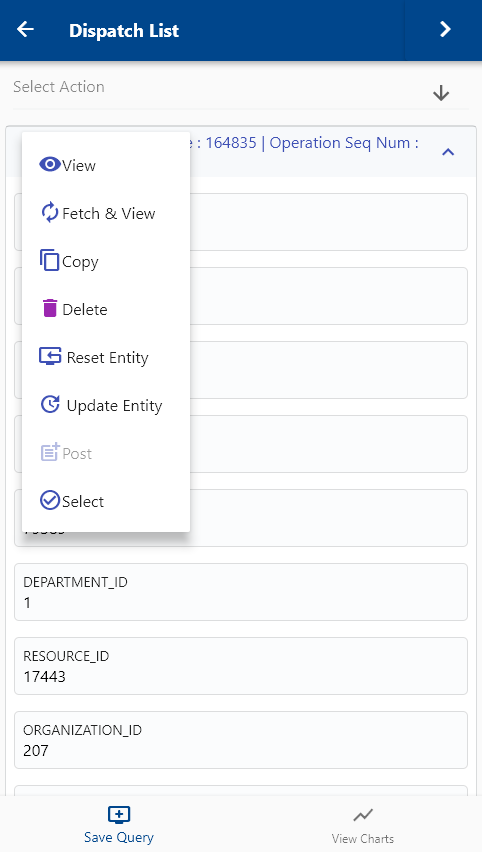
Click on the Menu against an operation that you want to do a material transaction and click on the select button.
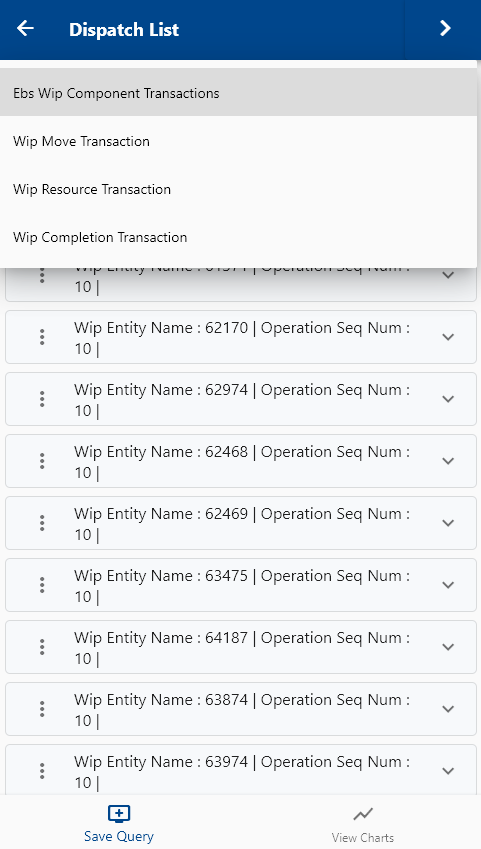
Next, select "Material Transaction" in the transaction type list of values.
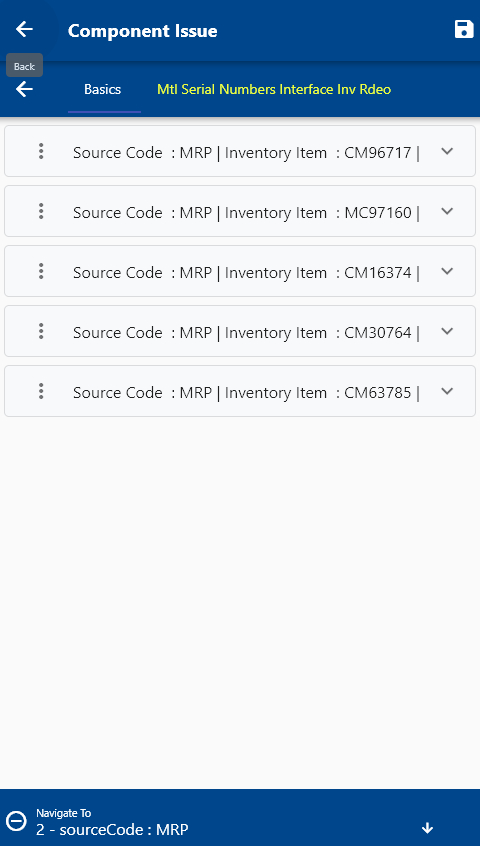
The app will take you to a confirmation screen where you need to validate all information and enter some other information such as Quantity, Serial Number, Lot Number, etc.
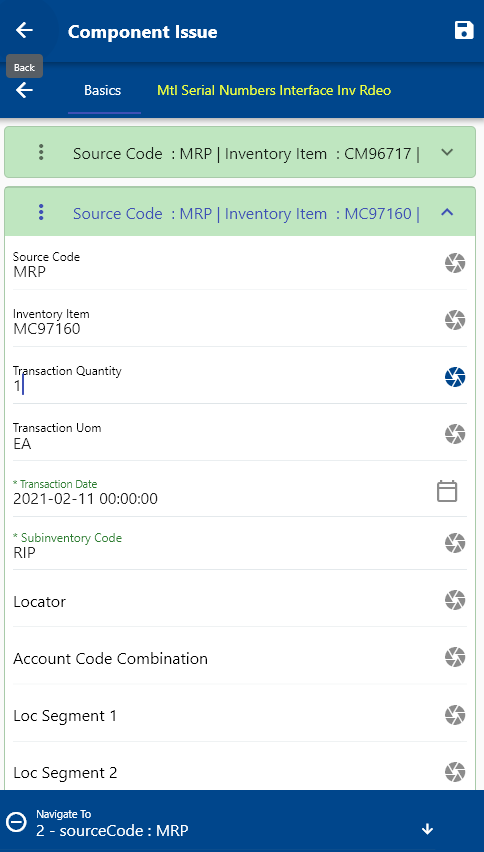
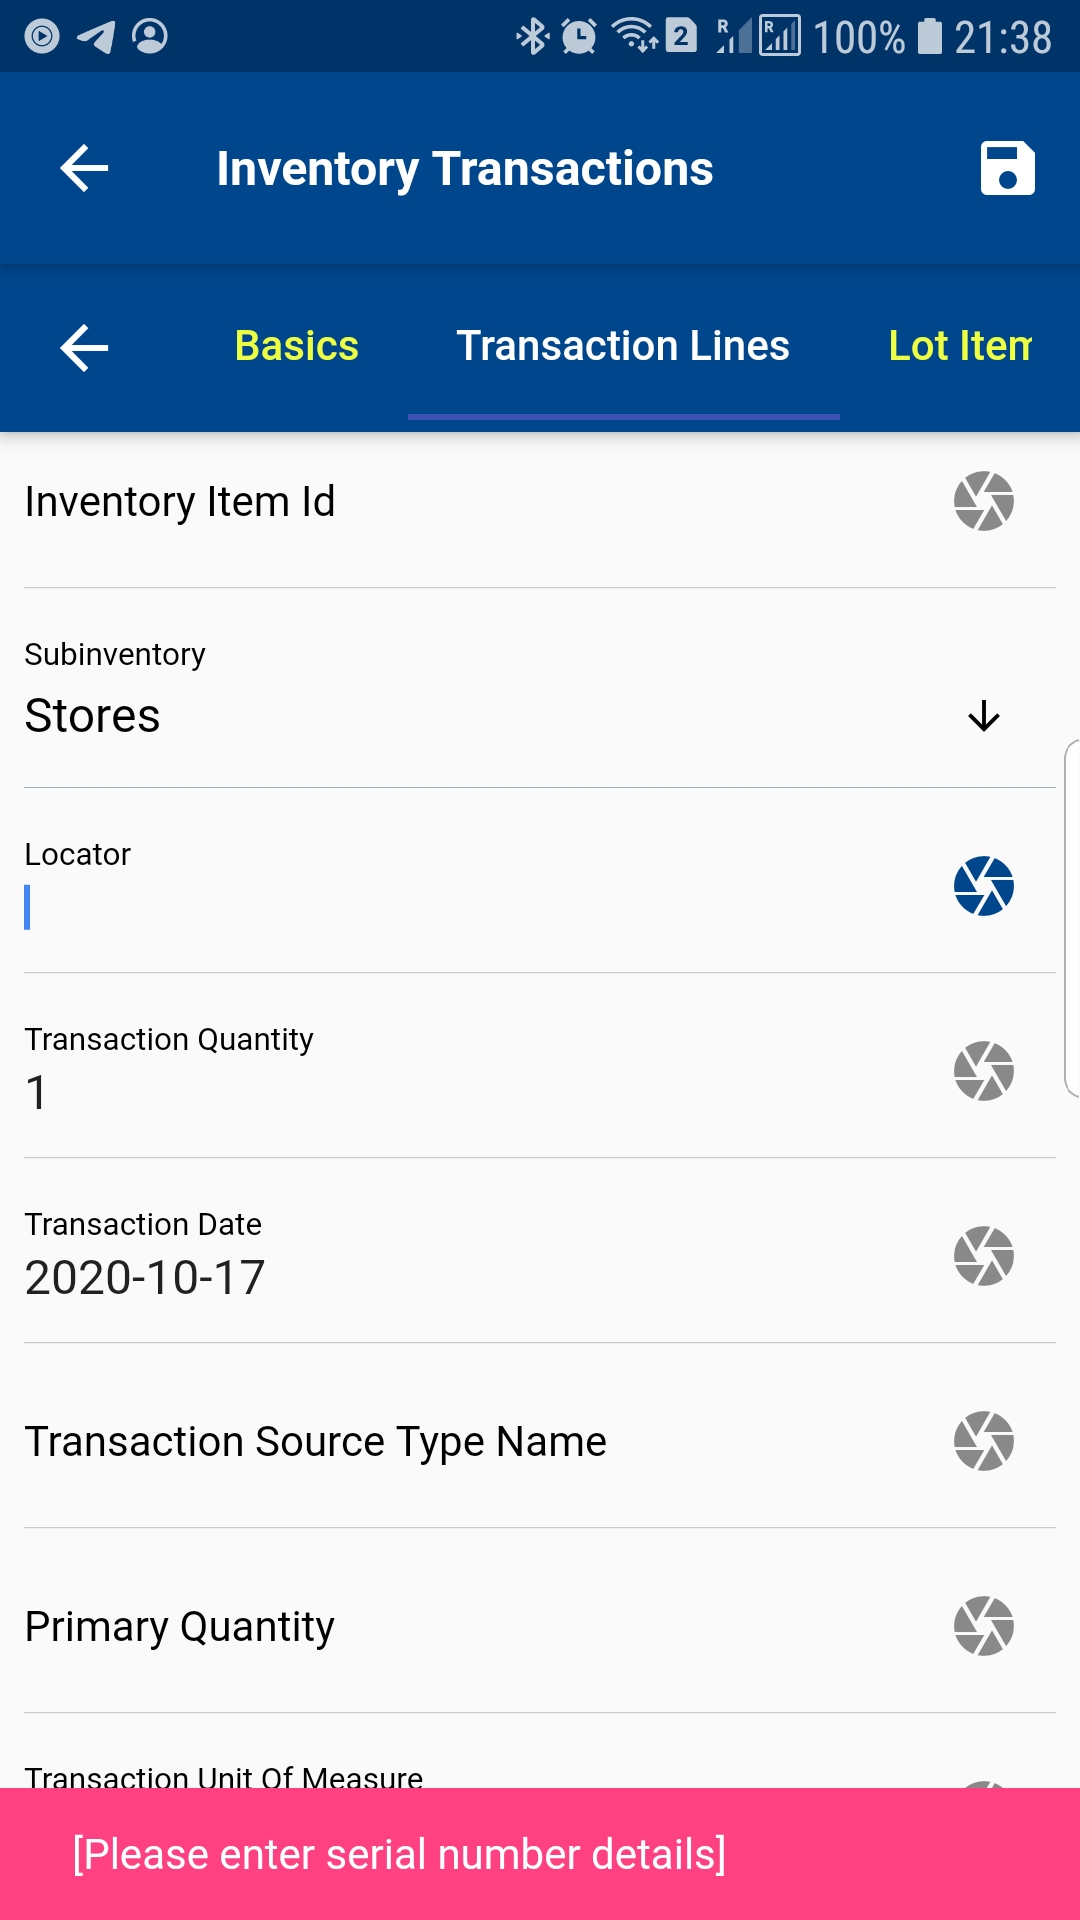
The transaction screen will show several tabs. The first Tab (Basic tab) contains information that is required to complete the material transaction.
Use the serial tab to enter the serial number details if the component is serial controlled
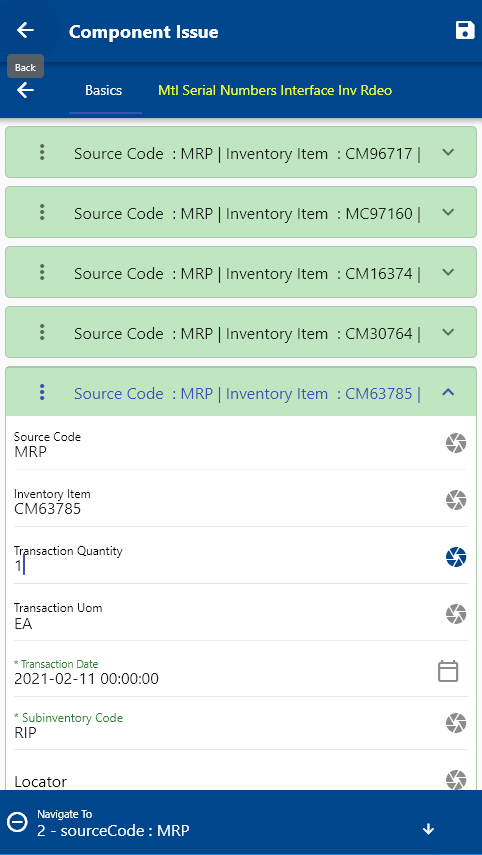
Click on the expand button to view the item details.
Verify all the information, and enter all the other required details such as
- Sub Inventory
- Locator - if sub inventory is locator control
- Quantity
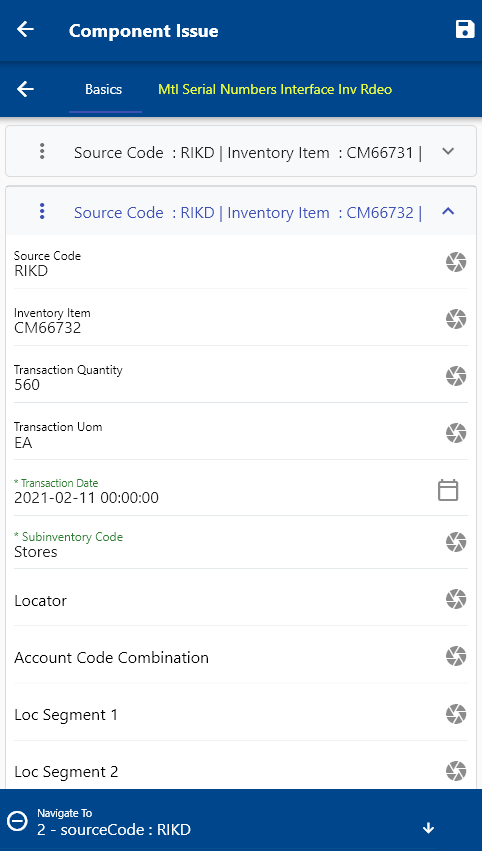
Next, click on the Save button.
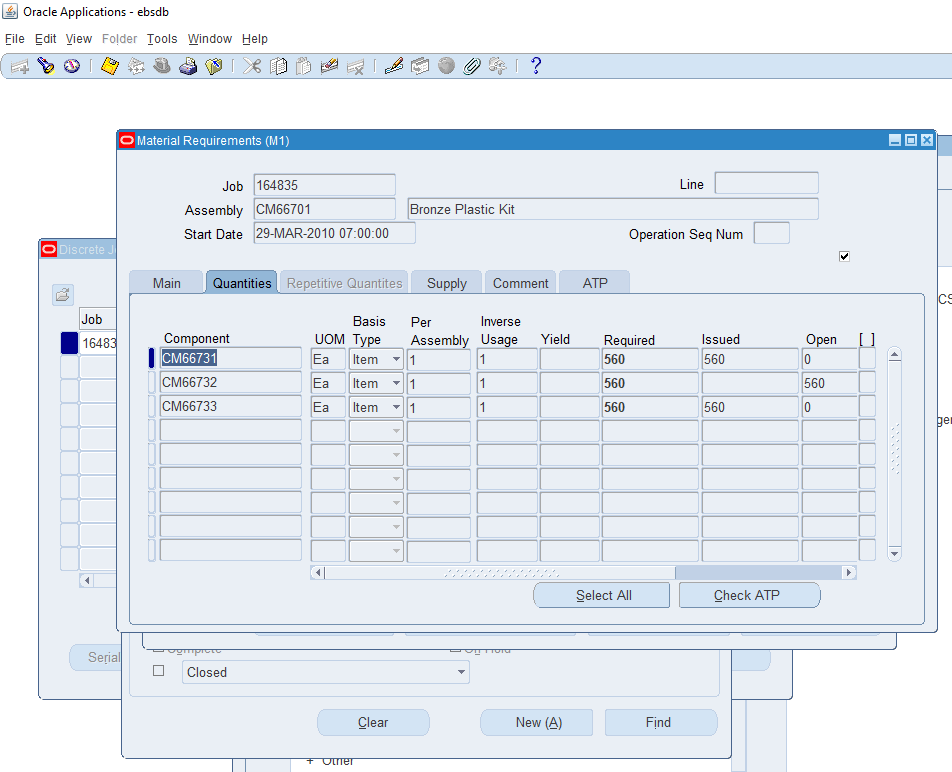
You can review the transaction the issued quantity for the job in Oracle
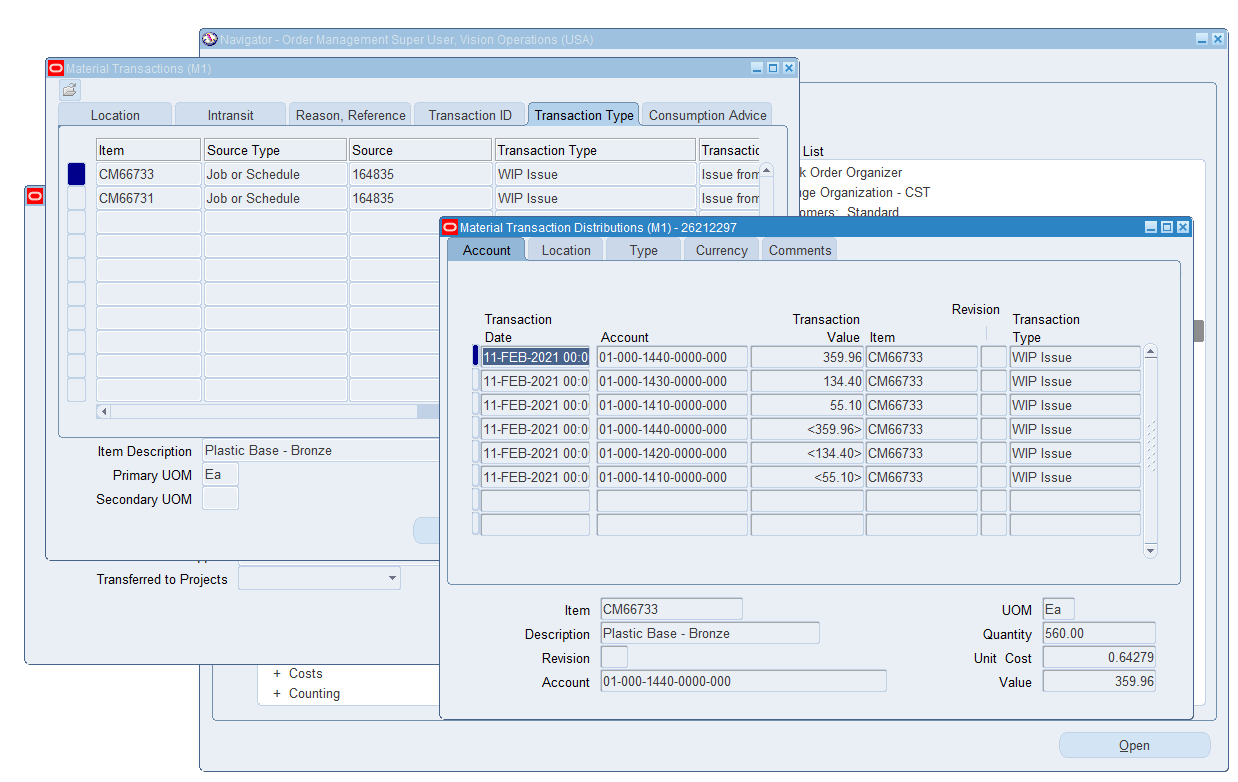
You can also review the material transactions in Oracle

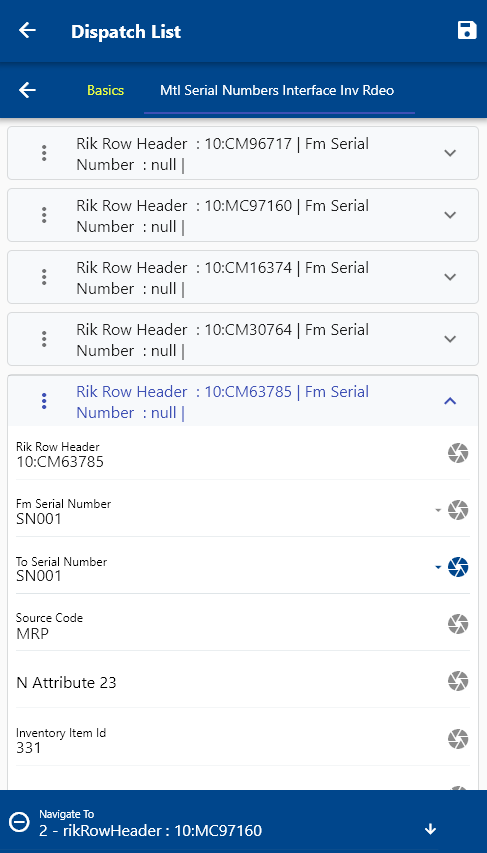
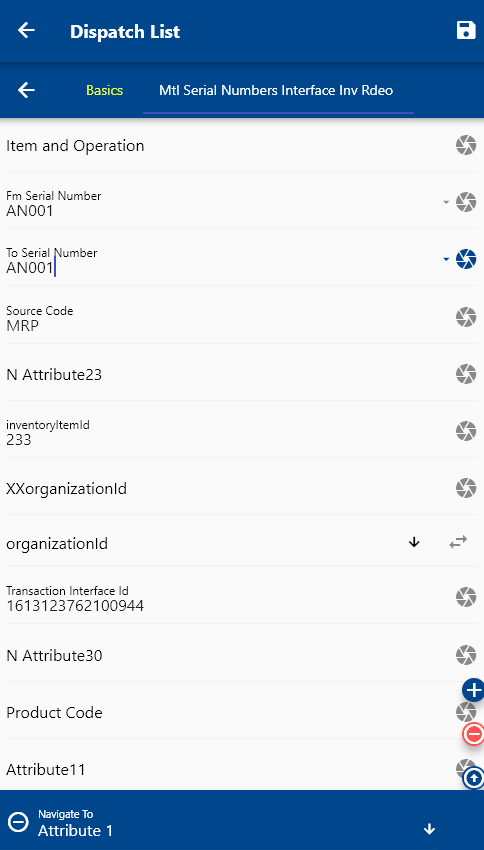
Serial/Lot Number
If an item is serial or lot controlled, you need to enter the serial and lot details in the serial/lot tab. If you don't enter, the app will show the below warning message and won't submit the transaction to the server.
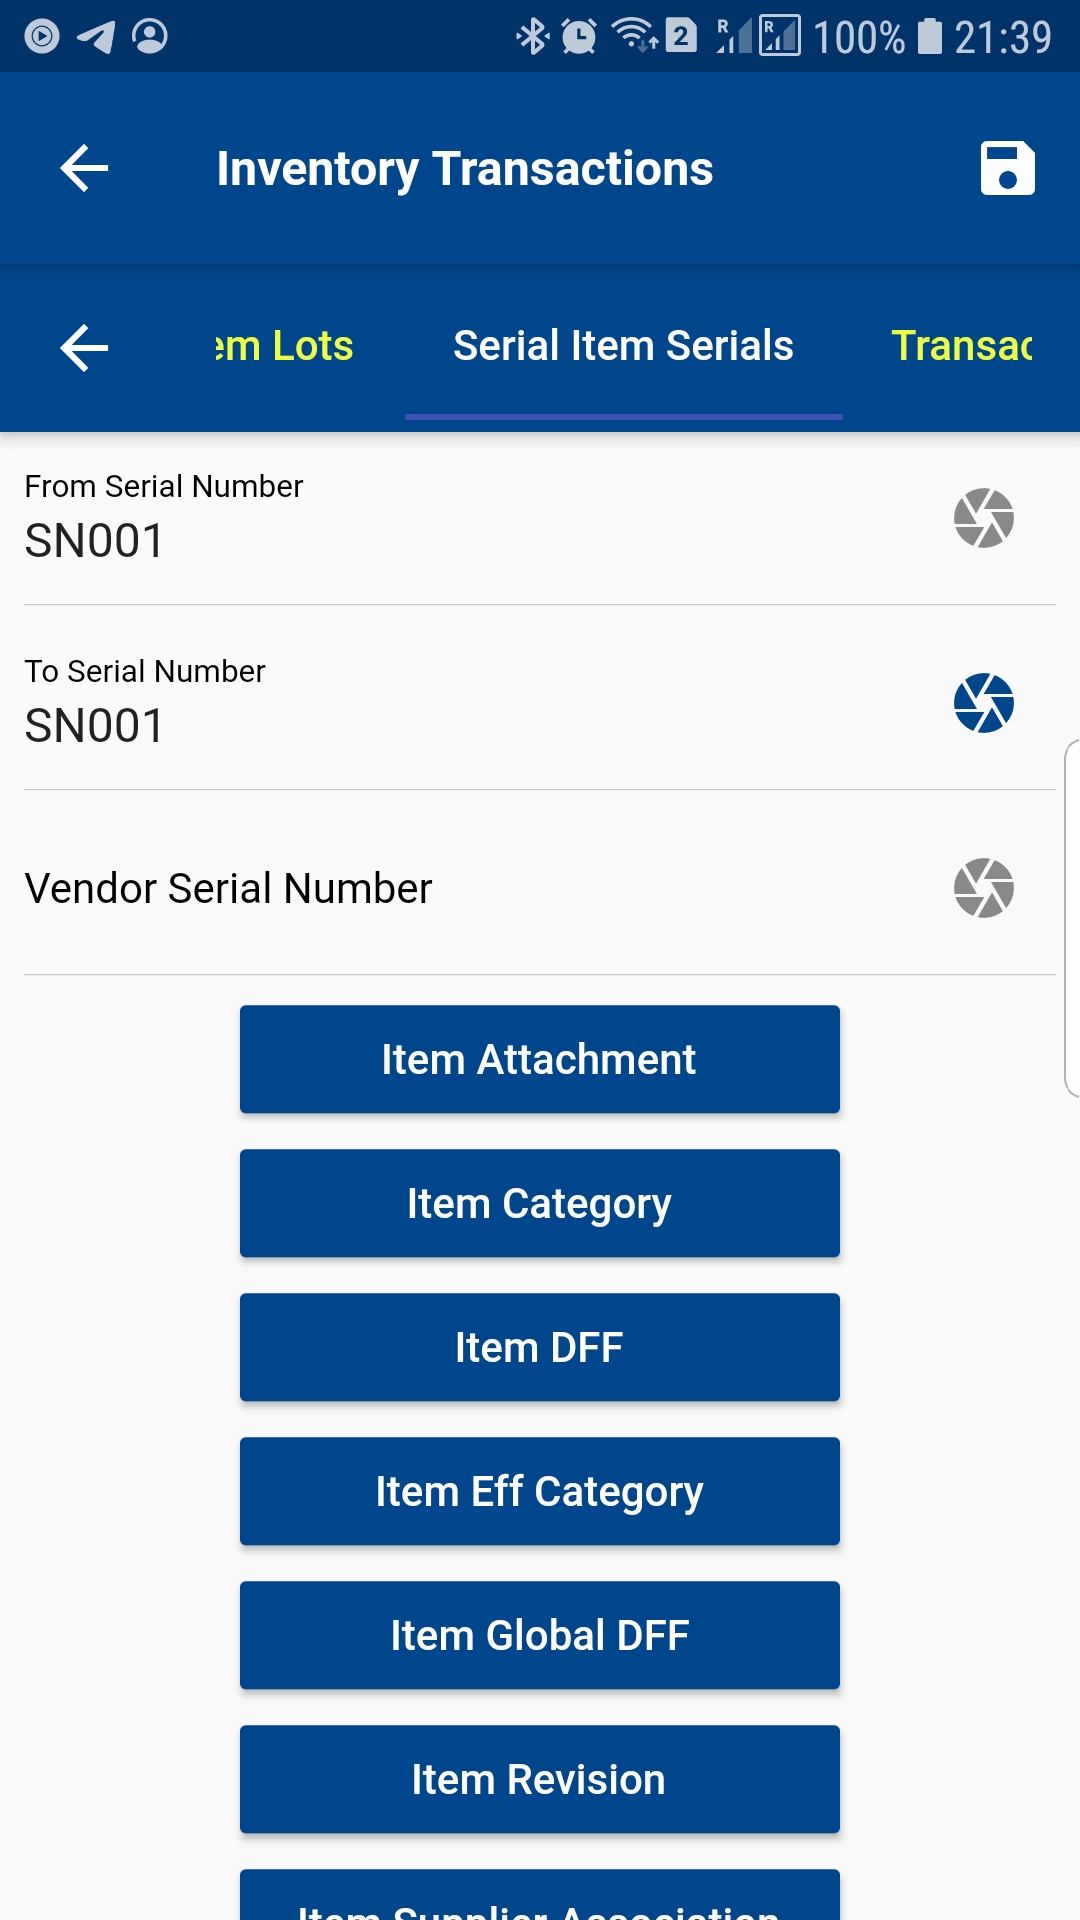
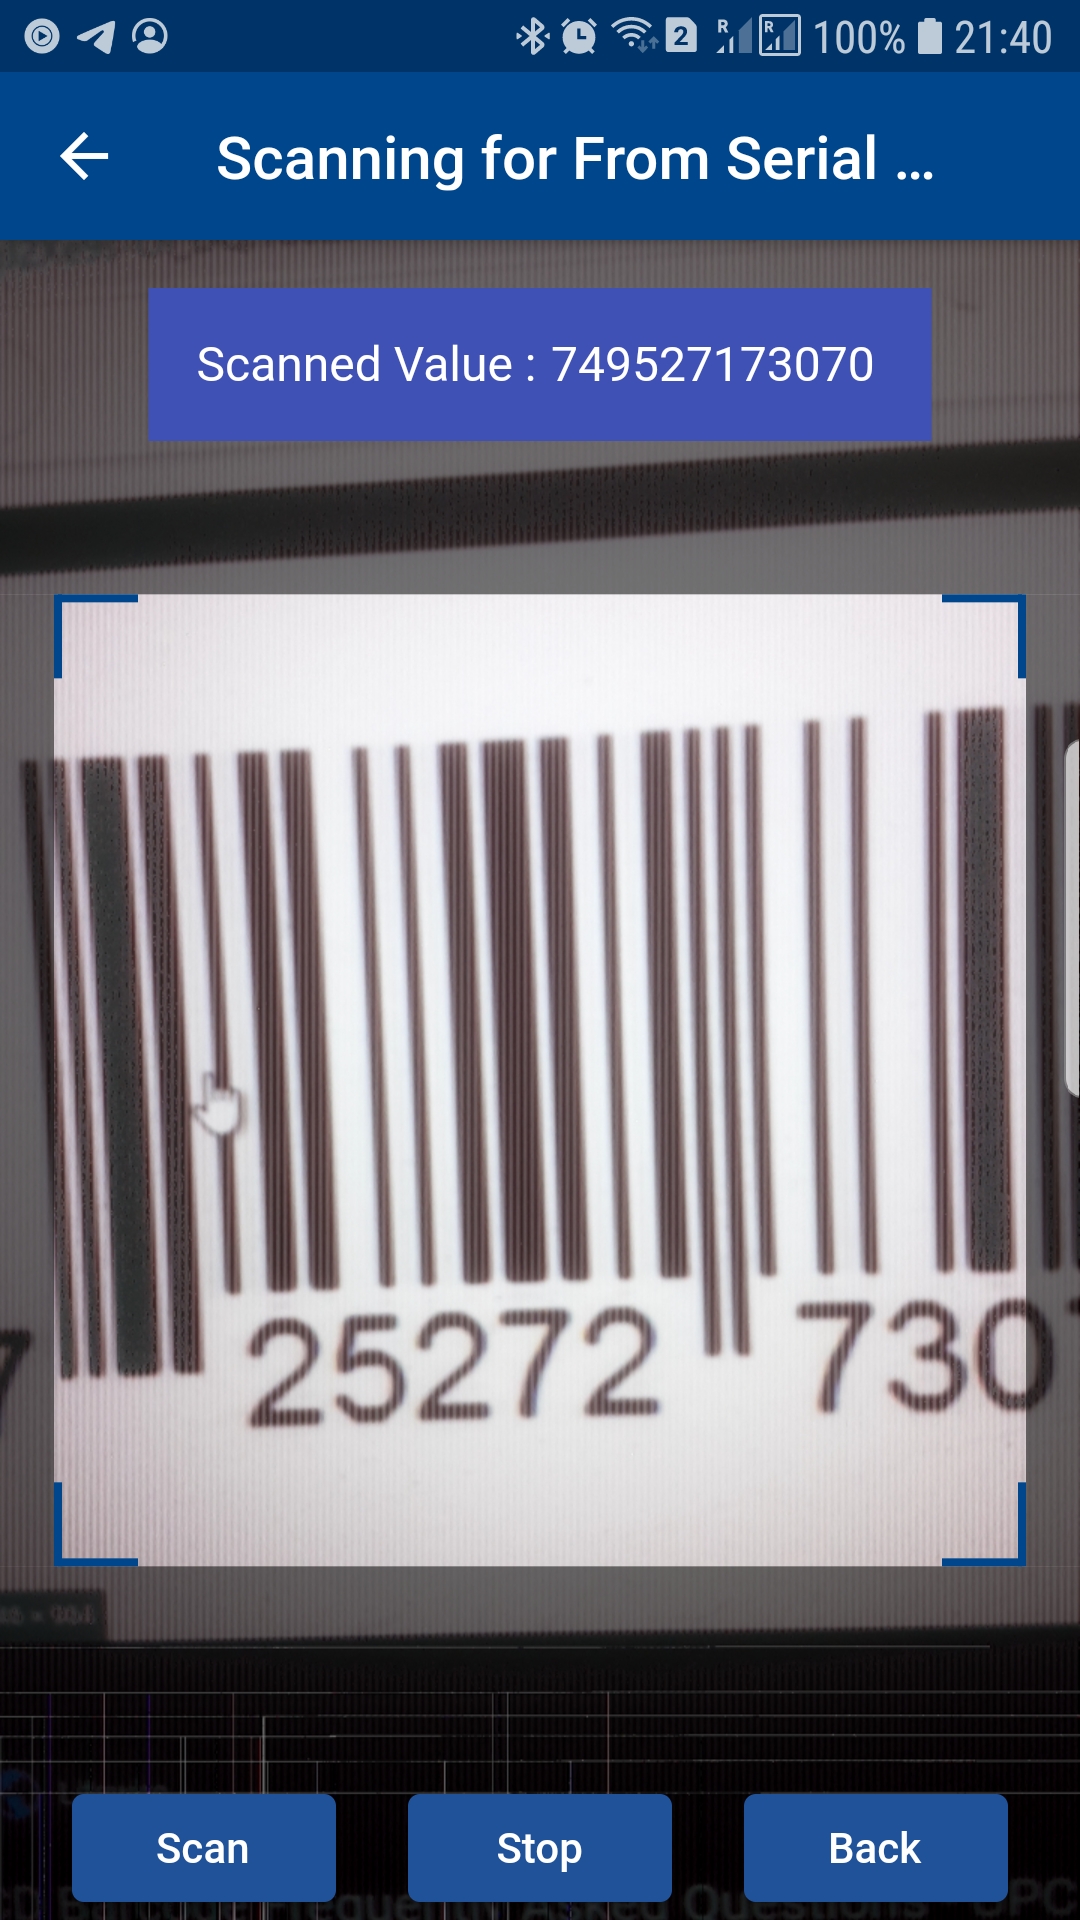
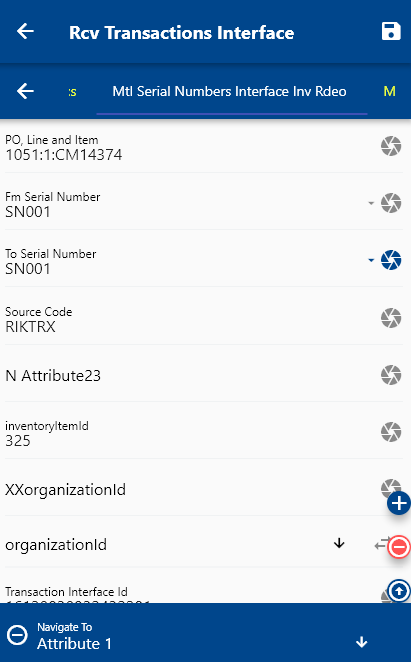
To enter serial/lot number details, scroll to the serial number tab and enter/scan From Serial and To Serial numbers.
WIP Resource Transaction
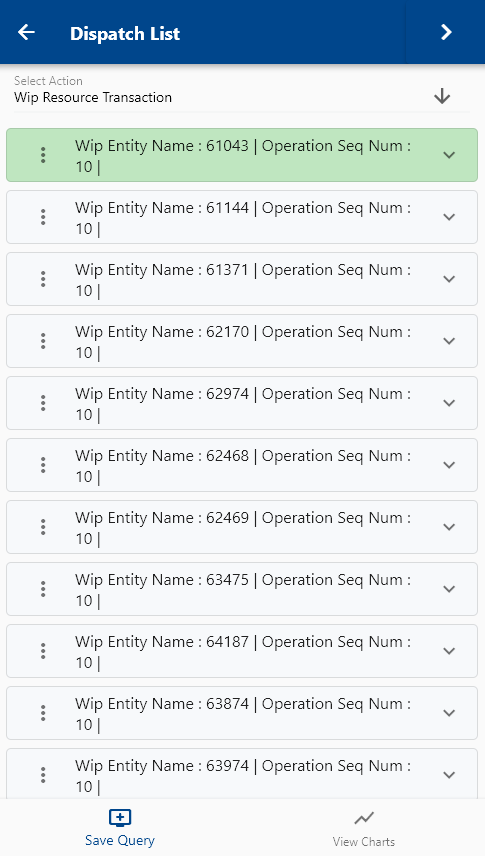
To do a resource transaction against a Work Order, navigate to the dispatch list form.

You can navigate to the dispatch list form from your dashboard, favorite, or just by using a quick search.
Enter the item or organization code or work order number in the search form, and then click on the search button.
The app will show all the available work orders with operation details. To view the work order details (such as item, description, dates, etc.), you click on the expand button, and the app will show you all the details. You can also visit the work order details form by clicking on the Fetch/View button, but that's not required to complete a transaction. If you navigate the work order details screen, then use the back button to navigate the current search result screen.
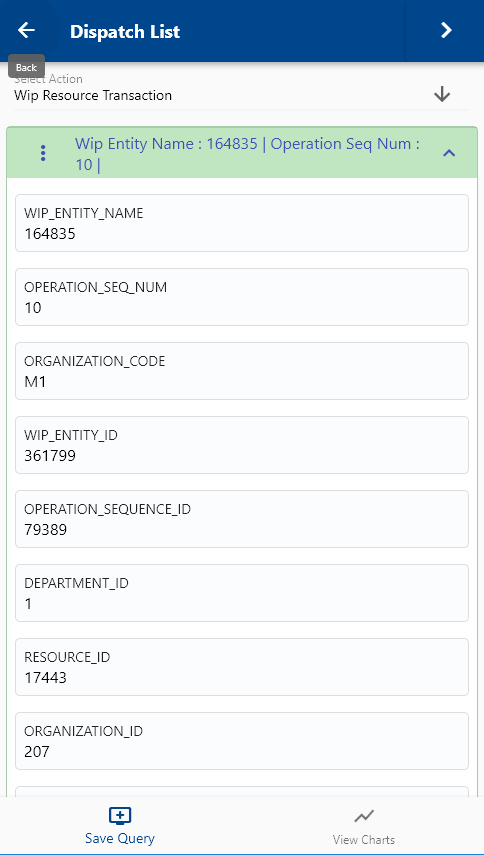
Click on the Menu against an operation that you want to do resource transactions and click on the select button.
Next, select "Resource Transaction" in the transaction type list of values.
The app will take you to a confirmation screen where you need to validate all information and enter some other information such as Quantity, Unit of Measure, Resource, etc.
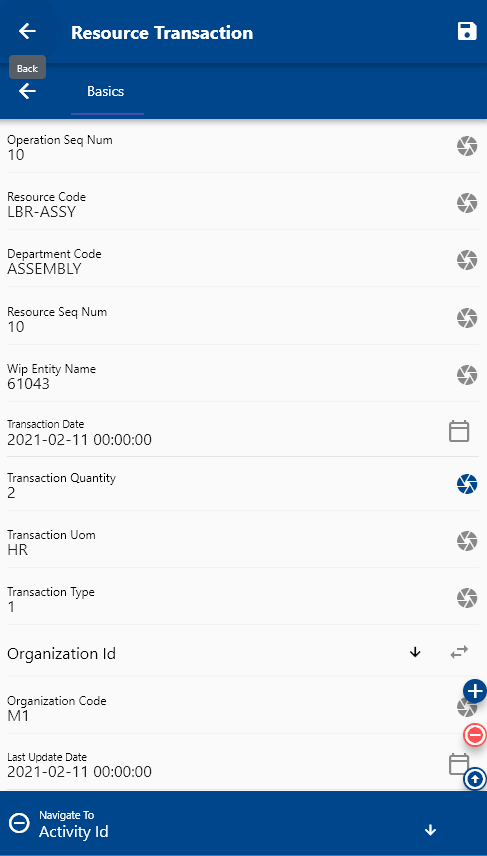
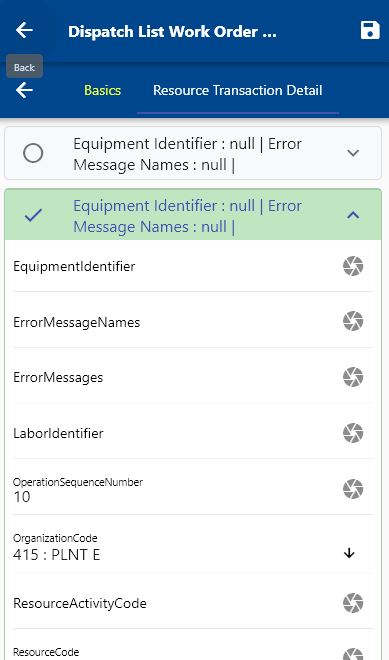
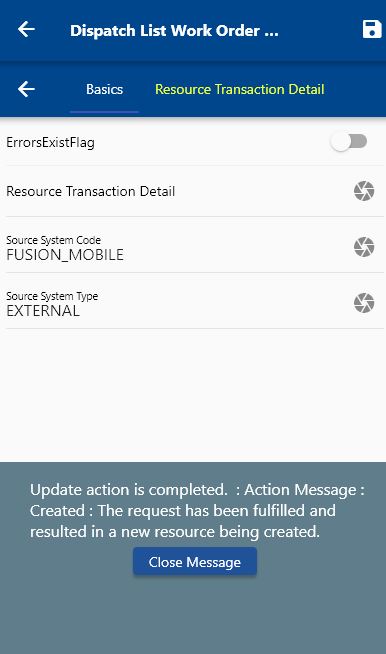
The transaction screen will show several tabs. The first Tab (Basic tab) contains information that is required to complete the resource transaction.
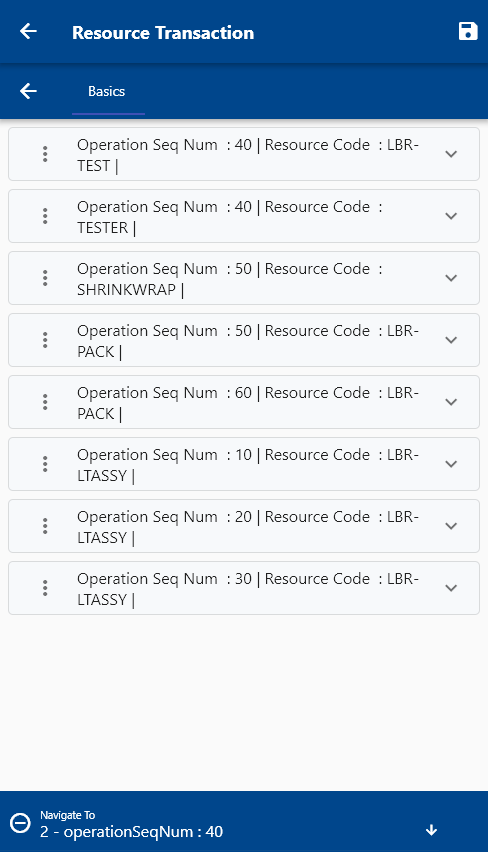
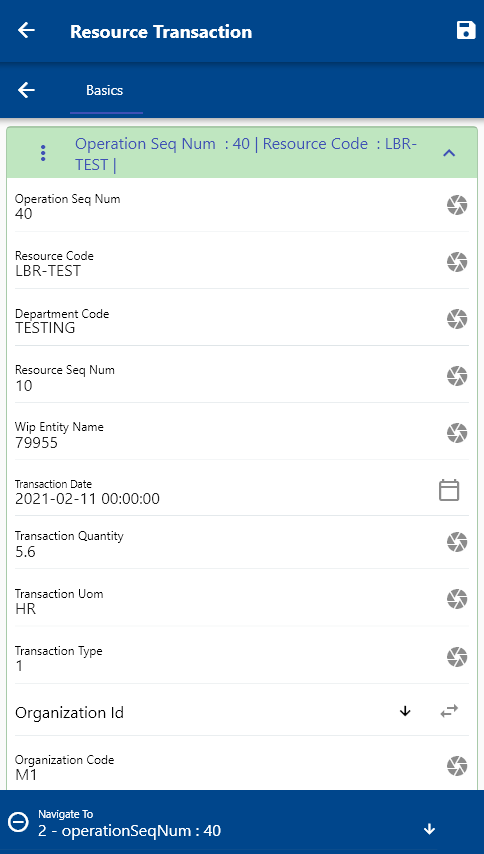
Click on the expand button to view the resource details.
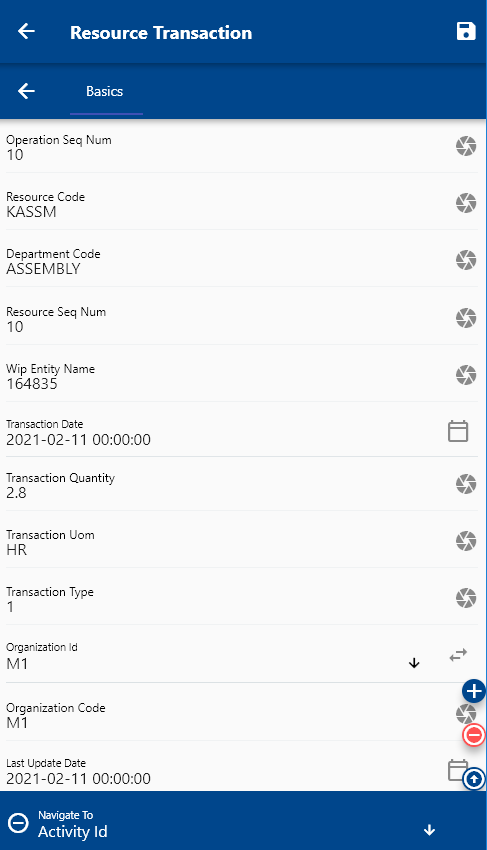
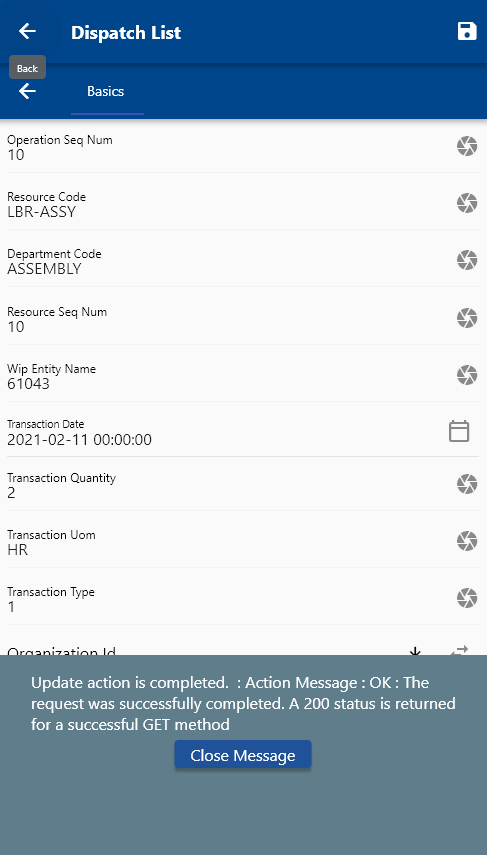
Verify all the information, and enter all the other required details Next, click on the Save button.
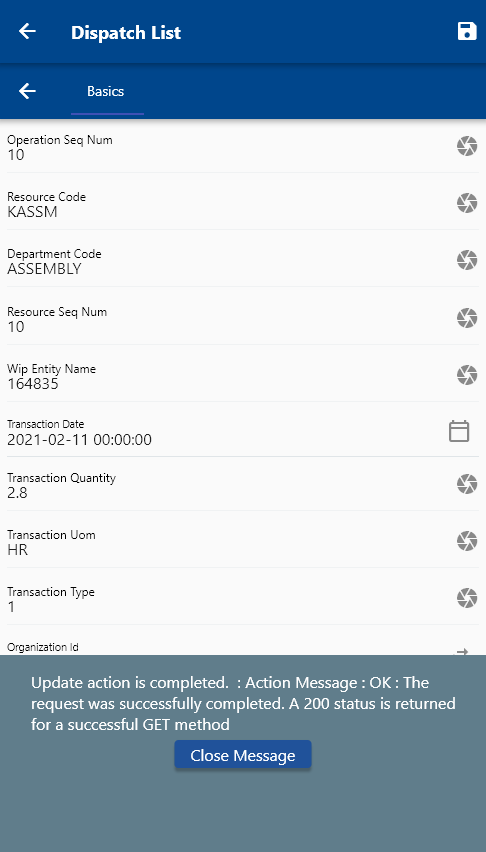
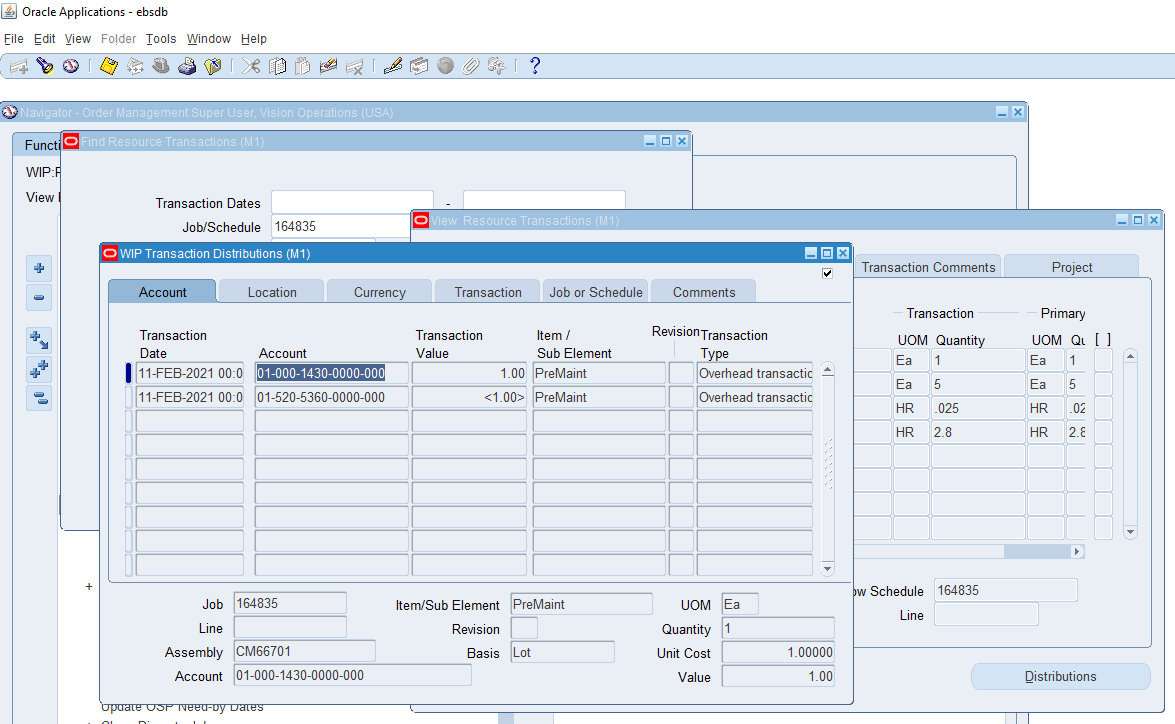
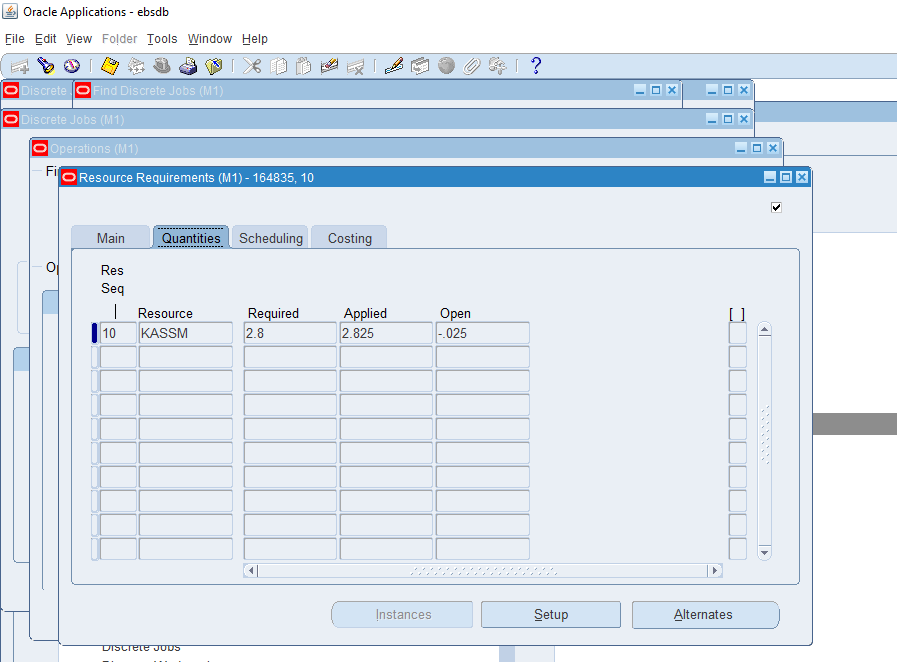
You can review the transaction the issued quantity for the job in Oracle
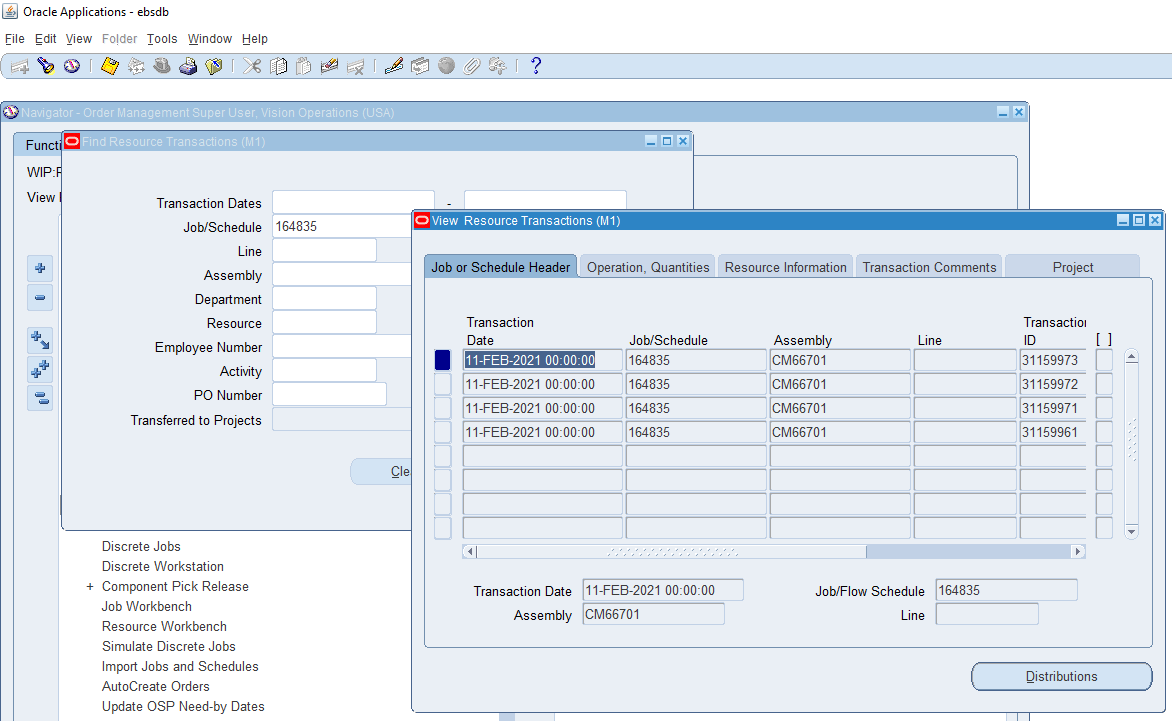
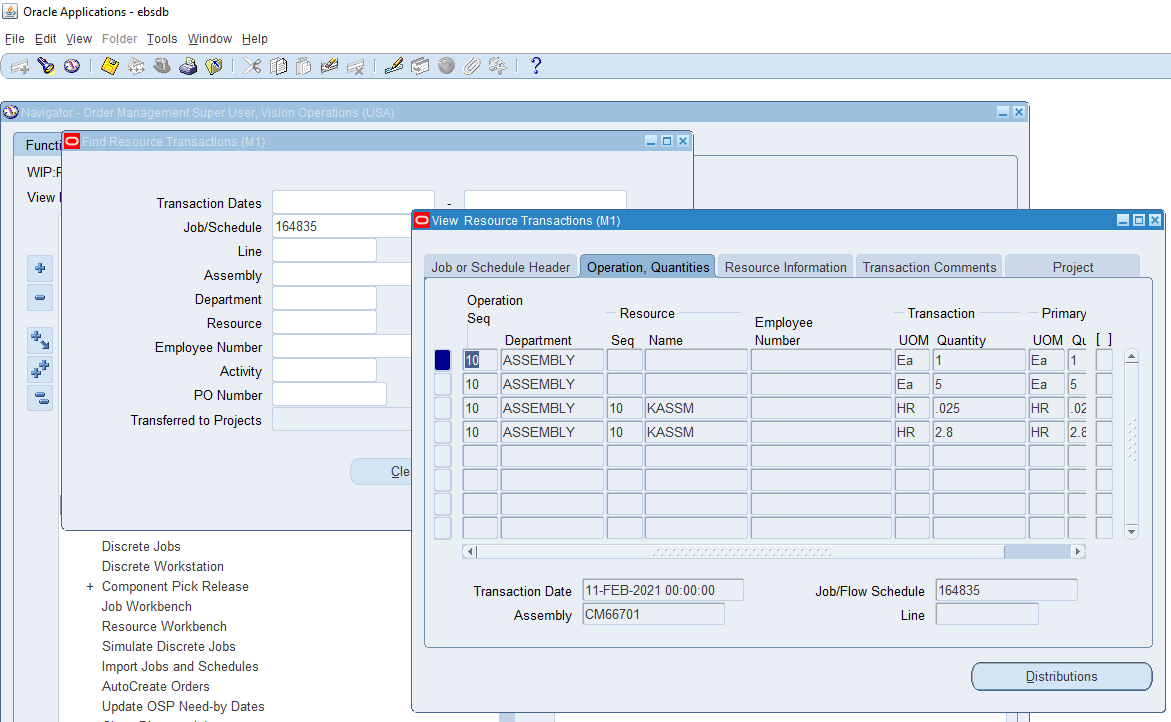
You can also review the material transactions in Oracle
WIP Operation Move
To do an operation move transaction against a Work Order, first, navigate to the dispatch list form.

You can navigate to the dispatch list form from your dashboard, favorite, or just by using a quick search.
Enter the item or organization code or work order number in the search form, and then click on the search button.
The app will show all the available work orders with operation details. To view the work order details (such as item, description, dates, etc.), you click on the expand button, and the app will show you all the details. You can also visit the work order details form by clicking on the Fetch/View button, but that's not required to complete a transaction. If you navigate the work order details screen, then use the back button to navigate the current search result screen.
Click on the Menu against an operation that you want to move transaction and click on the select button.
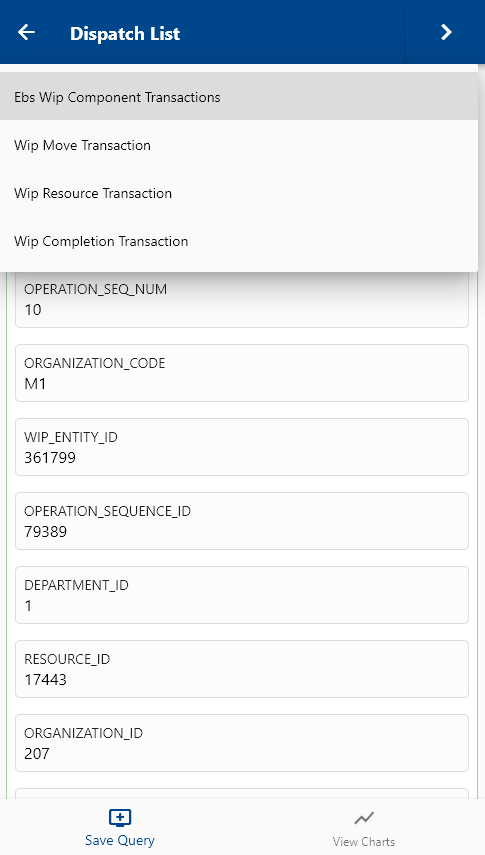
Next, select "Operation Transaction" in the transaction type list of values.
The app will take you to a confirmation screen where you need to validate all information and enter some other information such as To Dispatch code, reason code, etc.
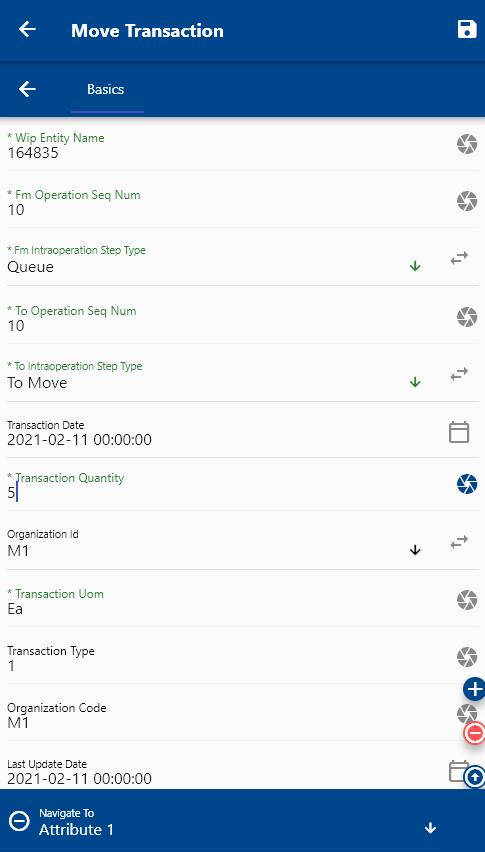
The transaction screen will show several tabs. The first Tab (Basic tab) contains information that is required to complete the operation transaction.
Verify all the information, and enter all the other required details
Next, click on the Save button.
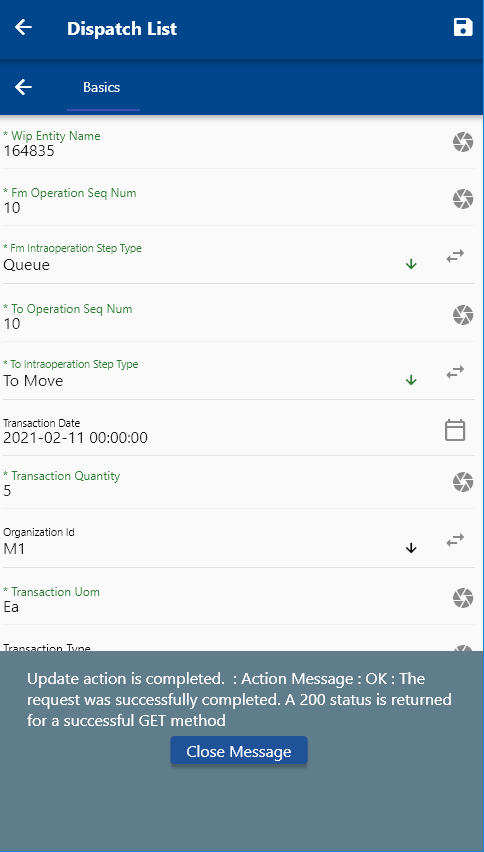
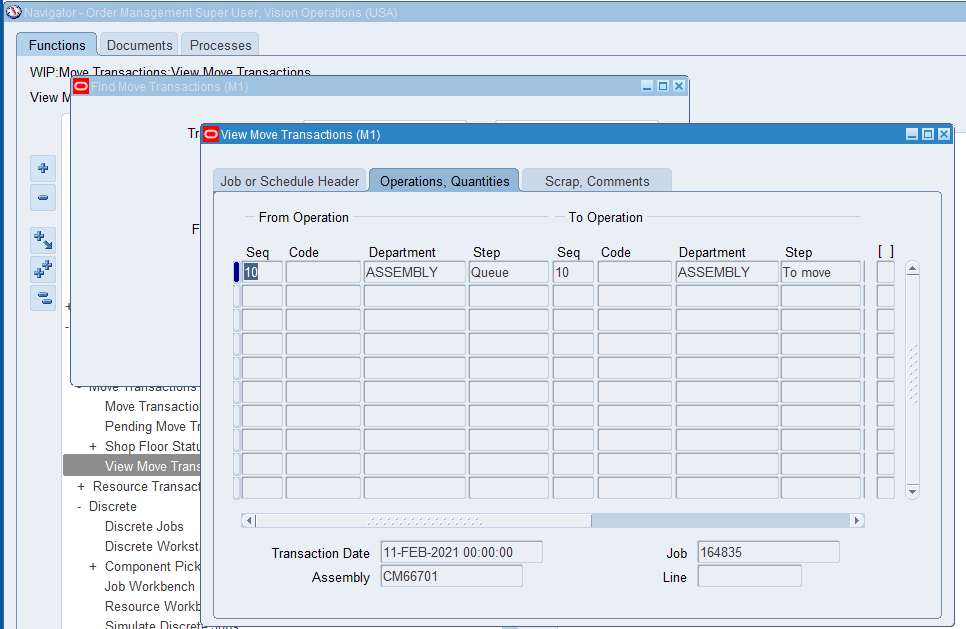
You can review the move transaction and quantity details in Oracle.

WIP Assembly Completion
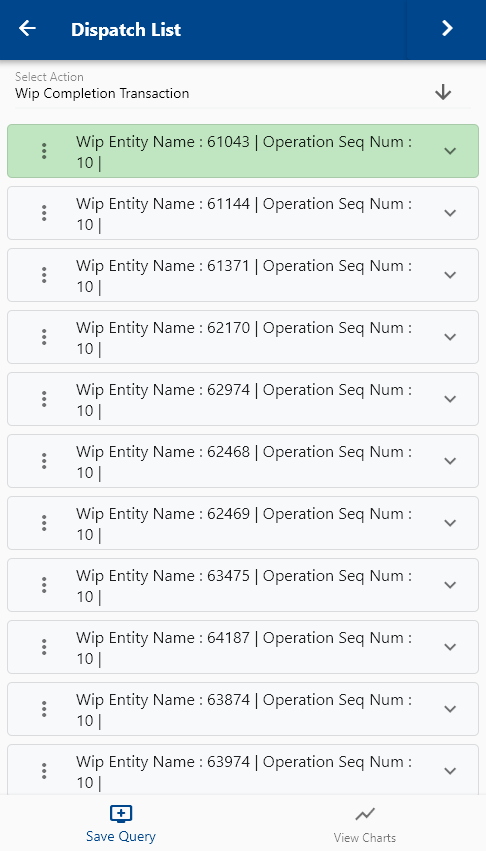
To complete a WIP work order, navigate to the dispatch list form.
You can navigate to the dispatch list form from your dashboard, favorite, or just by using a quick search.
Enter the item or organization code or work order number in the search form, and then click on the search button.
The app will show all the available work orders with operation details. To view the work order details (such as item, description, dates, etc.), you click on the expand button, and the app will show you all the details. You can also visit the work order details form by clicking on the Fetch/View button, but that's not required to complete a transaction. If you navigate the work order details screen, then use the back button to navigate the current search result screen.


Click on the Menu against a Job that you want to complete and click on the select button.
Next, select "WIP Completion" in the transaction type list of values.
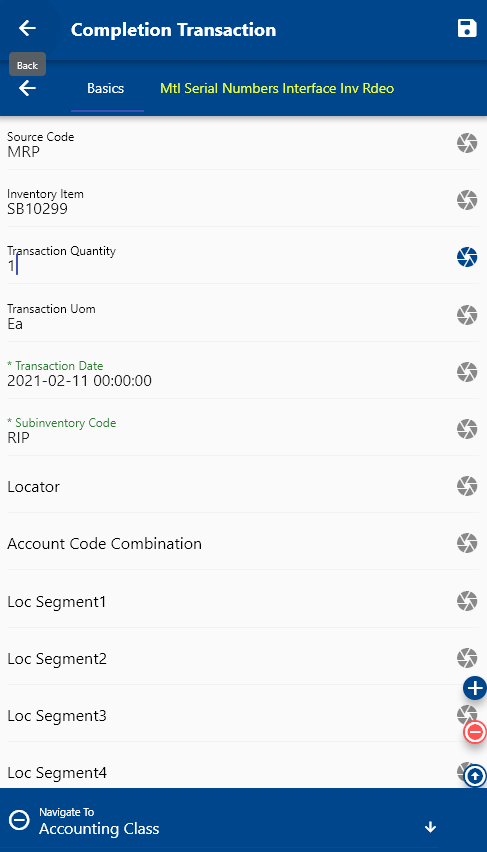
The app will take you to a confirmation screen where you need to validate all information and enter some other information such as Date, Time, etc.
The transaction screen will show several tabs. The first Tab (Basic tab) contains information required to complete the start/stop transaction.
Verify all the information, and enter all the other required details
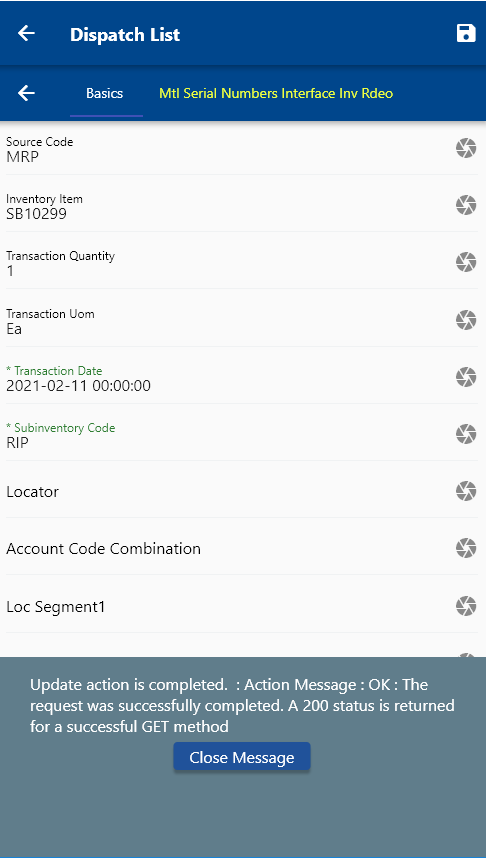
Next, click on the Save button.
Purchasing Transactions
PO Receiving
From Oracle Docs
The Receiving Receipt Requests resource manages receipts or advance shipment notice (ASN) request headers used to communicate with Oracle Fusion applications and process requests. The receipts can be created for all receiving documents, such as purchase orders, return material authorizations (RMAs), transfer orders, and in-transit shipments. Use this resource to interface an ASN or advance shipment billing notice (ASBN) against one or more purchase orders. If there are errors in processing, you can search for the error records, and the source application can either make the necessary corrections and resubmit or delete the requests that have resulted in errors. Source
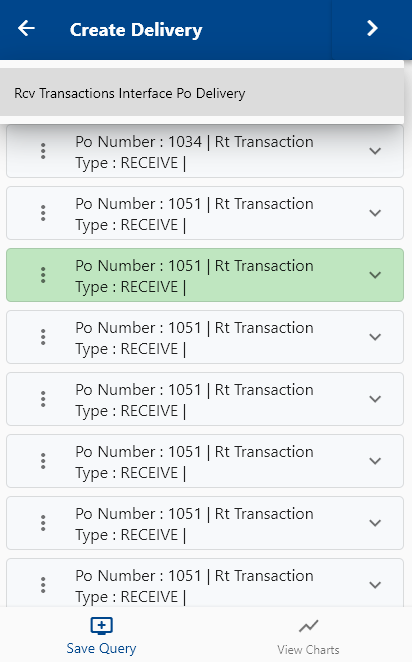
To receive a purchase order (or any such document such as RMA, IO), navigate to the "Lines To Recieve" form from your dashboard/favorite.
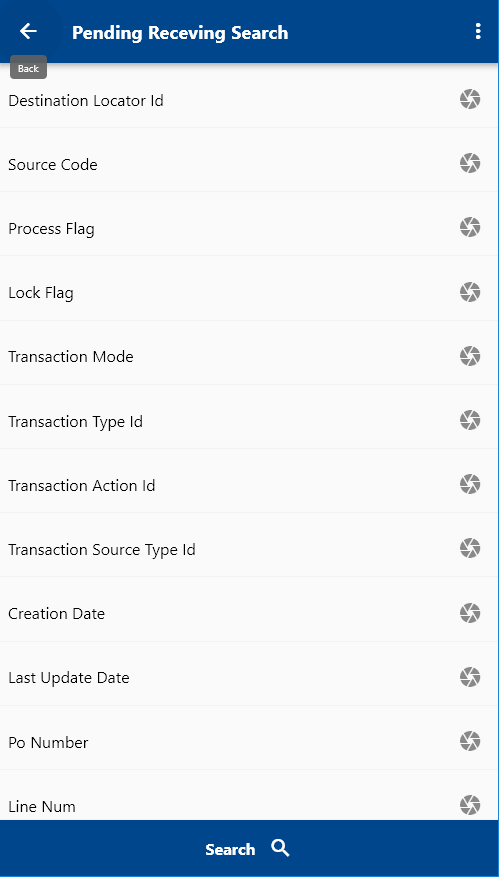
Enter the item/organization details or any other search form criteria and click on the search button.
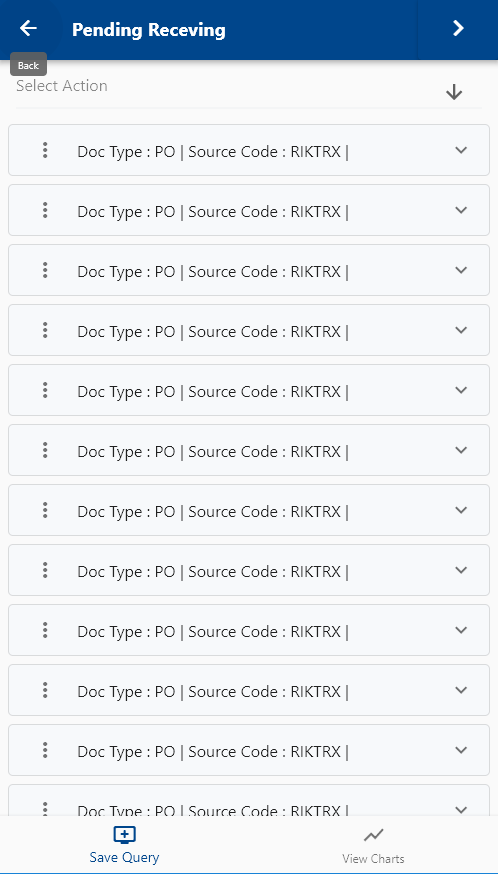
Click on the Menu against an item that you want to transact and click on the select button.
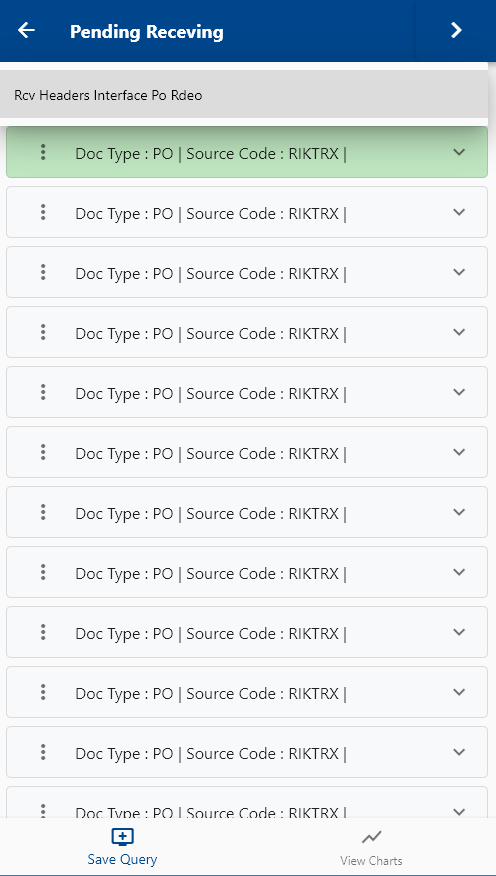
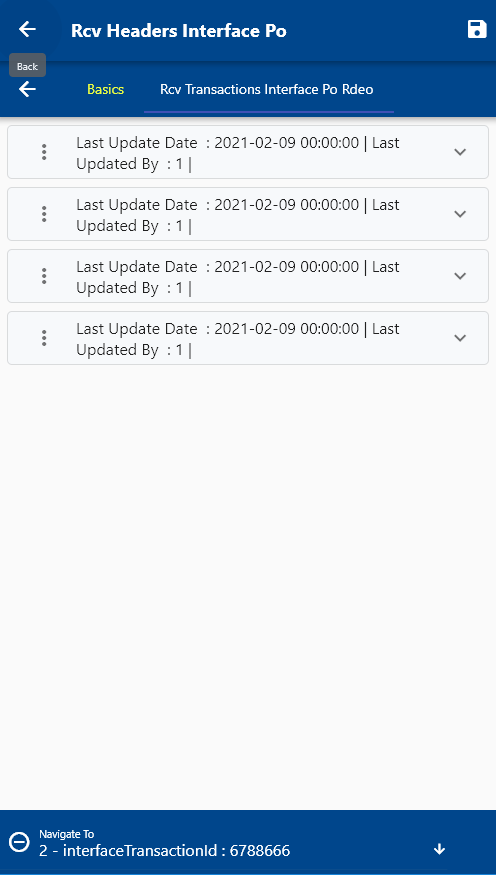
Next, select the transaction type as "Receiving Receipt Request."
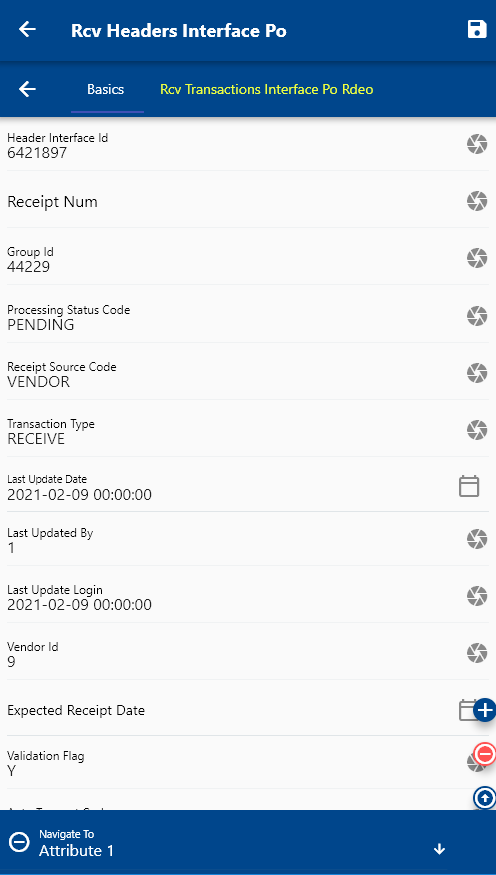
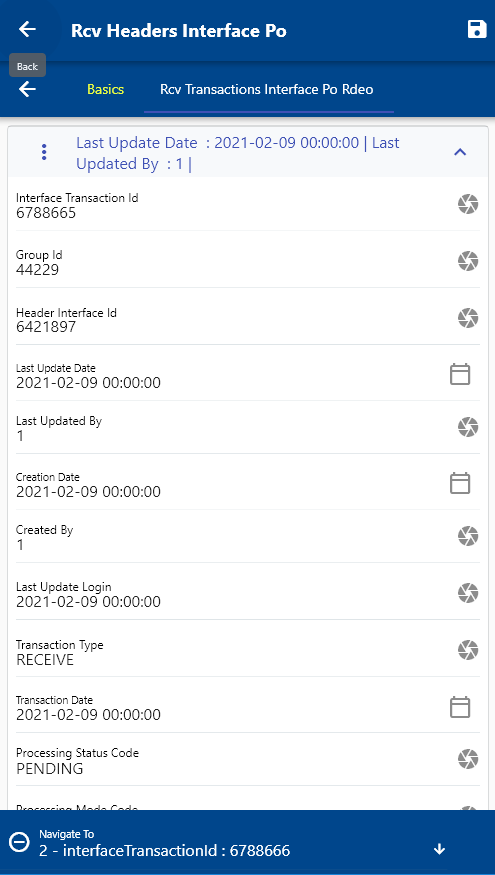
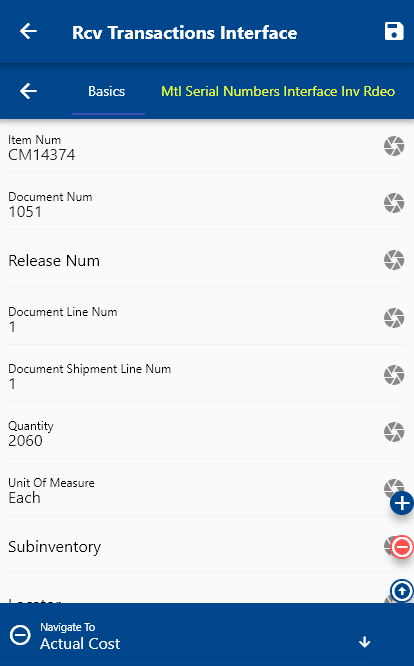
The app will fetch all the related information required to complete the receiving receipt process. It will take you to a confirmation screen where you need to validate all information and change any detail as needed.
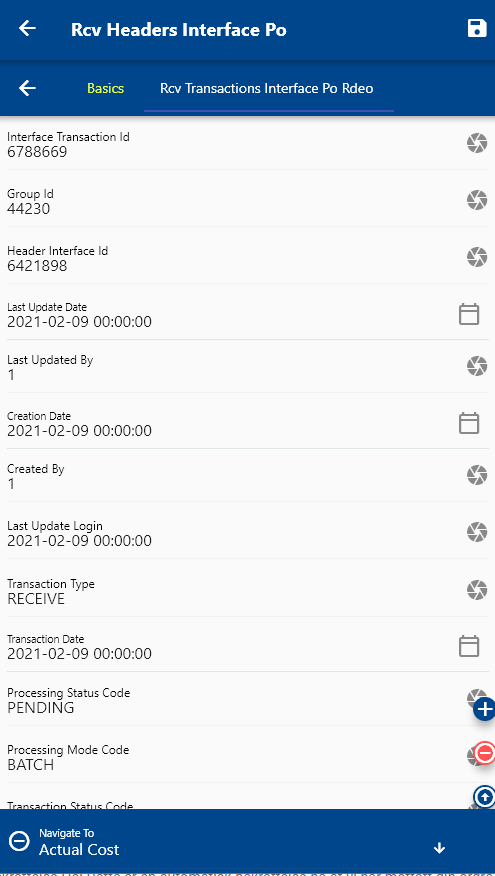
Scroll up and down to view all the fields. You can configure the navigation menu for Receiving Receipt Request to control what fields should be shown to the user and in what sequence. You can also make fields mandatory and read-only, depending on your business requirements.

Enter all the required fields such as Quantity, Employee Name (System will default the employee name from settings)
Next, click on the Save button.
Inspect Receipts
From Oracle Docs
Inspection is the process of accepting or rejecting goods from suppliers or customers before they're put away to their final destination.
These aspects are important when inspecting receipt lines:
- Inspection quality
- Inspection quantity
- Split line inspections
- Multiple or single line inspections Source
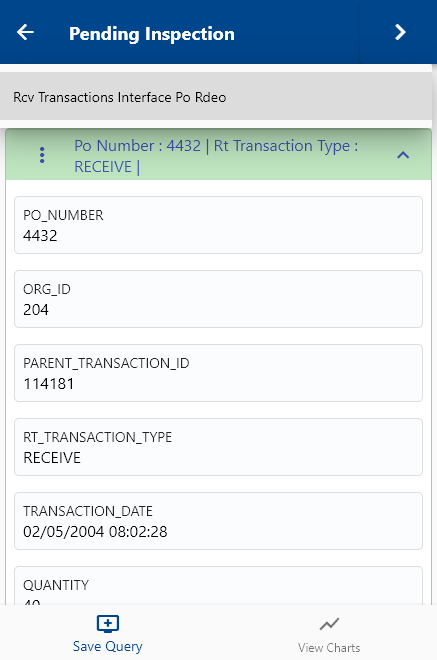
To inspect incoming goods before delivery, navigate to the "Lines To Inspect" form from your dashboard/favorite.
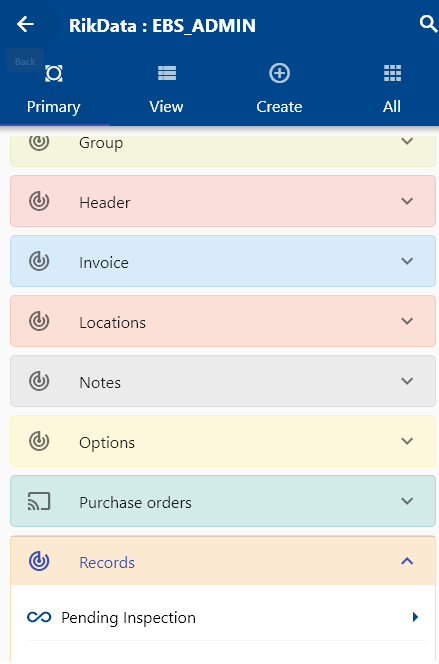
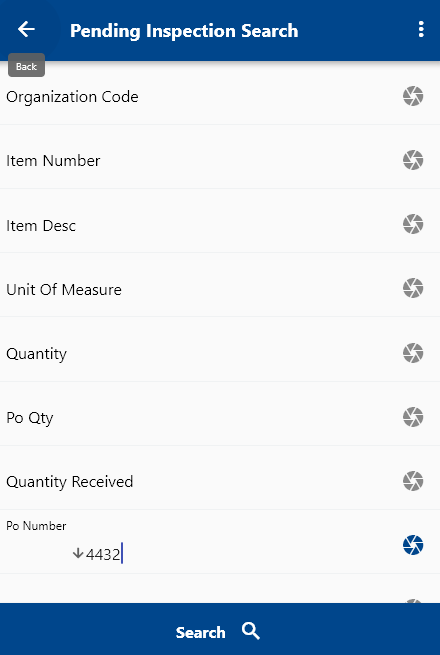
Enter the item/organization details or any other search form criteria and click on the search button.
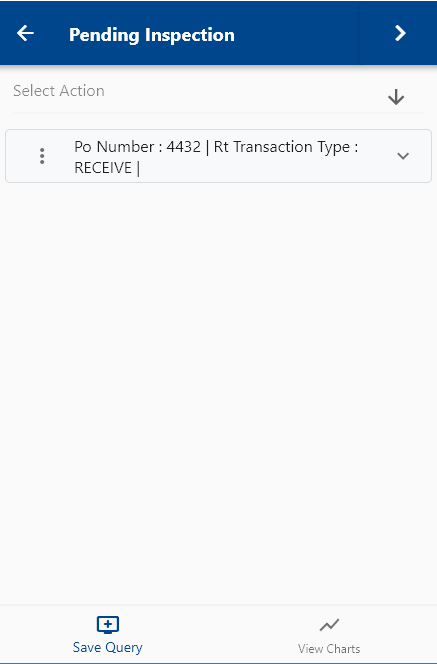
Click on the Menu against an item that you want to inspect and click on the select button.
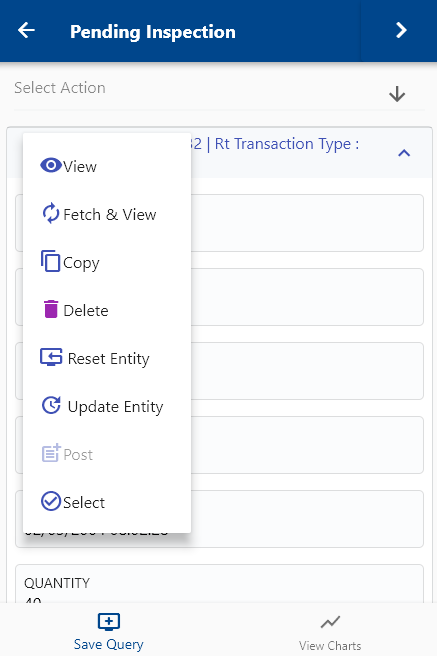
Next, select the transaction type as "Receiving Receipt Transaction Request."
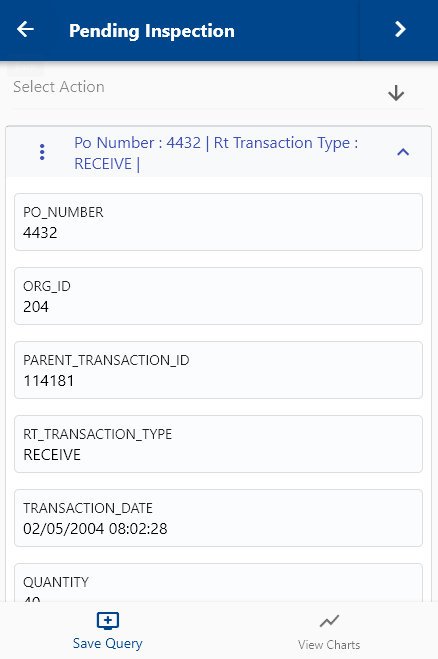
The app will fetch all the related information required to complete the inspection process. It will take you to a confirmation screen where you need to validate all information and change any detail as needed.
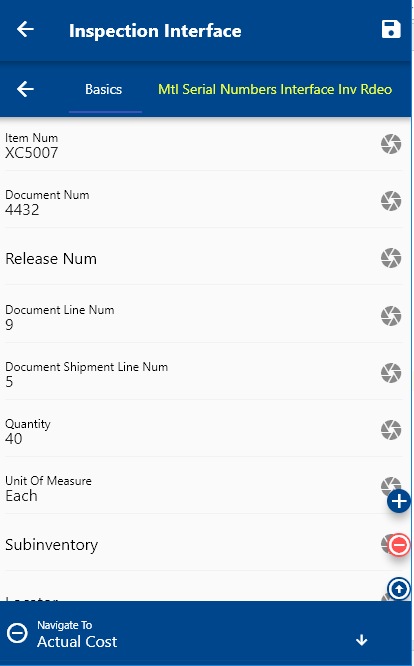
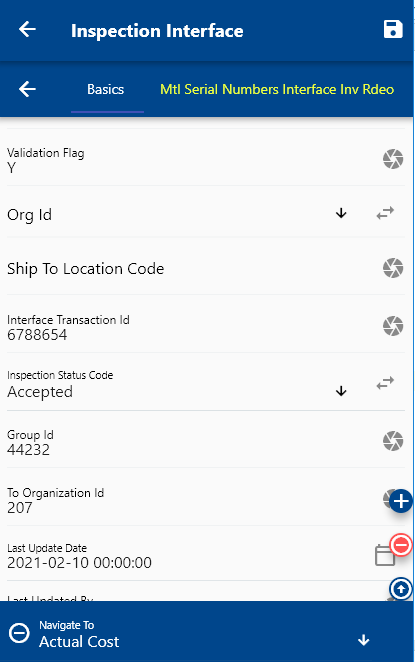
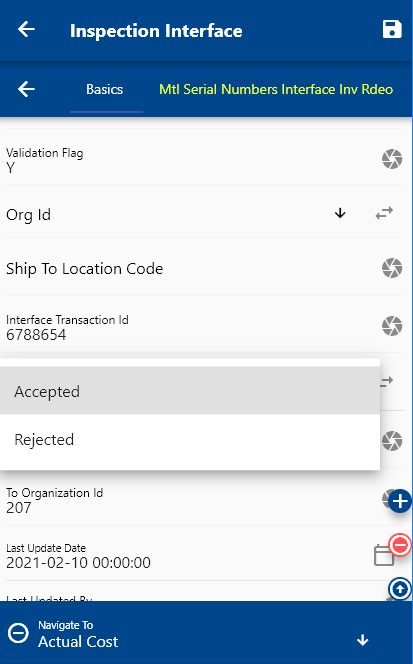
Scroll up and down to view all the fields. You can configure the navigation menu for Receiving Receipt Request to control what fields should be shown to the user and in what sequence. You can also make fields mandatory and read-only, depending on your business requirements.
Enter all the required fields, such as
- Quantity
- Transaction Type: Accept / Reject
- Transaction Date
Next, click on the Save button.
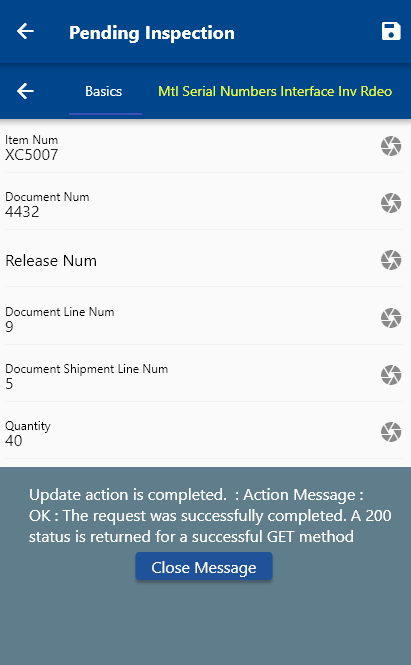
You can review the details in oracle purchasing.

Delivery / Put Aways
From Oracle Docs
Putting away received lines is the process by which goods are moved to their final destination. These aspects are important when putting away received lines:
- Lot and serial number information
- Inventory or expense destinations
Note: When you put away a line with inventory as the destination, inventory is automatically updated. Source
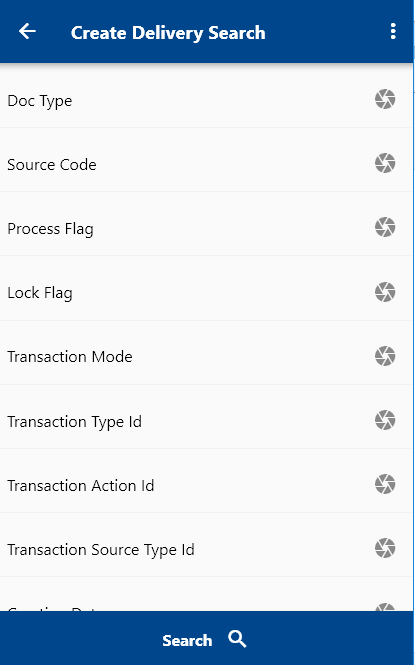
To Put Away received/inspected incoming goods, navigate to the "Lines To PutAway" form from your dashboard/favorite.
Enter the item/organization details or any other search form criteria and click on the search button.
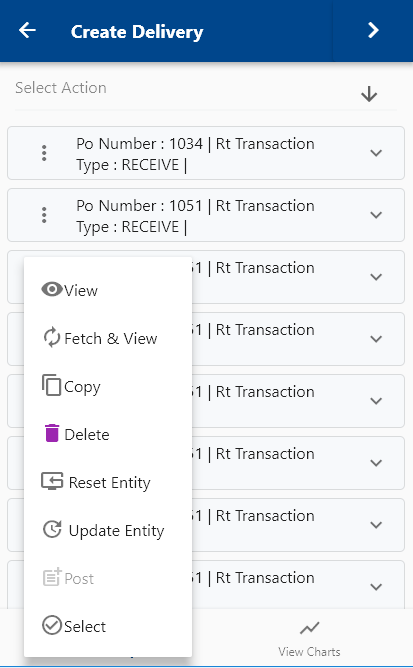
Click on the Menu against an item that you want to transact and click on the select button.
Next, select the transaction type as "Receiving Receipt Transaction Request."
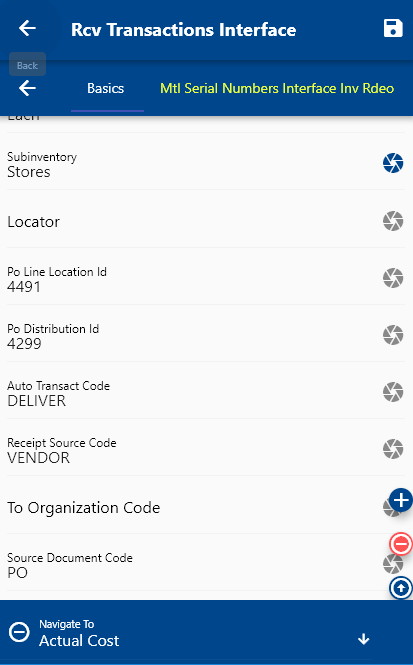
The app will fetch all the related information required to complete the receiving receipt process. It will take you to a confirmation screen where you need to validate all information and change any detail as needed.
Enter/change below fields
- Quantity
- Transaction Type: Deliver
- Transaction Date
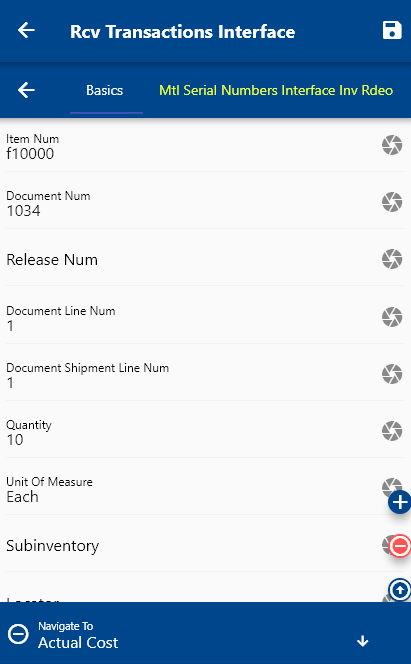
Scroll up and down to view all the fields. You can configure the navigation menu for Receiving Receipt Transaction Request to control what fields should be shown to the user and in what sequence. You can also make fields mandatory and read-only, depending on your business requirements.
Enter the lot and serial details if applicable.
Next, click on the Save button.
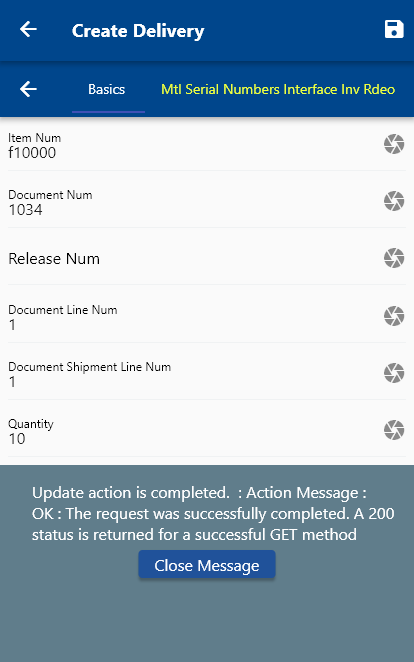
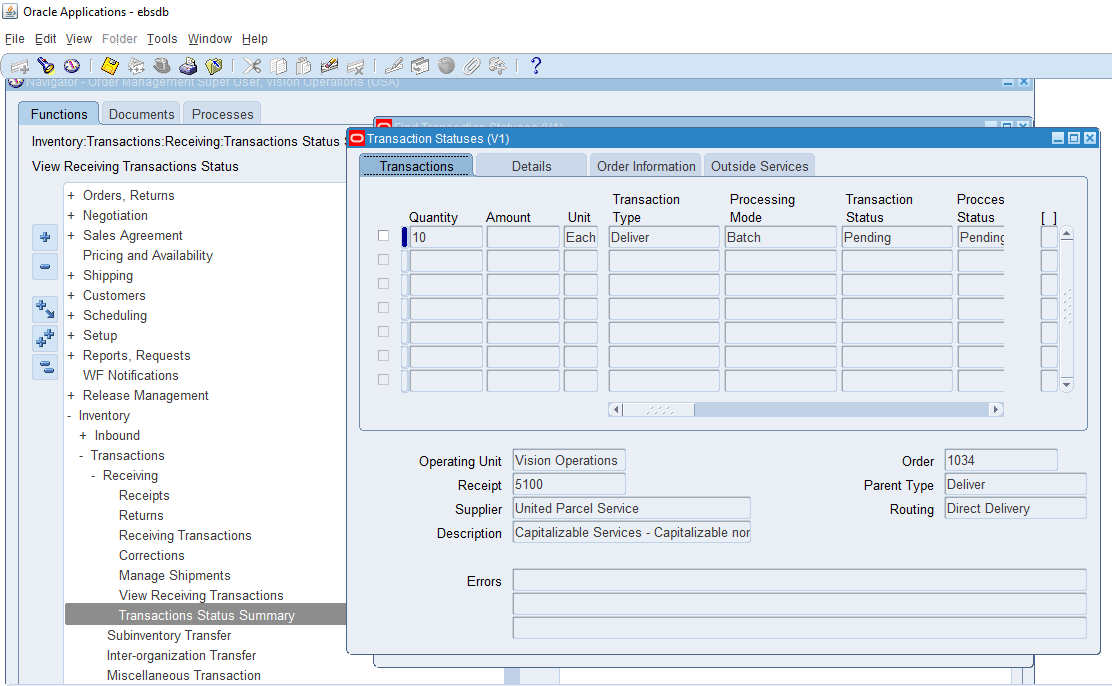
You can review the details in Oracle purchasing.
Ship Confirm
Ship confirm is the process of confirming that items have shipped through a shipment against a sales order/internal order. A shipment comprises a set of shipment lines, grouped by certain common shipping attributes, that are scheduled to be shipped to a customer's ship-to location on a specific date and time. You can include items from different sales orders in a shipment. You can either manually or automatically group shipment lines to create a shipment.
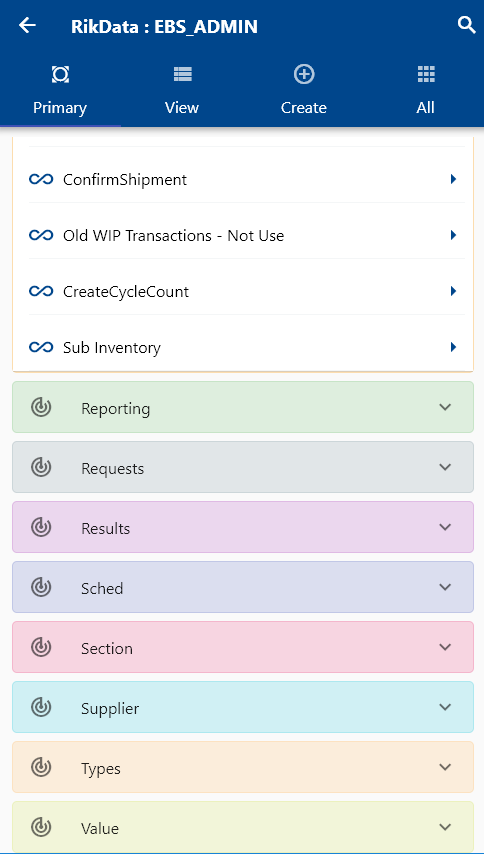
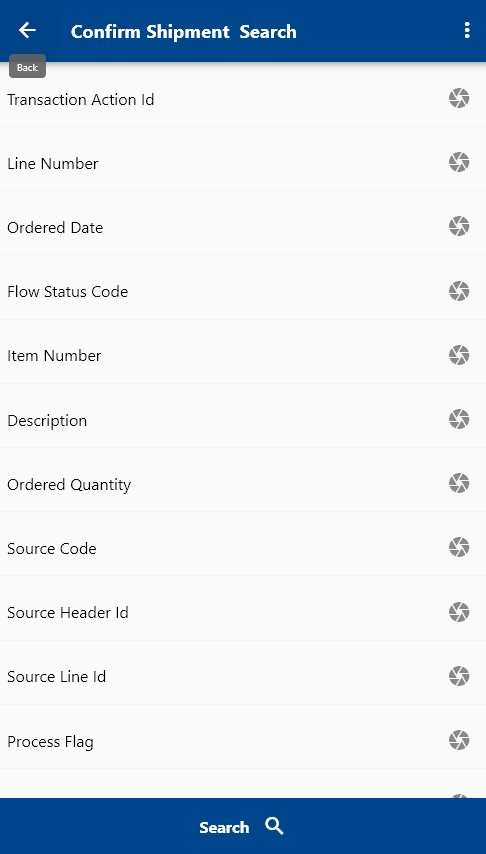
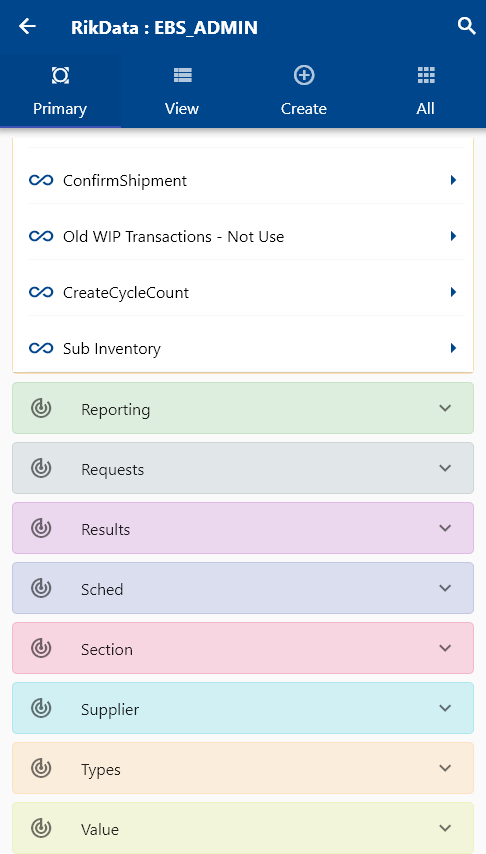
To do a ship, confirm a transaction and navigate the shipments search form from your dashboard/favorite.
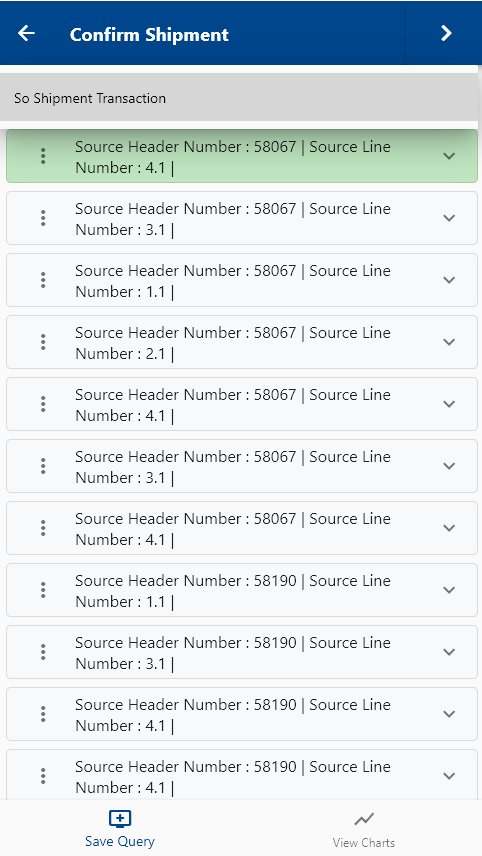
Enter the shipment details or any other criteria in the search form and click on the search button.
Click on the Menu against an item that you want to transact and click on the select button.
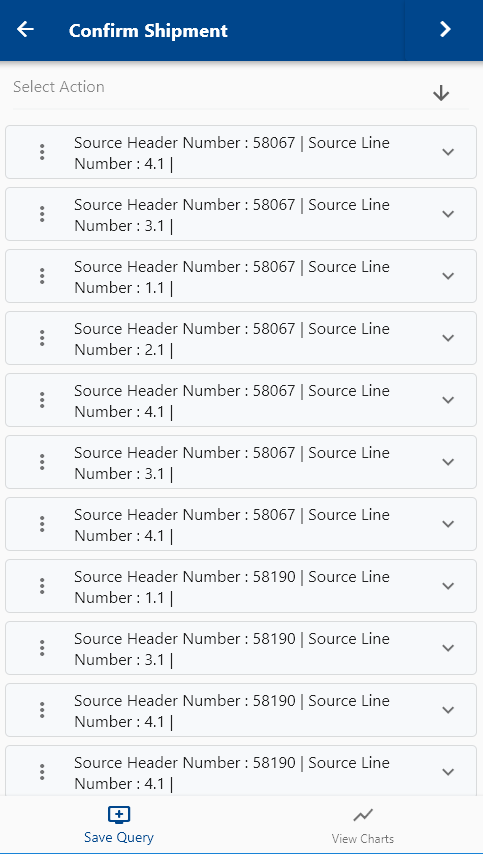
Next, select the transaction type as the shipment transaction request.
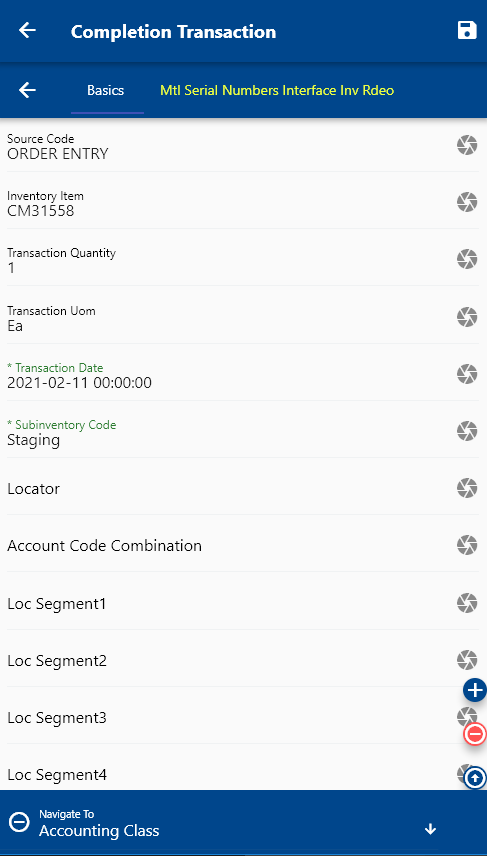
The app will fetch all the related information required to complete the shipment process and will take you to a confirmation screen where you need to validate all information and enter some other information such as Action Code, Carrier, etc.
Scroll up and down to view all the fields. You can configure the navigation menu for shipment transactions to control what fields should be shown to the user and in which sequence. You can also make fields mandatory and read-only, depending on your business requirements.
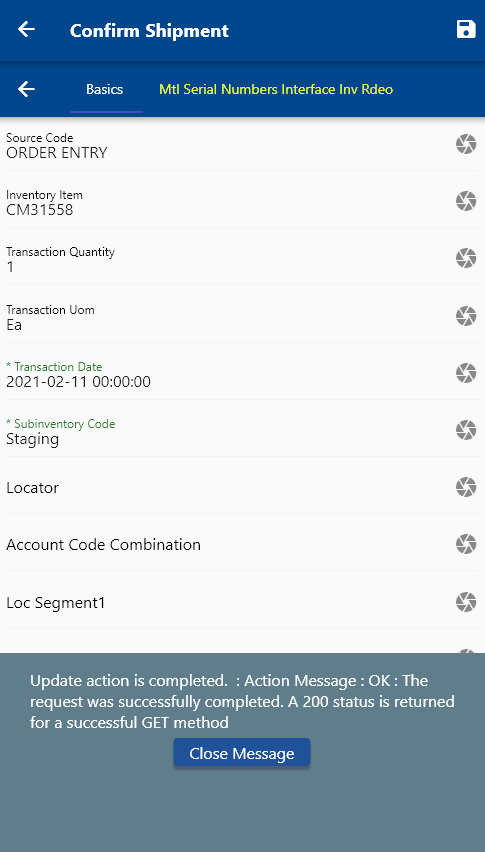
Next, click on the Save button.
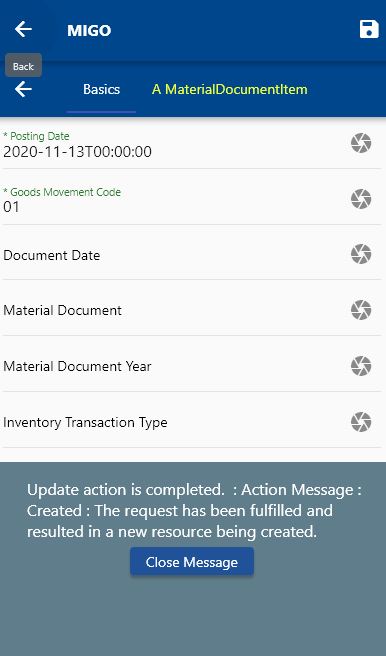
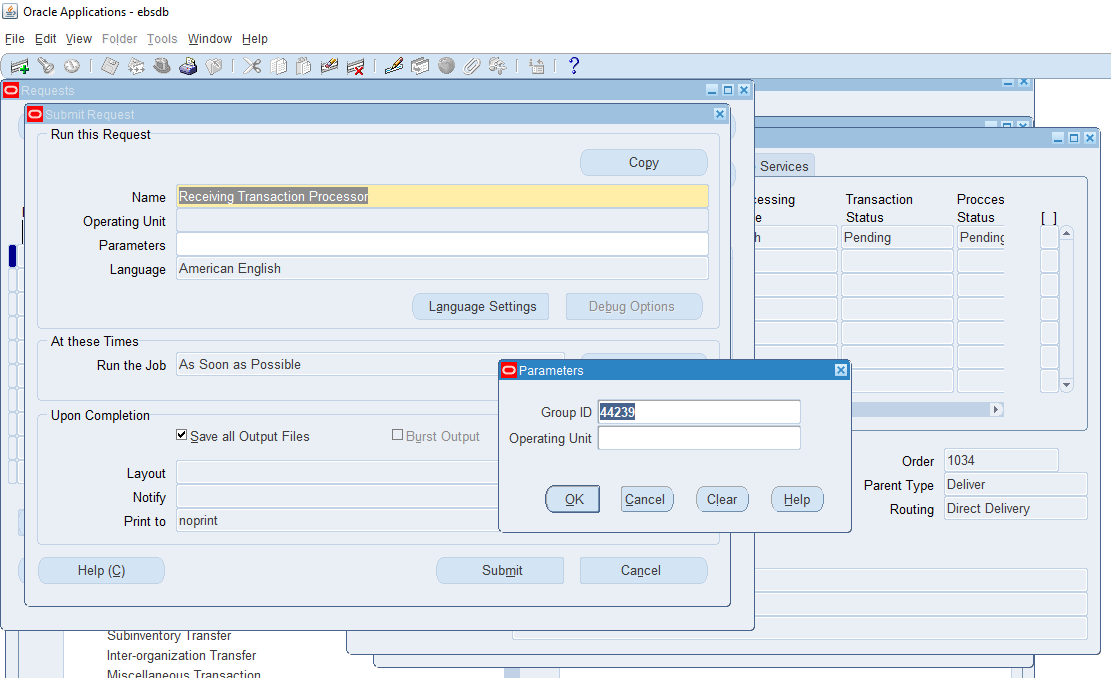
The system will complete the transaction and will show you the below message.
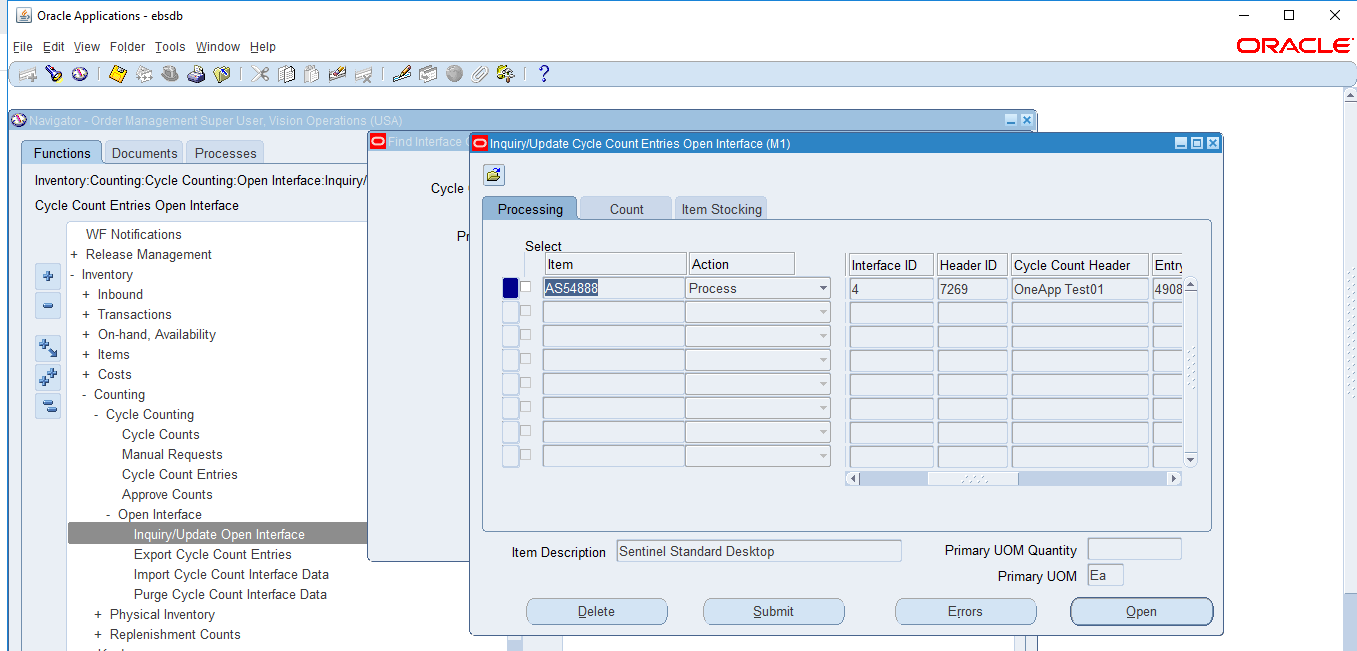
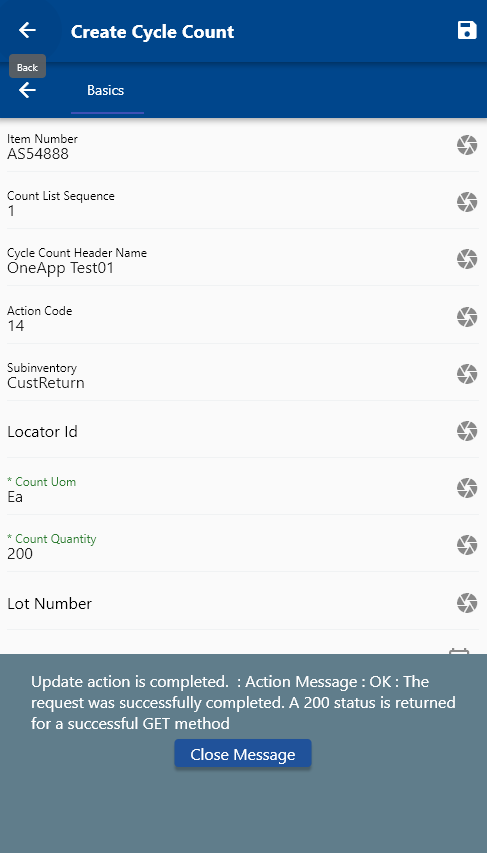
Cycle Count
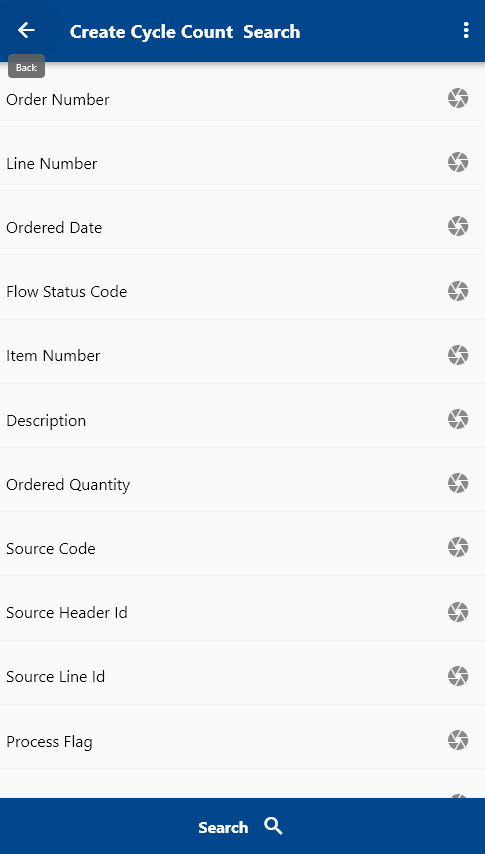
To enter counted quantity against a cycle count entry schedule, navigate to the cycle count entry search form from your dashboard/favorite.
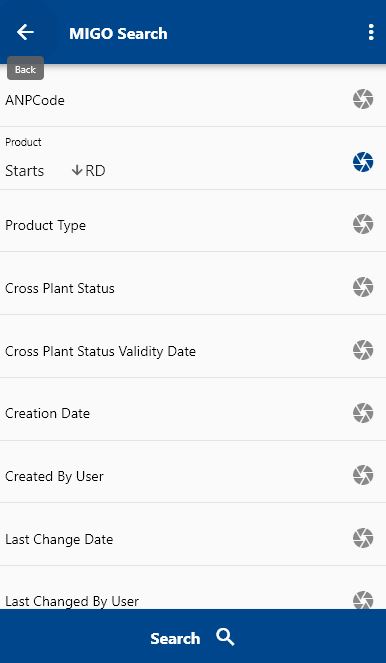
Enter the item/organization details or any other search form criteria and click on the search button.
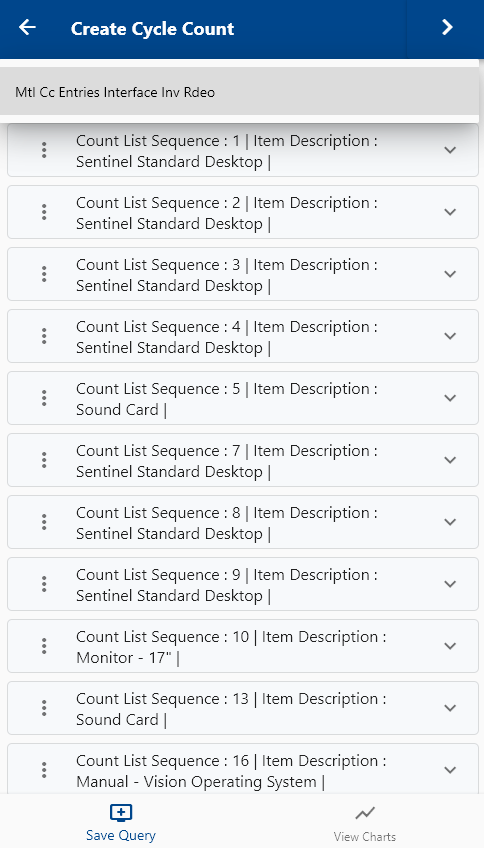
Click on the Menu against an entry that you want to count.

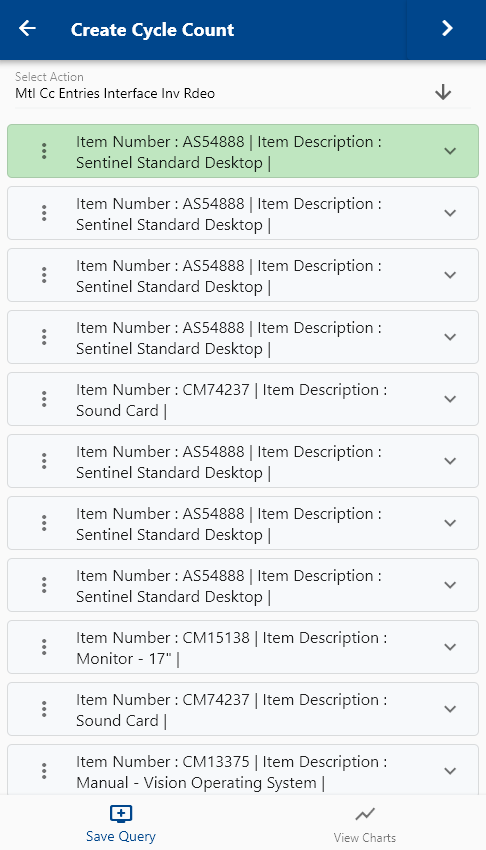
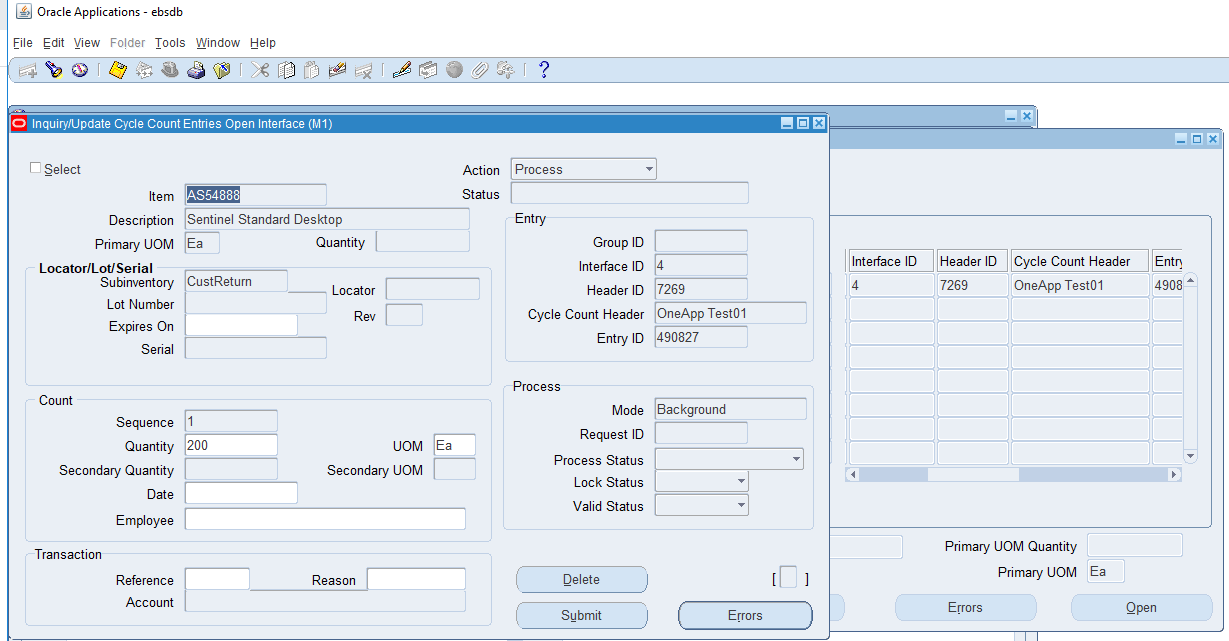
The app will fetch all the related information required to complete the cycle count process. It will take you to a confirmation screen where you need to validate all information and change any detail as needed.
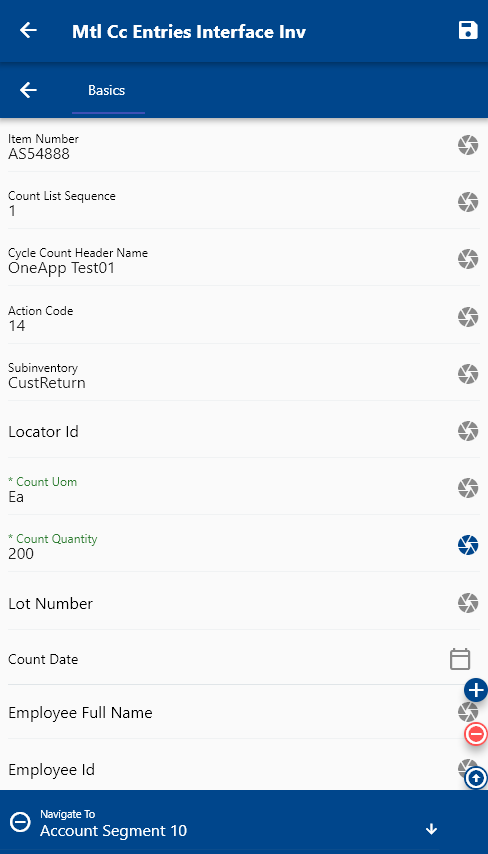
Scroll up and down to view all the fields. You can configure the navigation menu for Cycle Count Entry to control what fields should be shown to the user and in what sequence. You can also make fields mandatory and read-only, depending on your business requirements.
Enter/change all the required fields, such as
- Quantity
- Count Date
- Count by
Next, click on the Save button.
You can review the details in Oracle Inventory.